Unlocking the Art of Digital Conversion for Vintage Slides, Negatives, and Photographs – Scanning Slides
In today’s digital age, the ability to preserve cherished memories from bygone eras in a digital format, by scanning slides, is an invaluable skill. This article serves as a comprehensive guide, offering a myriad of techniques and strategies for transforming your analogue treasures into digital assets. Throughout this exploration, we will delve into diverse methods, cleaning protocols, and innovative technologies that facilitate the digitisation of slides, negatives, and photographs with historical significance.

Deciphering the Digitisation Process
The process of digitising old slides, negatives, and photos transcends the mere act of pressing a scan button. It demands a meticulous approach to ensure that the resultant digital renditions faithfully capture the essence of their analogue counterparts. Our journey begins with an examination of the various scanning methods available, each tailored to specific types of media.
Embracing the Imperative of Cleaning
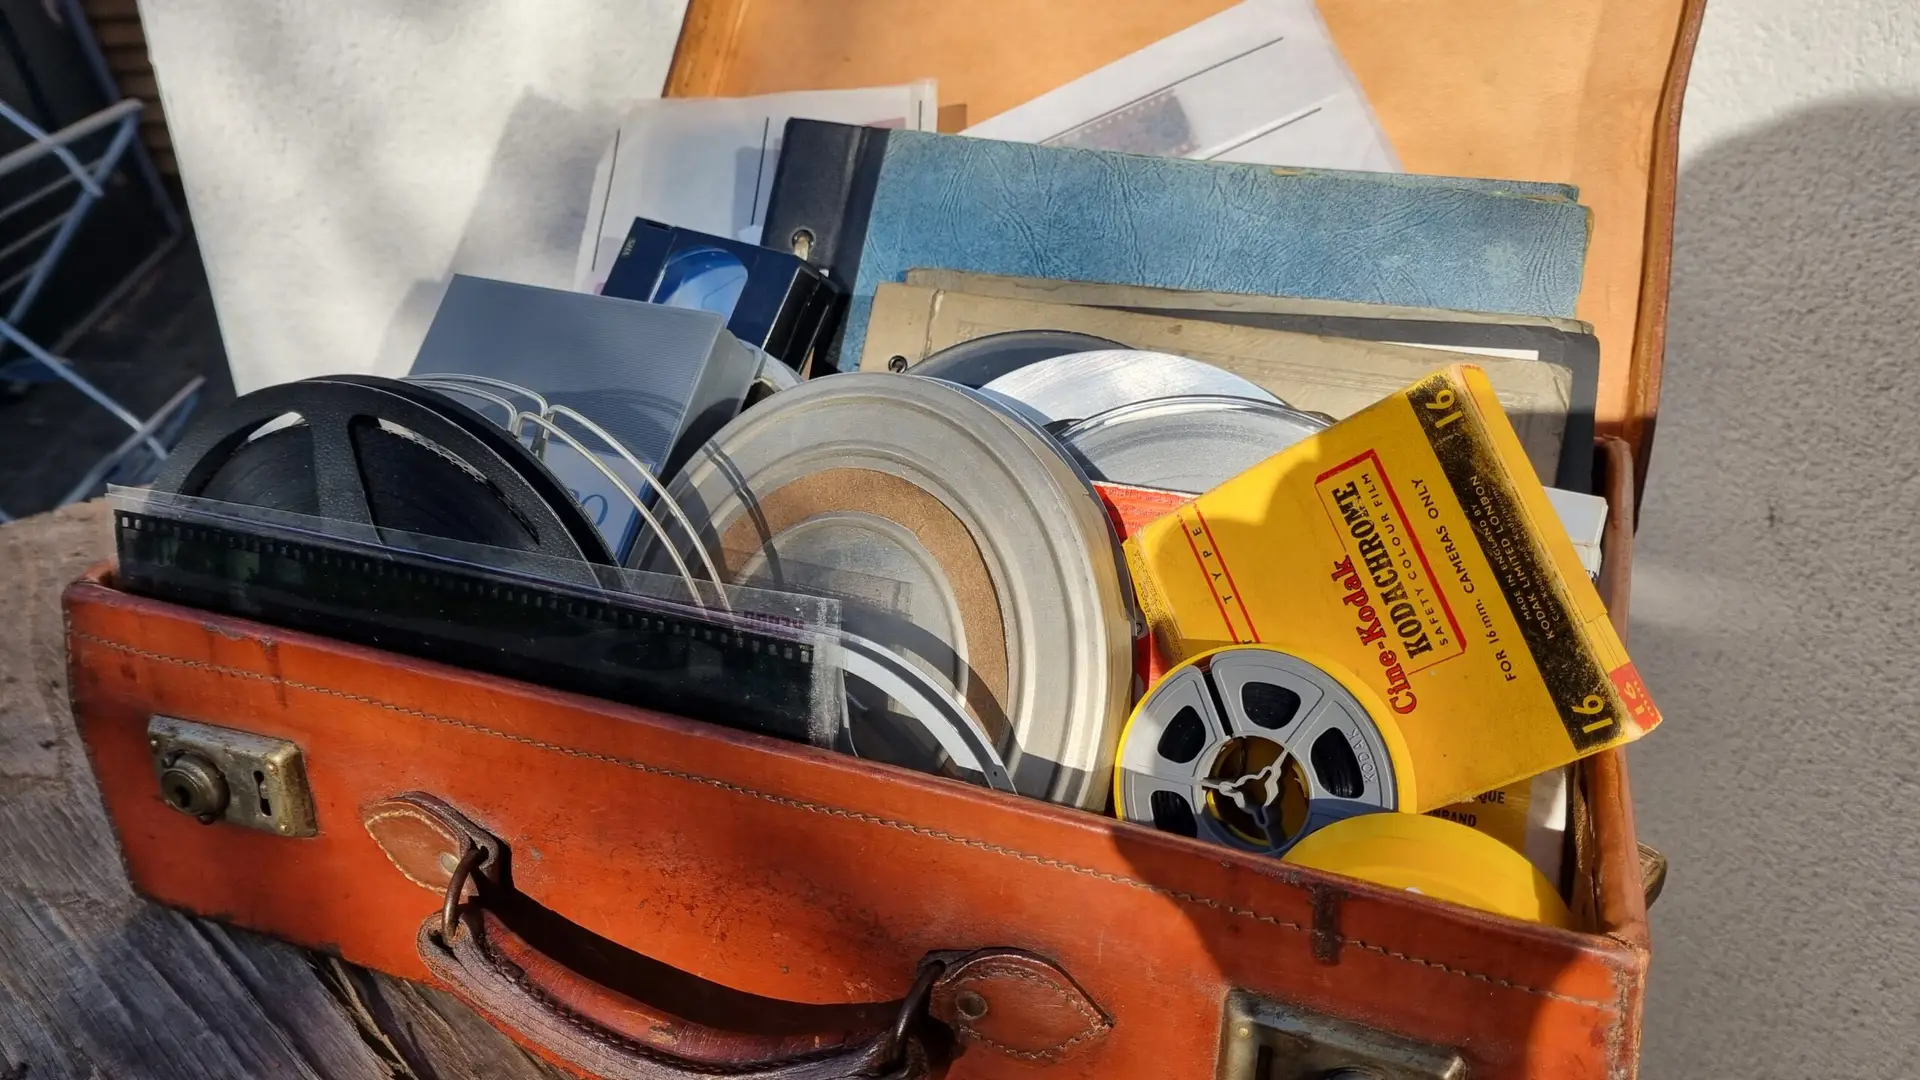
Prior to embarking on any digitisation venture, it is imperative to assess the condition of your analogue media. The presence of dust, dirt, or imperfections can significantly compromise the quality of the digital reproductions. Therefore, we delve into the art of cleaning your slides, negatives, and vintage photographs with precision. We will supply guidance on best practices while also highlighting critical considerations to avoid inadvertently damaging your priceless memories.
Exploring Scanning Techniques
1. How to Scan Slides with a Flatbed Scanner:
The most straightforward tool for scanning photographic slides is undoubtedly the scanner. Whether you opt for a standalone flatbed scanner or one integrated into your printer, the process requires finesse beyond a simple scan command. We elucidate how to use diffusers to achieve uniform lighting and ensure a flawless capture of each slide’s essence.
Scanning slides with a flatbed scanner involves a systematic approach. It’s important to ensure that the scanner is clean and free of dust before you begin. Dust and scratches on the scanner glass can result in unwanted artifacts on your digitised images. A soft, lint-free cloth and a can of compressed air can help you keep the scanner in pristine condition.
Once your scanner is prepared, carefully handle your slides with cotton or nylon gloves to prevent fingerprints and smudges. Position the slides on the scanner bed, making sure they are aligned properly. Depending on your scanner software, you may have various options for adjusting settings such as resolution, colour balance, and file format.
In addition to these technical aspects, it’s important to organize and catalogue your scanned slides. Creating a system to name and store your digital files can save you a lot of time and effort overall. Consider using descriptive filenames and organizing them into folders based on themes, dates, or events.
When scanning, start with a test slide to fine-tune your settings and ensure the quality of your scans. Once you’re satisfied with the results, proceed to digitise the rest of your slides. Be patient and take your time to ensure each slide is scanned accurately.
After completing the scanning process, it’s a good practice to back up your digital files. Store them on multiple devices or in cloud storage to safeguard your digitised memories for the future.
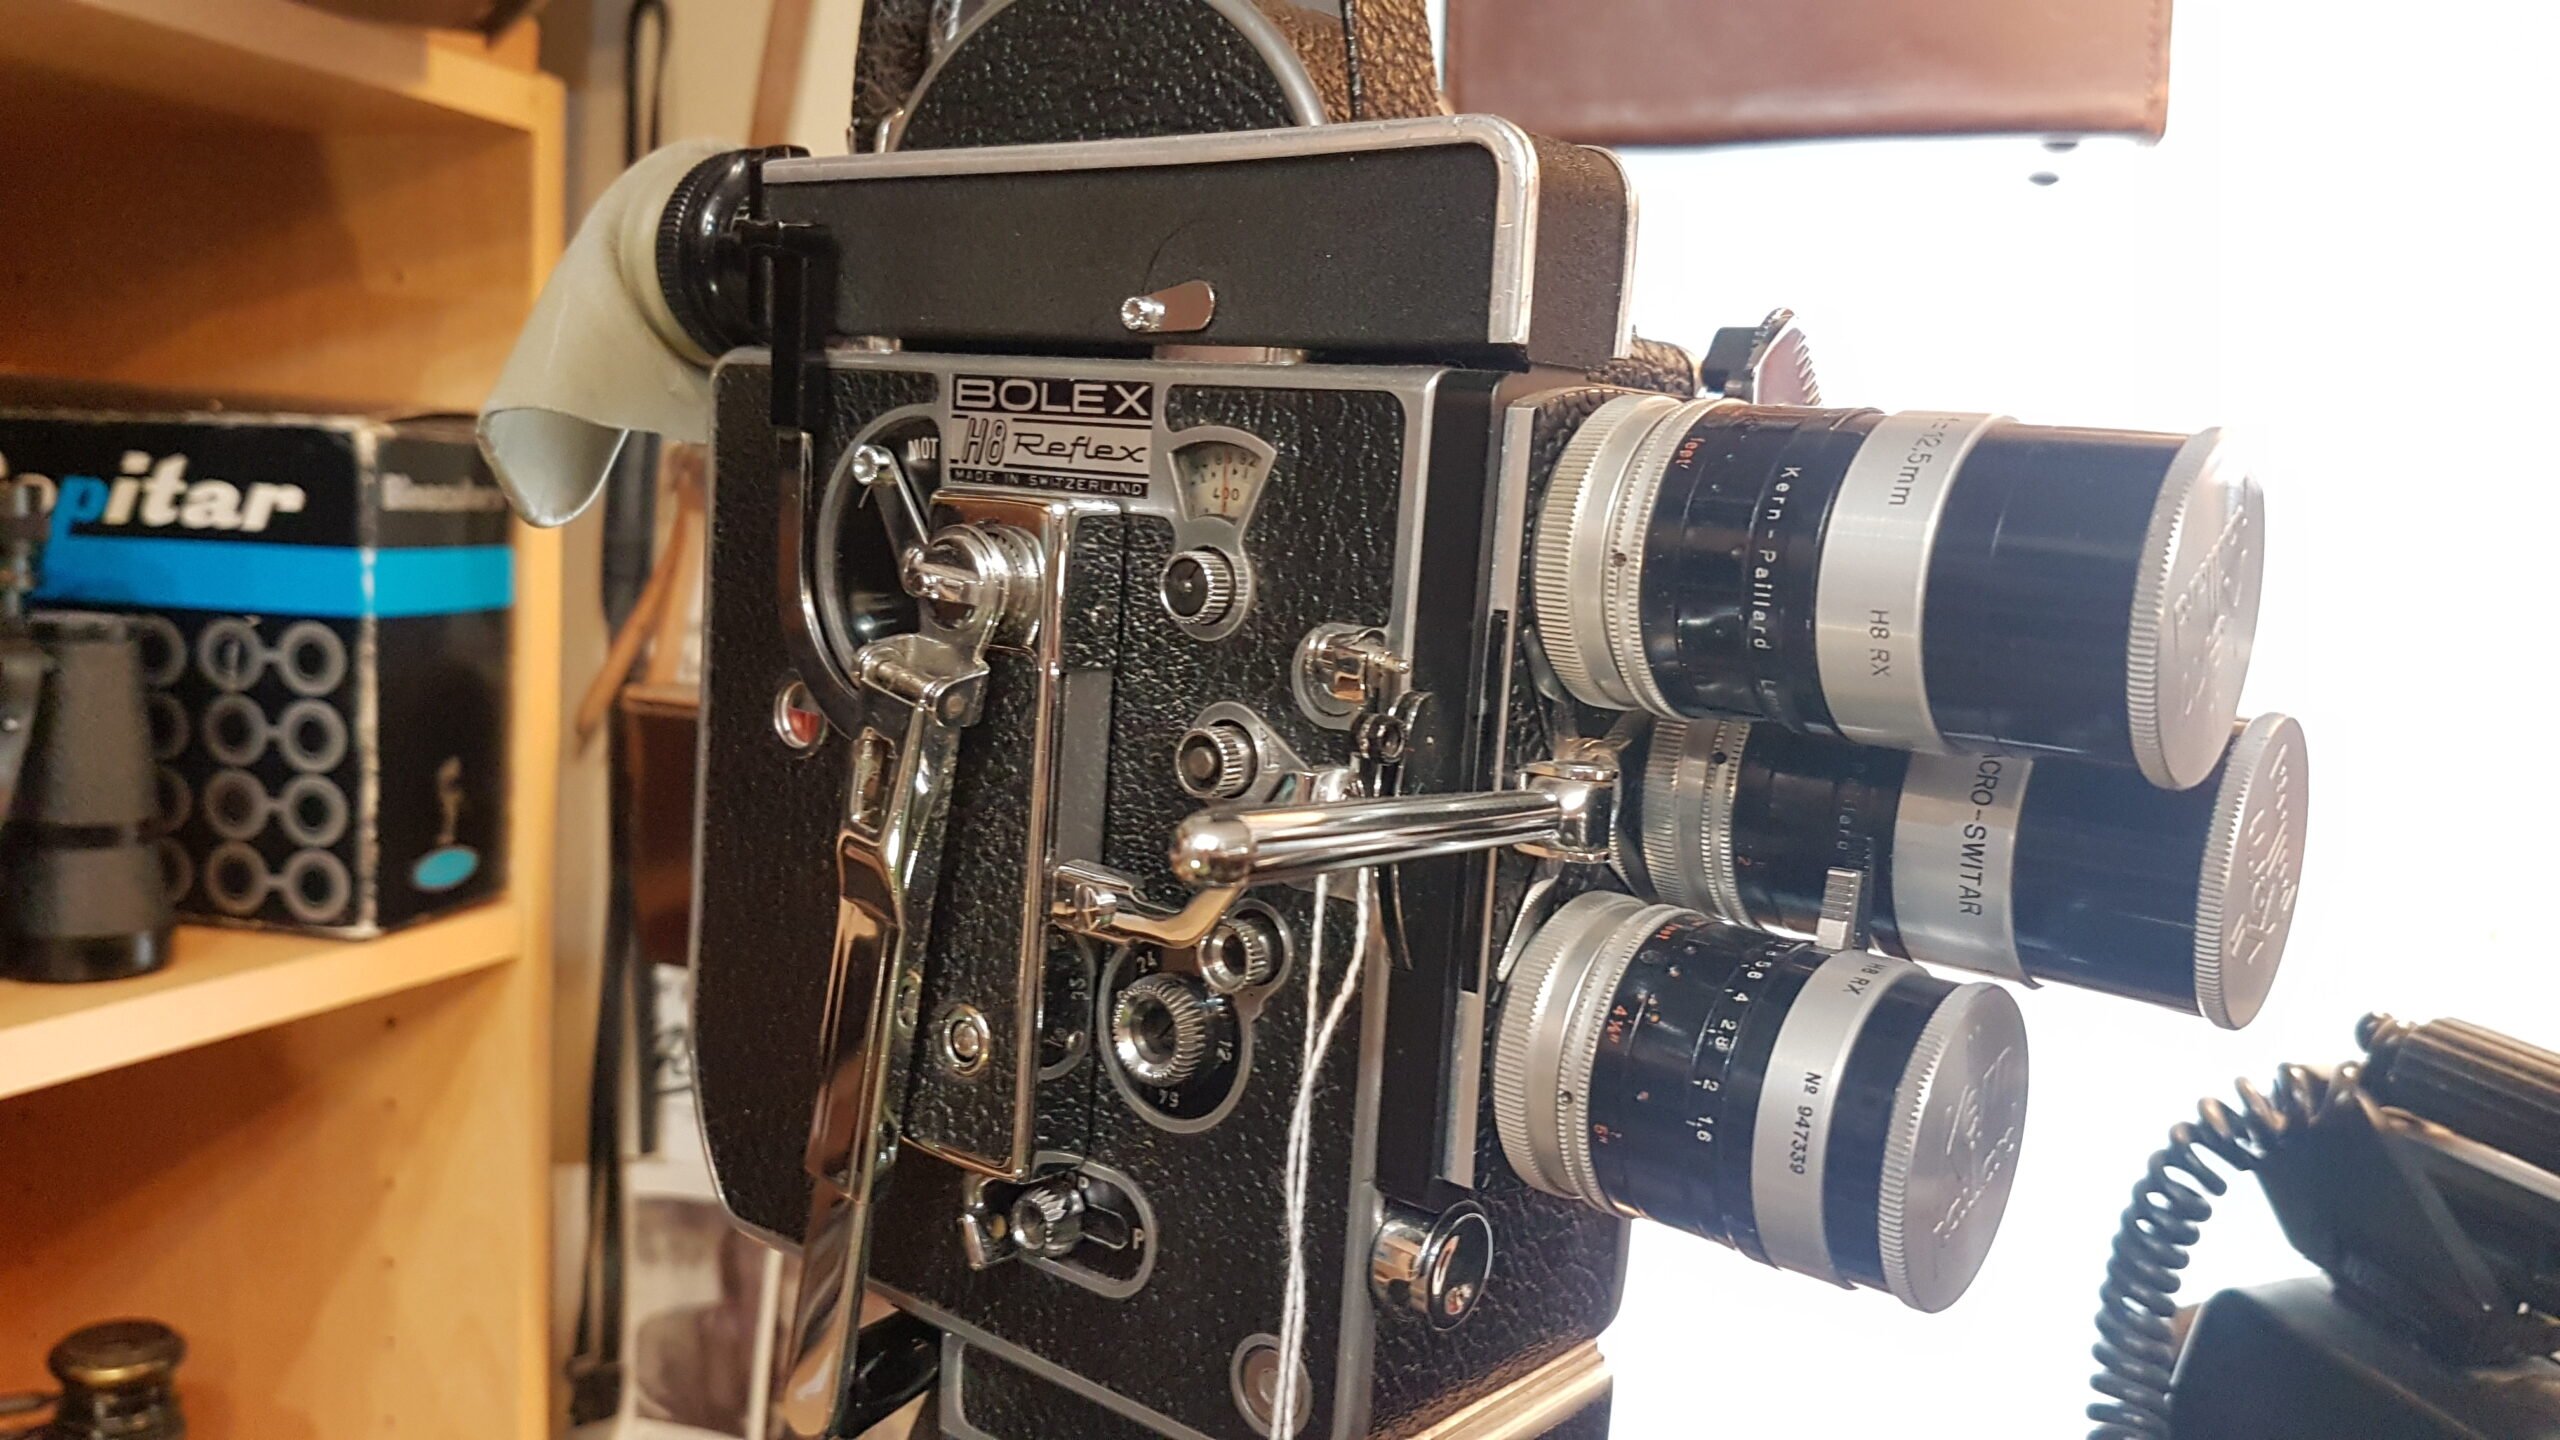
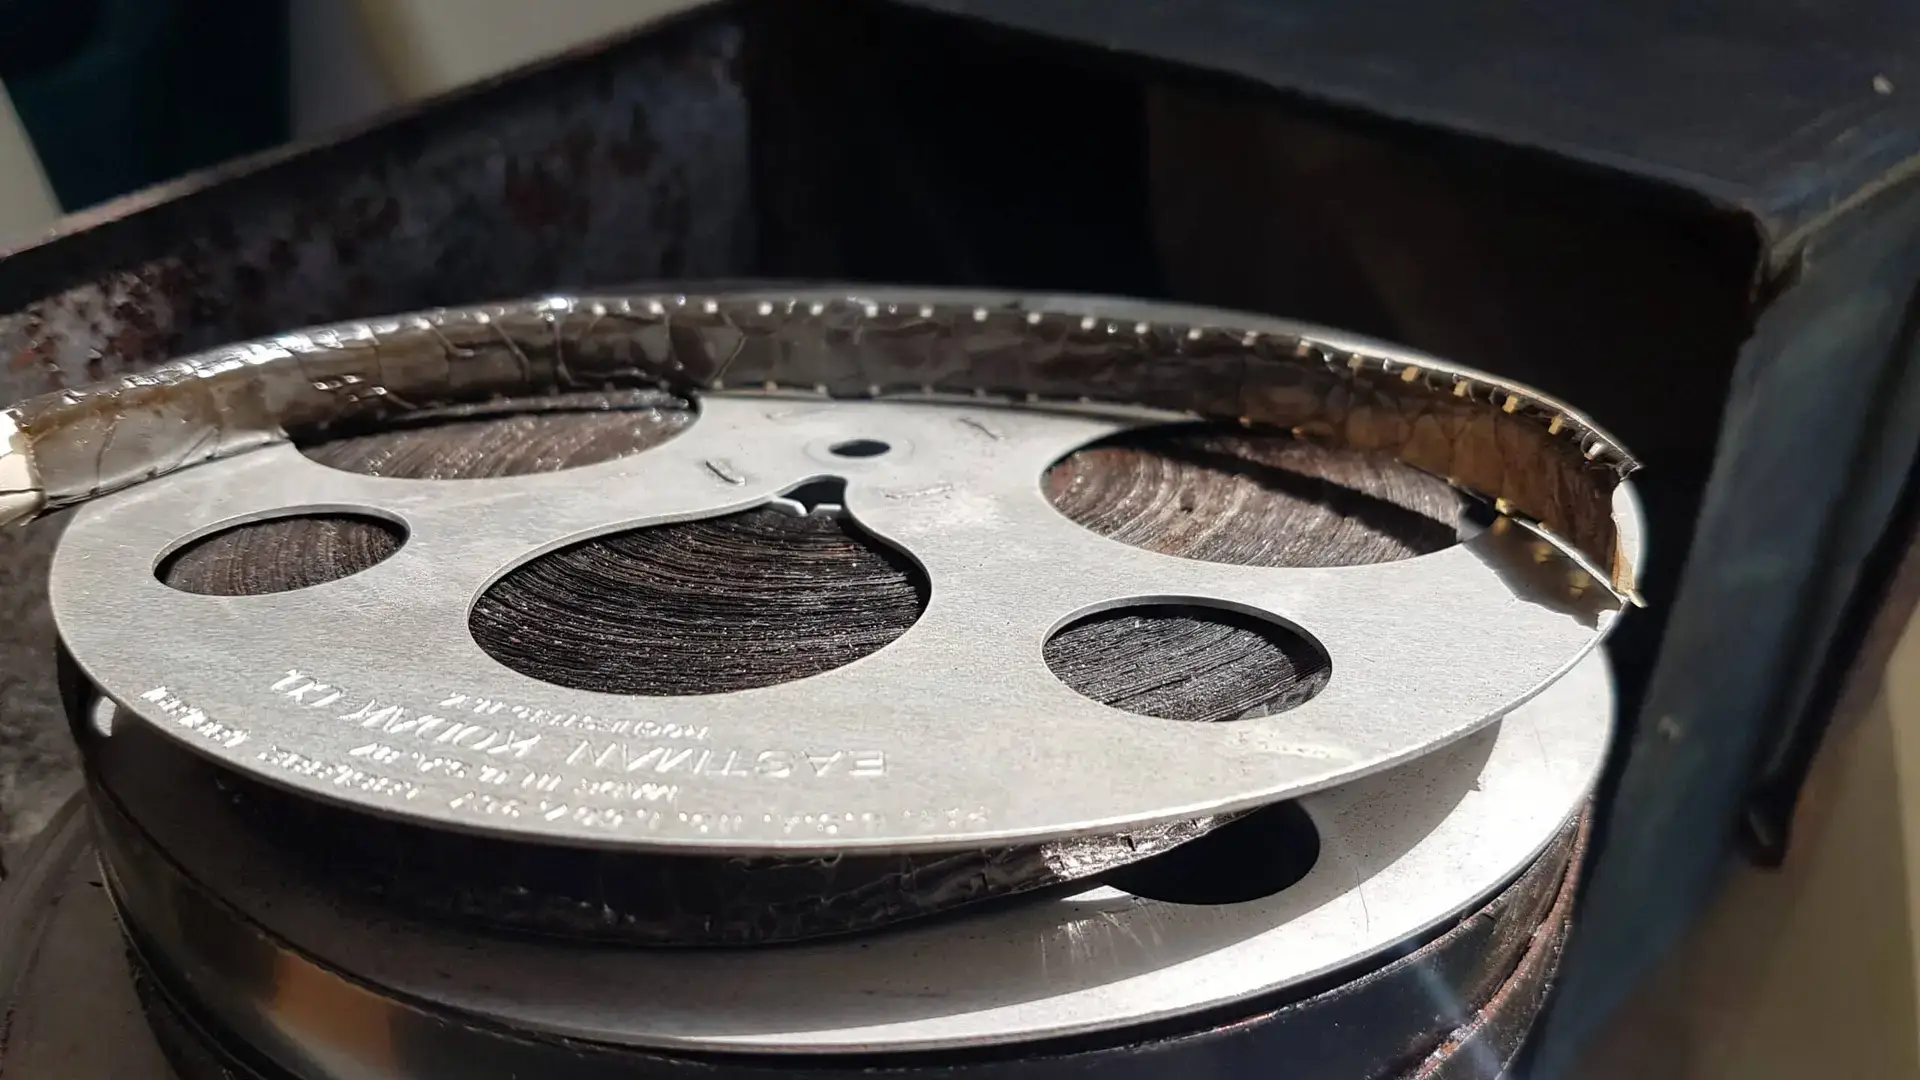
2. Convert Slides to Digital with a Slide Projector:
Another practical solution for digitising slides involves the deployment of a slide projector. While a brand-new model is an option, you can also find older models on platforms like eBay. Our guide will help you create an optimal setup for projecting clear slide images, facilitating their capture with a digital camera, preferably mounted on a tripod.
3. Digitise Slides with a DSLR Duplicator Mount:
Photography enthusiasts who have a DSLR camera can use slide duplicator mounts to photograph their old slides. This solution accommodates a slot for inserting slides and, when appropriately focused, yields high-definition copies. Additionally, some DSLRs offer video output, enabling real-time viewing and capture through a computer, streamlining the digitisation process.
4. Convert 35mm Slides to Digital with a Dedicated Slide Scanner:
If you seek a straightforward approach, dedicated hardware designed for slide scanning may be the answer. Various slide scanner devices are available, with some capable of scanning both slides and photographic negatives. We advocate for investing in reputable hardware from trusted photographic brands.
5. How to Convert Slides to Digital With an iPhone or Android App:
Surprisingly, your smartphone can serve as a powerful tool for slide digitisation. However, the default camera app may not suffice. We illuminate the path to using specialized apps optimised for photographing slides, negatives, or transparencies, combined with appropriate lighting sources to ensure quality captures.

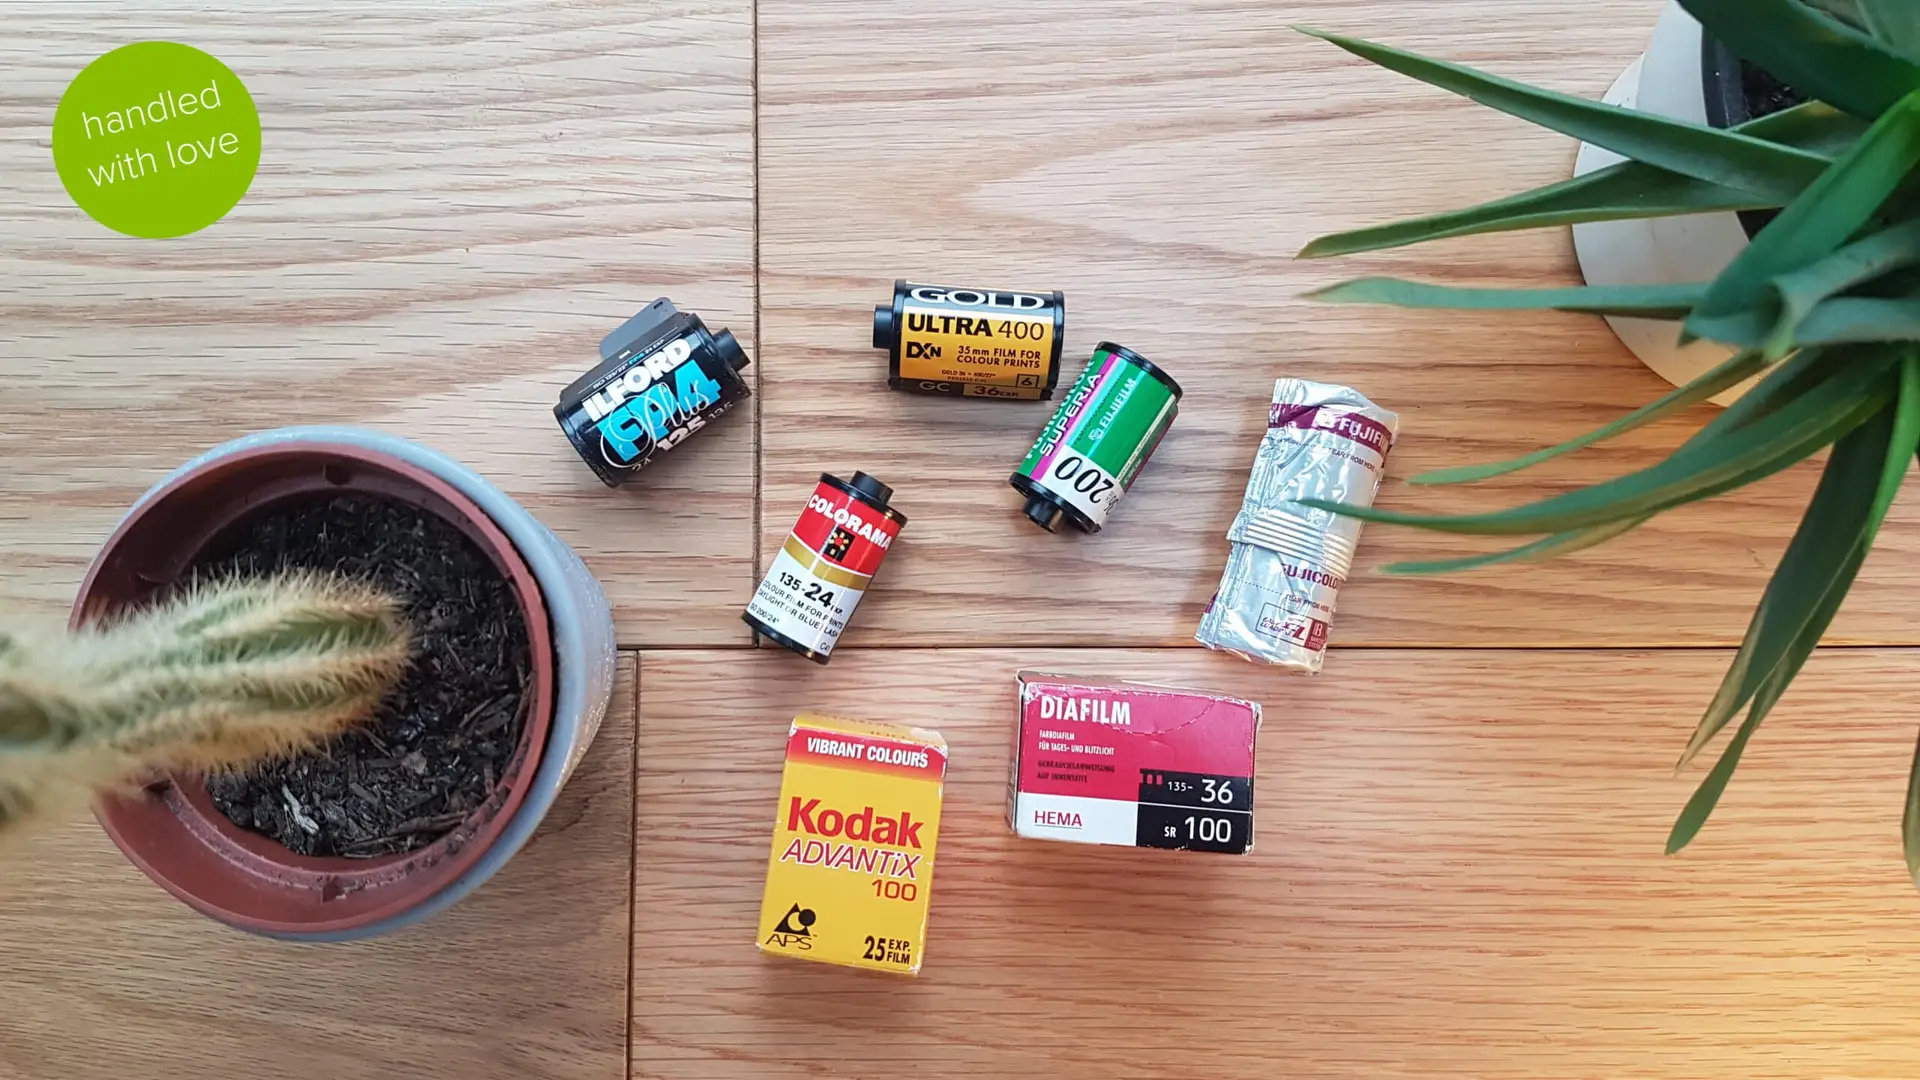
Digitising Photographic Negatives
1. Scan Your Negatives:
Negatives, typically returned alongside prints when photos are developed, can be digitised in several ways. We begin by outlining the process of scanning negatives using a standard scanner, emphasizing the importance of diffusers for even illumination. Subsequently, we elucidate the steps to convert scanned negatives into correctly coloured digital images using image editing software.
2. Use a Slide and Negative Scanner:
A multitude of slide scanners also support the capture of negative images. We describe how these devices save scanned negatives to memory cards or directly to your PC through a USB connection. This approach offers flexibility, enabling users to convert or edit negatives as desired.
3. Convert Negatives to Photos with a Mobile App:
Mobile apps equipped for real-time colour conversion are also suitable for transforming negatives into digital colour images. This eliminates the need for extensive desktop image editing. Nevertheless, we acknowledge that advanced editing features and watermark removal may require in-app purchases.

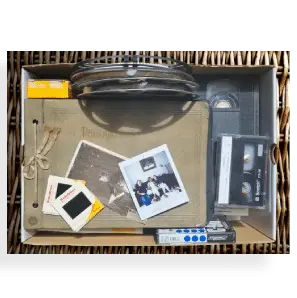
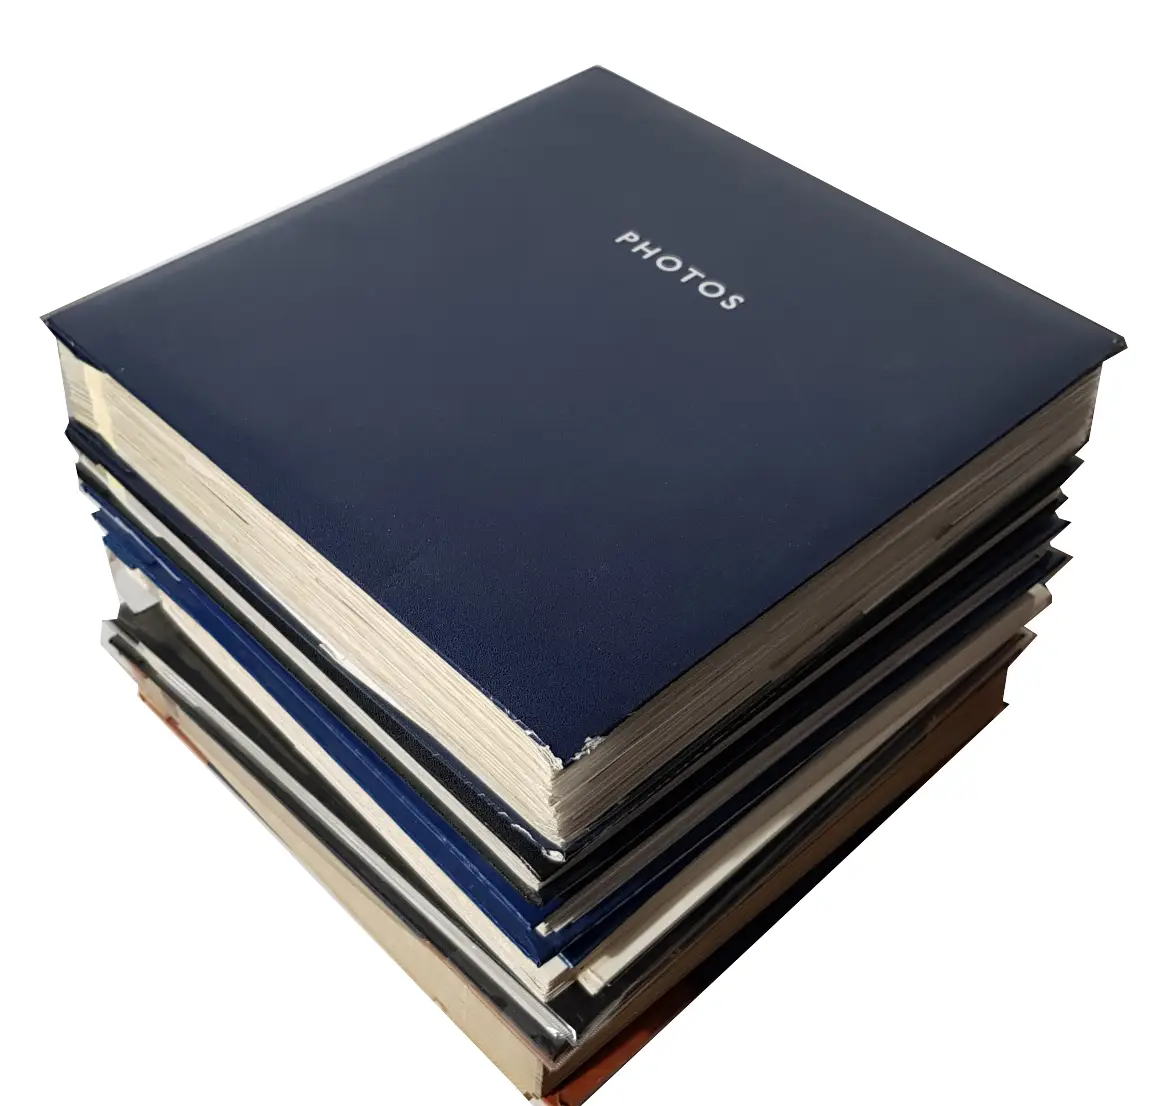
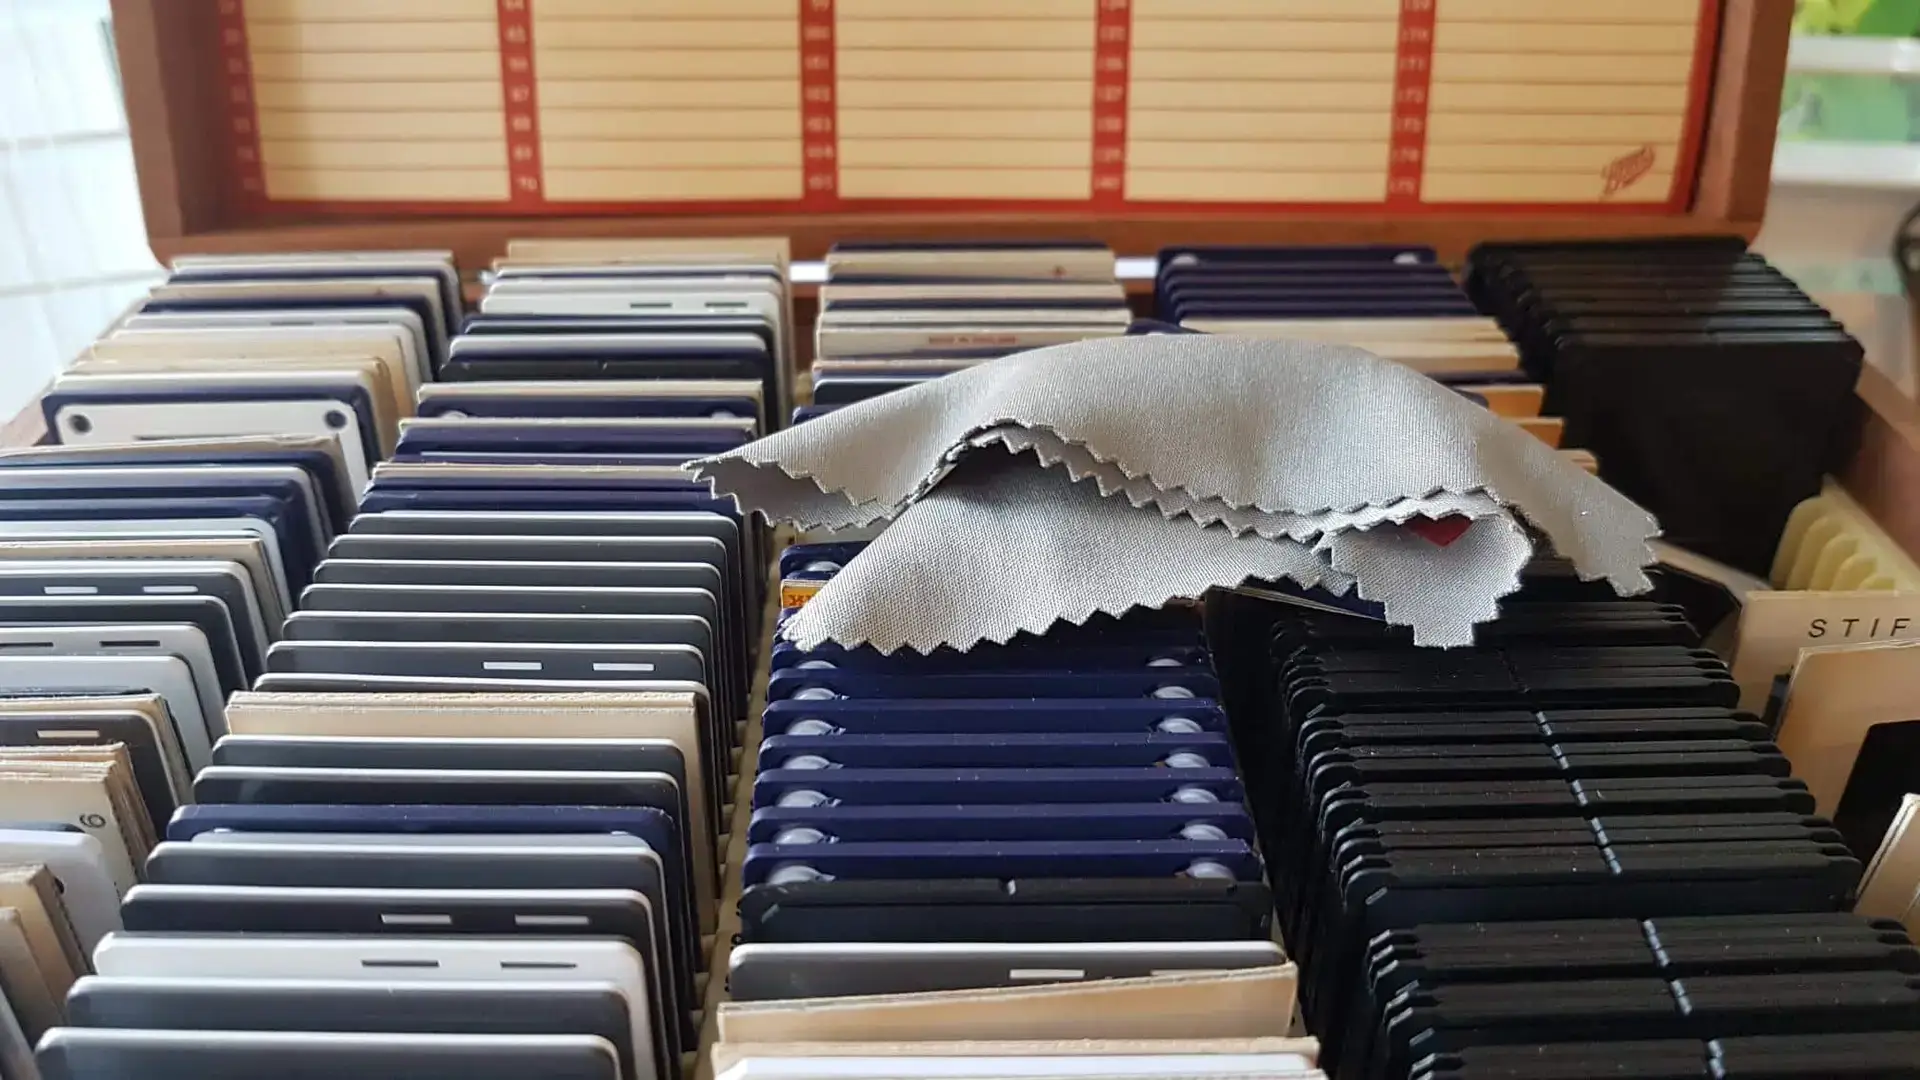
Preservation of Vintage Photographs
For your cherished vintage photographs, we supply guidance on the best practices for scanning and storing them on your computer. Additionally, we present image editing tools and techniques to enhance digital copies, addressing issues such as blemishes, red-eye correction, crease removal, torn photo restoration, and image sharpening.
Scan Slides to Share Your Digital Chronicles
Once the digitisation process is successfully completed, the next step is sharing these precious memories with friends and family. We explore various options, including sharing on social networks like Facebook, storing in cloud drives, or archiving on USB storage devices.
Conclusion: A Journey Through Time and Technology
In conclusion, this comprehensive guide equips you with the knowledge and skills needed to transform your vintage slides, negatives, and photographs into enduring digital treasures. Whether you opt for traditional scanning methods or embrace contemporary smartphone apps, you now own the tools to safeguard your memories for future generations.
Embark on this journey through time and technology, preserving the past while embracing the future. Your analogue memories are valuable, and with the power of digitisation, they can be shared, cherished, and passed down for generations to come. Start your digitisation adventure today and unlock the stories held within your vintage slides, negatives, and photographs.