Film splicing is the technique of physically joining pieces of movie film together (not to be confused with the creative process of film editing). You can splice both negative and positive print film. A machine called “splicer” (appropriately enough) helps create the bond on the films to splice film together.
There are three types of splicers available. Each one is created to cater to specific film stocks and splicing applications. Depending on the film stock you’ll be using, you may choose the splicing technique that’s best suited for your project. There are different types of film that you should familiarise yourself with initially.
Tape Splicers
This splicing method uses clear tape to bind the films and it the most commonly used splicing technique by professionals and enthusiasts alike. This method is quite versatile as it works on all types of film including polyester, acetate and Mylar. Perforated or non-perforated tape is fine to be used in this process. If you use non-perforated tape, the tape splicer will punch out the perf holes as it makes the splice.
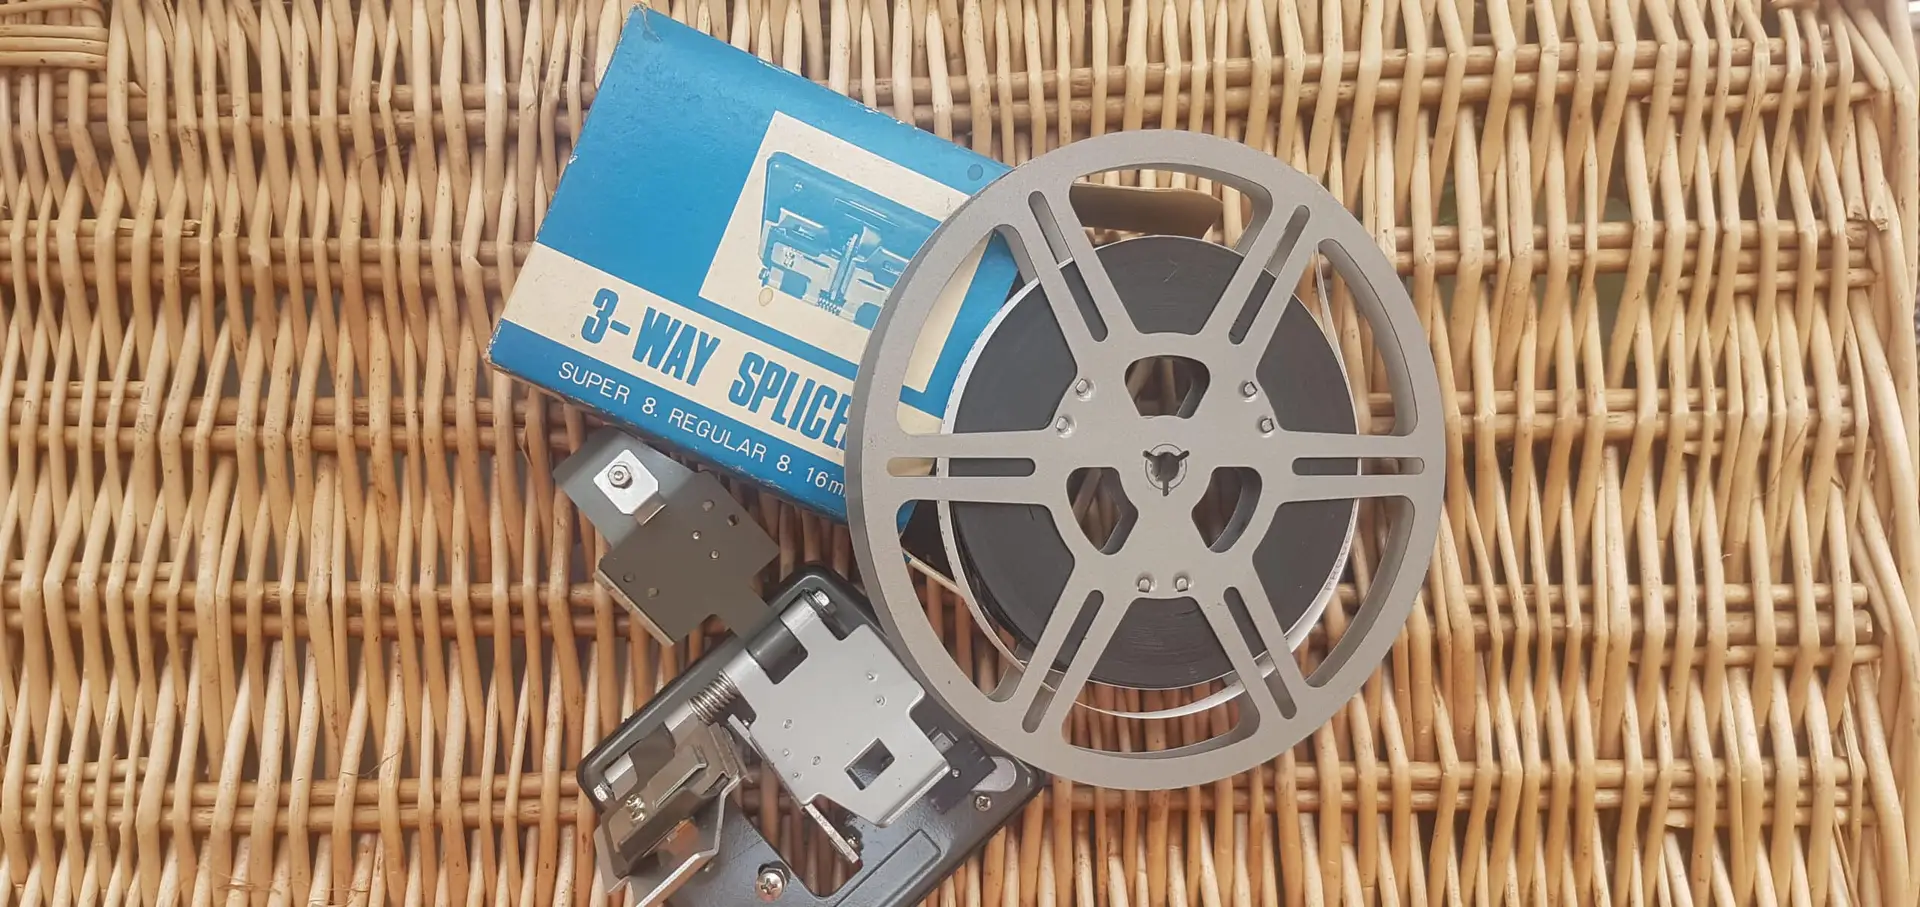
Using Cement Splicers to Splice Film
In this splicing technique, a glue is used to join the pieces of film together – such as 8mm , 16mm or super 8 film. If not sure about the differences, we can help you understand. The film is chemically melted (welded), forming an invisible permanent bond. Cement splicers are typically used with negative films, as this has a greater effect for creating striking release prints.
Ultrasonic Splicers
This splicing technique is best used with Mylar and polyester base film stocks. Ultrasonic splicing is a film splicing technique. It combines pressure, time and ultrasonic energy to fuse two over-lapping film bases together. It then forms a continuous web of film.
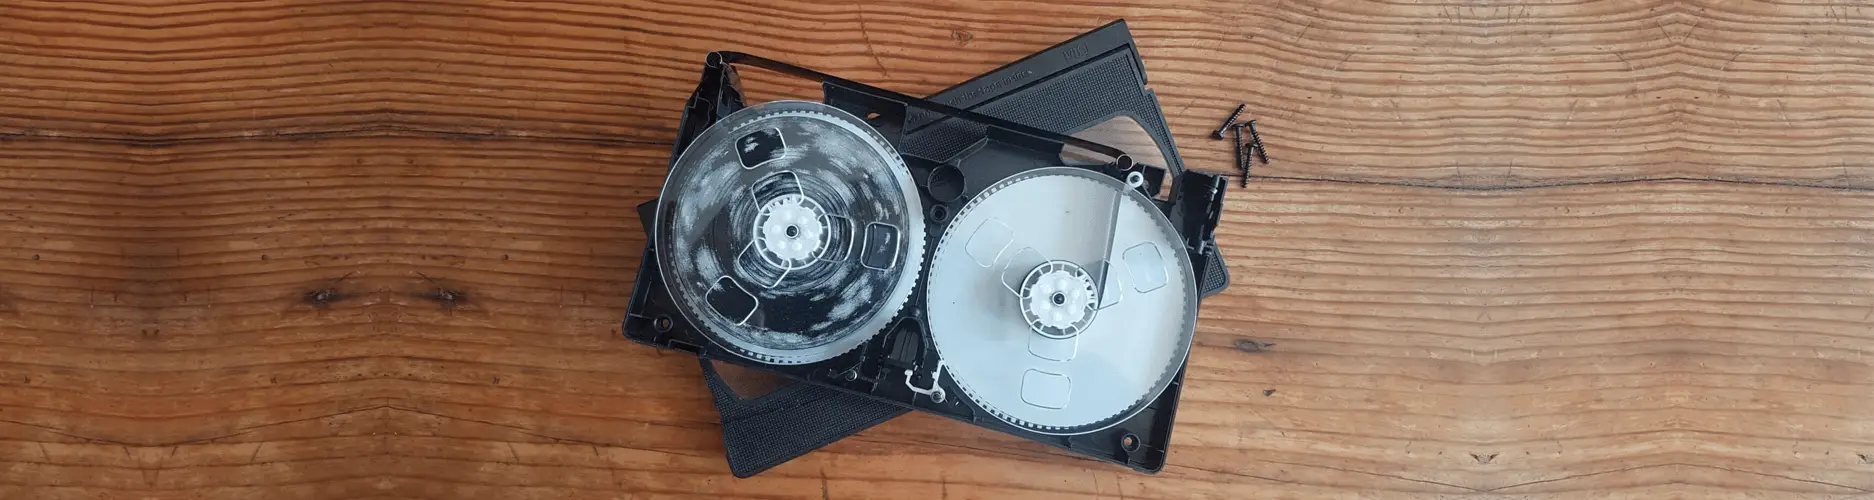
Connecting two sections of a film together is called splicing. The purpose for splicing is for fixing breakages in film, joining two separate reels, or for editing. *
(*In case you plan to edit your film by splicing, we suggest digitising your cine films prior to doing this and then editing your videos digitally afterwards. You can also check out editing videos.)
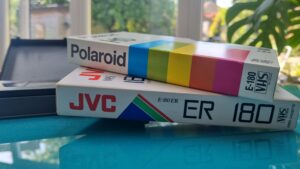
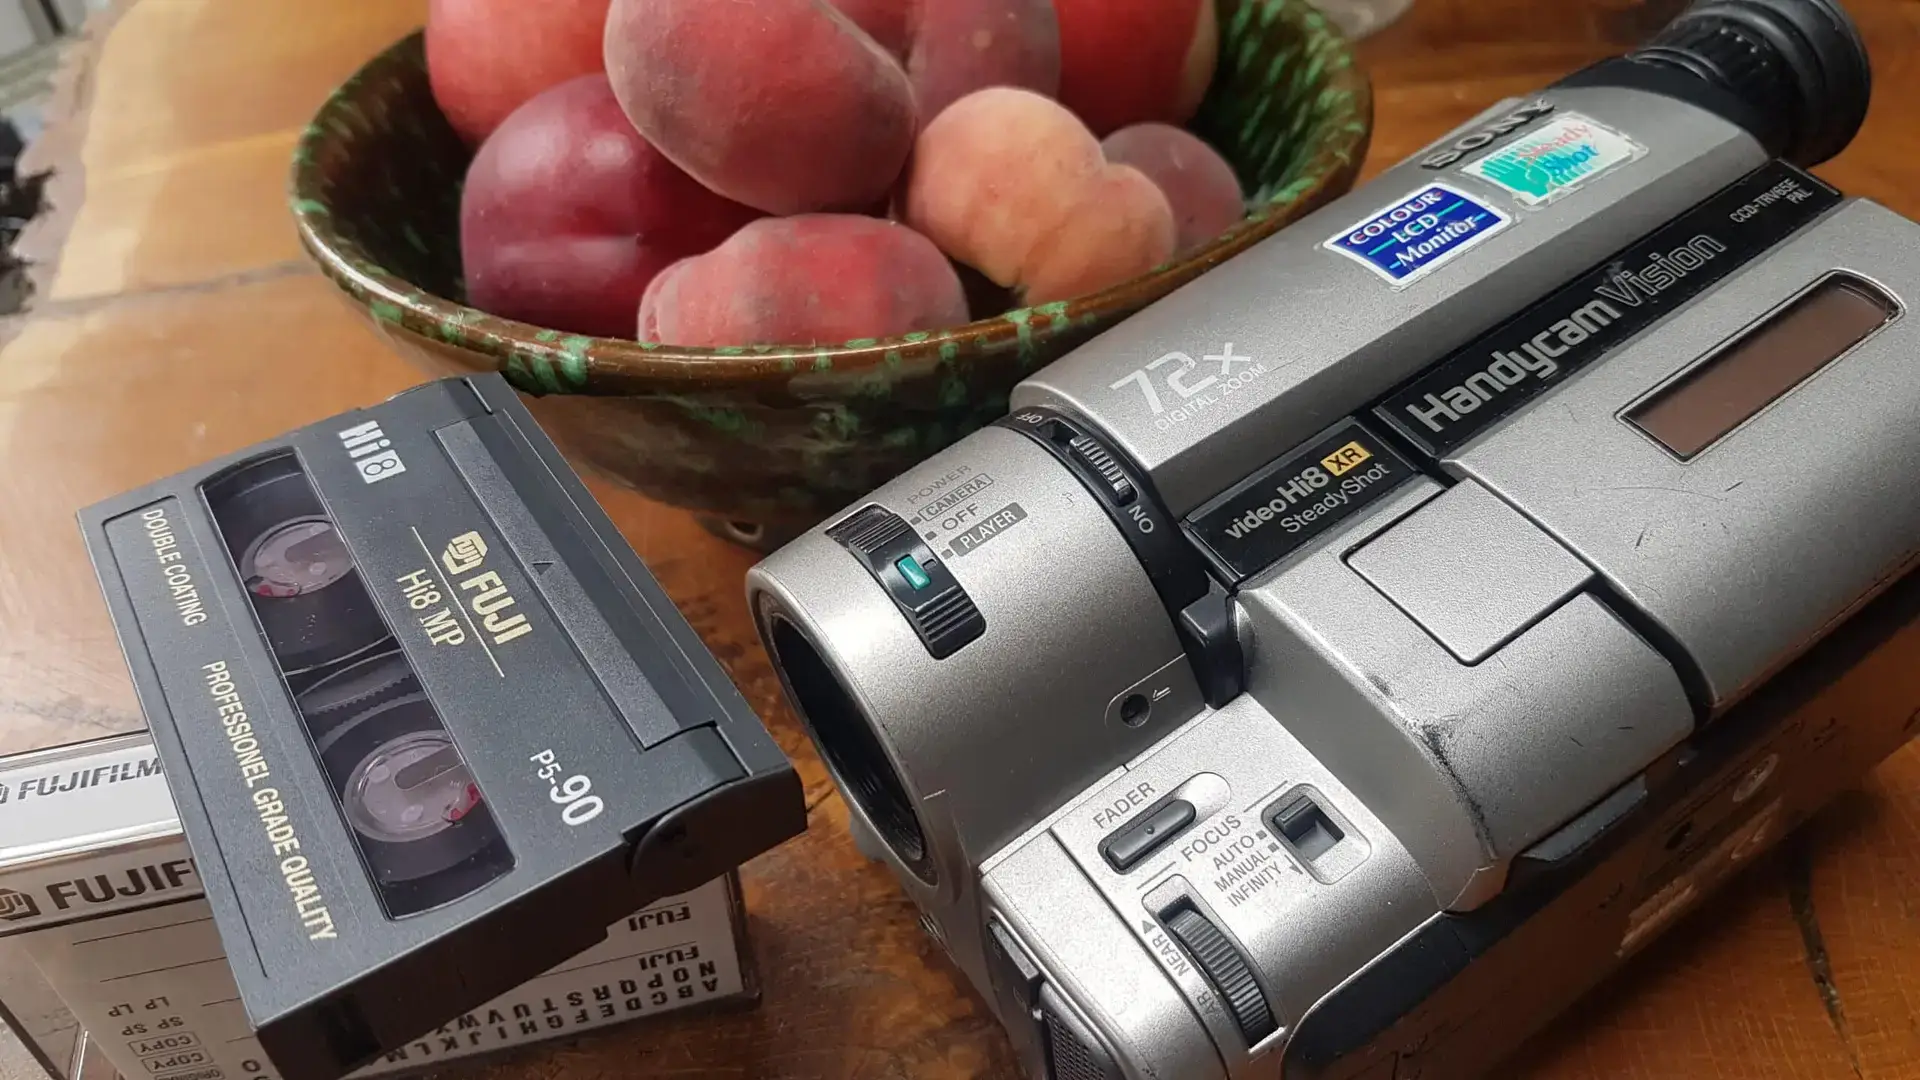
You will learn how to splice two separate reels together in this guide. This is important for anyone wanting to own and handle VHS and VCR equipment and create a lengthier video or filling half-empty spools with a film splice.
What You Need
Sharp scissors
Clear sellotape
Cotton gloves
Desk lamp (optional)
It is not a complicated process, however, you need to be extra careful and meticulous when handling the film splice. It’s not uncommon to see cine reels sustain slight damages and be brittle due to time consuming its pristineness.
Do wear protective gloves to avoid damaging the film as making contact with it with your bare hands can cause a chemical reaction when the subcutaneous liquid from your skin. (Also the polypropylene material on the VHS tapes). We and other experts use cotton gloves but as long as the gloves you’ll wear are clean and lint free, they are perfect for splicing films also.
How to Splice Film Together
- The first thing that you will need to do is choose which cine reels you want to splice together. Then decide in what order you want to watch them.
You need to make sure that the two reels you’ve selected are the same type of film. Otherwise you will ruin it. In order to confirm that they are of the same type – just check by lining up the sprockets (holes) and see if they match.
- The next step is to trim off the edges of the cine films that you want to splice together. Use a ruler if you have to in order to align the scissors right along the edge of the last frame of your first cine reel, then slowly cut the edges and make it as straight and clean as possible. Now make a similar cut with the starting frame of your second reel.
- Place both reels’ edges on top of each other and overlap them, make sure that the final holes line up perfectly and ensure that this pattern continues to the end.
- The final step involves using a special strong and thin tape and use it to stick the edges of your cine reels together. For best results, make absolutely sure to have about 5-10mm of tape on either side of the joining reels. This is to see that the reel’s edges are covered by tape as well. If you don’t follow this instruction properly, then there’s a big chance that the film will break while scanning.
Did you encounter any problem?
Don’t Worry!
Professionals from Supaphoto do this regularly. They’ll often receive requests to convert super 8 camera to digital for example. When you order their service, please add a detailed explanation in the additional notes. For example ‘film needing repairing’ and our technicians are experts in 8mm film repairs and the process of converting 8mm & super 8 reels to digital (among other areas) will work on your request with their best efforts. Remember too their professionals will have pieces that you may not have such as an 8mm to super 8 reel adapter. Remember too that even older films such as 9.5mm film will need completely different treatment and you really be best off working with a dedicated company to this older format.