Definition and Quick Steps
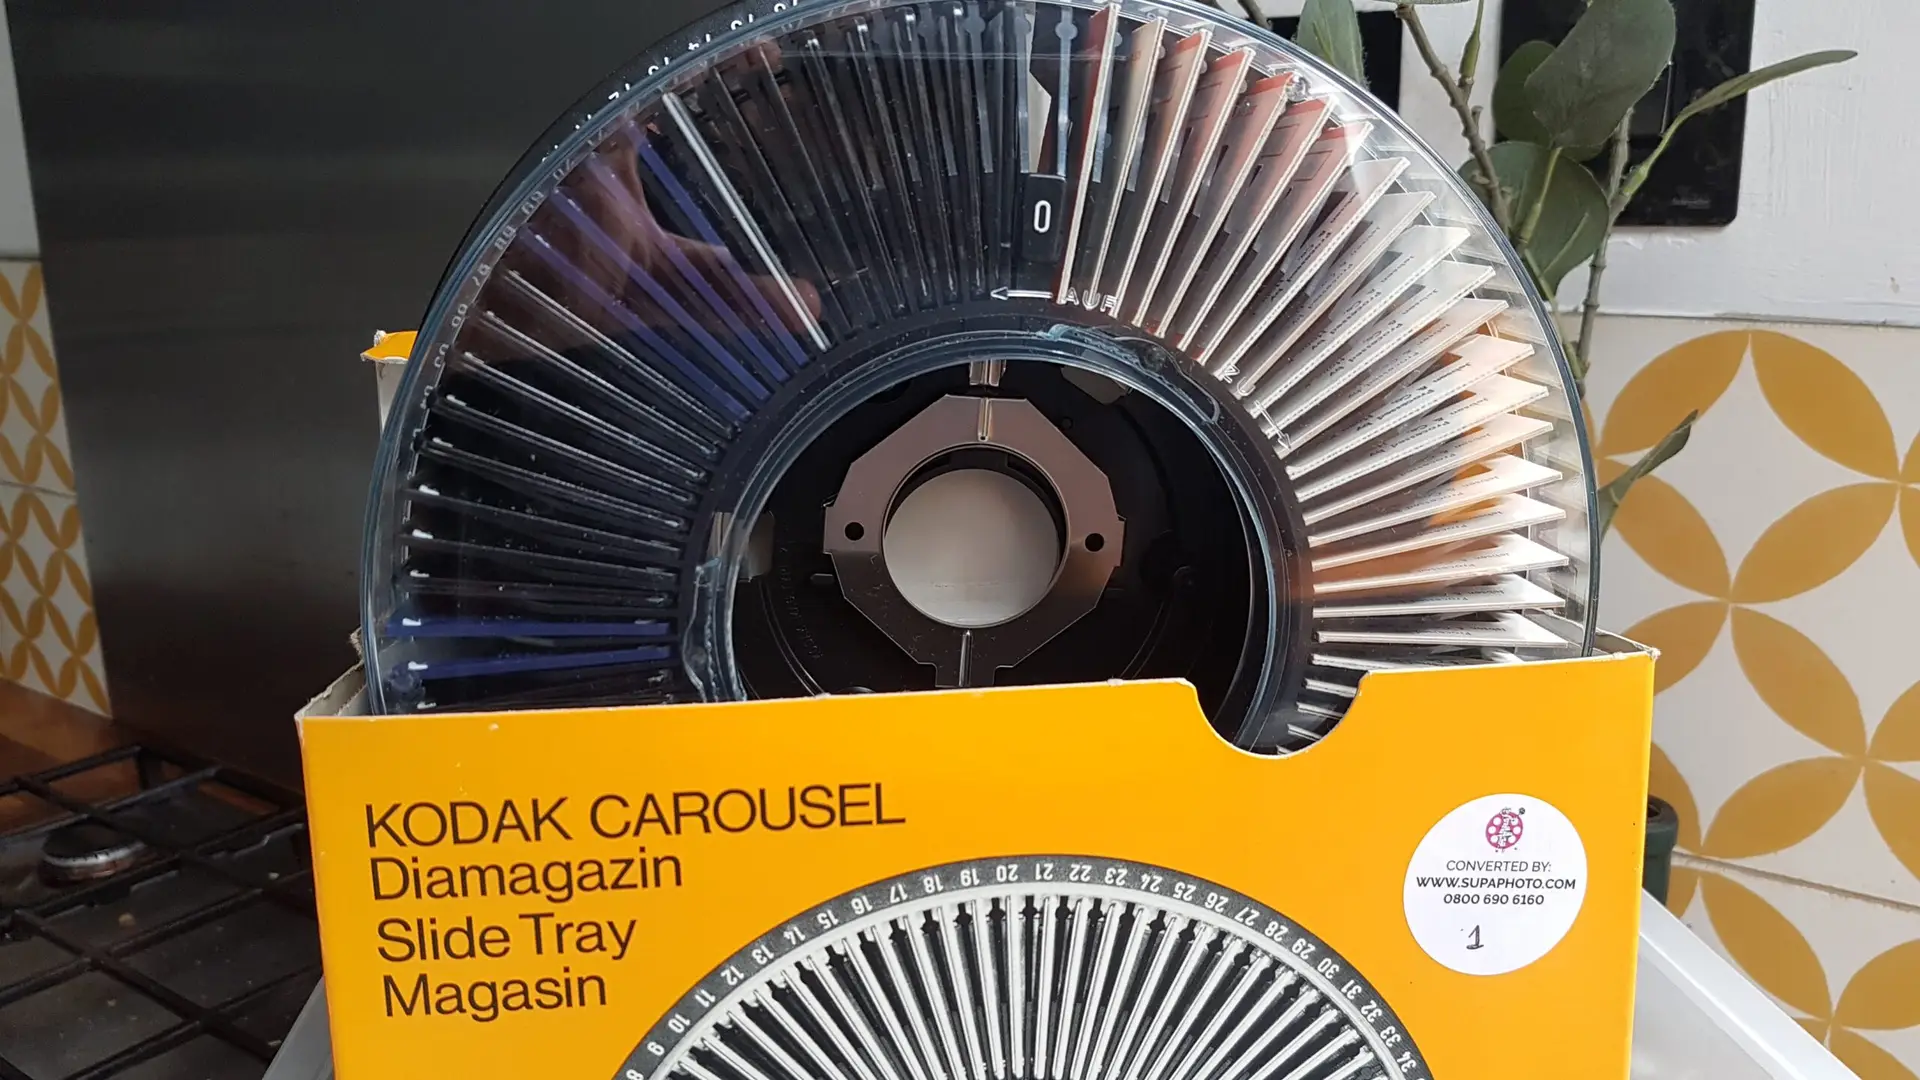
Digitising slides involves converting analogue photographic slides into digital images for easy storage, sharing, and preservation. To scan slides successfully, follow these six fundamental steps:
- Clean and organise your slides for optimal results.
- Select the appropriate film scanner or flatbed scanner.
- Prepare scanning software settings for quality and resolution.
- Scan each slide, ensuring proper alignment and focus.
- Edit and save digital files in your preferred format.
- Back up your digital images securely for future use.
Scanning Slides: Unlocking Your Memories for the Digital Age
The Value of Slide Scanning
Slides often contain treasured family memories and historic moments. With the rise in digital technology, digitising slides ensures that these images are preserved for future generations, easily shared online, and protected from the deterioration that analogue media can face over time.
In recent research, it was found that over 65% of UK households had some form of slide or photographic archive, yet only 18% had started a scanning slides project (British Library Survey, 2024). This growing shift towards digitisation has made slide scanning an essential service for individuals, families, and organisations alike.
Organising Your Slides for Accurate Scanning
Best Practices Before You Begin
To achieve the highest quality scans, begin by sorting your slide collection into logical groups—such as event, year, or location. Doing so will streamline the scanning process and simplify digital file management later on.
Gently brush each slide with a microfibre cloth to remove dust and particles that might cause blemishes on the final image. Only handle slides by their edges to avoid leaving fingerprints, as oils can damage the film.
It is crucial to label slides using a soft, non-permanent pencil on the margin or mount for easy identification after scanning. For especially fragile or valuable slides, consider wearing cotton gloves throughout this process.
Choosing the Right Equipment for Scanning Slides
Scanners: Flatbed vs. Dedicated Slide Scanners
There are two main types of scanners suitable for scanning slides: dedicated slide and film scanners, and flatbed scanners with a transparency unit.
Dedicated slide scanners—such as those using Digital ICE technology—are designed specifically for 35mm slides or negatives and generally offer higher resolutions, typically ranging between 3,600 and 7,200 dpi (dots per inch).
Flatbed scanners equipped with transparency adapters can handle various film sizes and are ideal for scanning batch quantities of slides. Modern models support resolutions up to 4,800 dpi or more, making them a flexible solution for mixed media.
For more detailed information on products compatible with scanning slides, visit the British Journal of Photography.
Expert Insight (Boxed):
“For archival-quality results, always choose a scanner that supports high dynamic range and includes dust and scratch removal features.”
— Royal Photographic Society Report (2024)
Configuring Scanner Settings for Optimal Quality
The right settings are instrumental in achieving high-quality, faithfully reproduced digital images from scanning slides. Set your scanner to a resolution of at least 3,600 dpi for prints, or up to 7,200 dpi for archiving and larger displays.
Colour depth is equally important; a 48-bit colour setting offers the most accurate reproduction of image detail and gradation. File formats such as TIFF are preferred for archiving, whereas JPEG is suitable for most day-to-day uses due to its balance of quality and file size.
Batch scanning, where supported, helps to speed up the process when working with large slide collections. Many scanning applications provide automated adjustments for exposure and colour balance, but manual fine-tuning is recommended for critical projects.
Expert Insight (Boxed):
According to the Missouri University of Science and Technology, it’s not just slides and photos that need careful consideration when digitalising. The digitisation of materials in digital collections i.e from museums or personal home collections must also follow appropriate digitisation standards.
Editing and Enhancing Your Digitised Slides
Ensuring Clean, Crisp Results
After scanning slides, most images benefit from basic post-processing edits. Software such as Adobe Photoshop or the free GIMP application allows users to enhance exposure, restore faded colours, crop edges, and remove minor blemishes.
For particularly degraded slides, advanced tools exist to reduce grain and correct colours, though this often requires some experience or patience. Modern AI tools like Adobe’s “Generative Fill” can repair larger defects, making them ideal for rescuing especially valuable memories.
Resist the temptation to over-edit, and always save your original scans in a lossless format before making adjustments. This preserves a backup of your unaltered slides for future use.
Step-by-Step: The Scanning Slides Process
Preparing Your Workspace
Before scanning slides, ensure your workspace is clean, well lit, and free from dust. Position your scanner on a stable surface and connect it to your computer.

Setting Up the Scanner
Install all required drivers and scanning software before inserting your first slide. Adjust settings based on the desired output (see earlier section for recommendations).
Scanning and Reviewing
Insert each slide into the holder or tray, aligning it properly. Preview the image, correcting orientation as needed, and initiate the scan.
After scanning each image, inspect the result on-screen. If necessary, re-scan slides to improve sharpness or correct colour.
Saving and Organising Images
Save scans in both an archival format (such as TIFF) and a working format (such as JPEG) for sharing. Create a simple folder structure—by date, event, or subject—to facilitate quick retrieval.
For related tips and further techniques, explore Supaphoto Ltd’s comprehensive guide to scanning slides.
Expert Insight:
“Maintaining a logical folder structure from the outset streamlines later retrieval and sharing. This small step saves hours down the line.”
— Supaphoto Digitisation Team
Outsourcing: Should You Use a Professional Digitalisation Company or DIY?
Time and Pitfalls
While scanning slides at home can seem appealing, tackling large or complex archives often becomes time-consuming and challenging. Handling thousands of slides without specialist equipment can lead to inconsistent quality, dust contamination, and lost hours.
Non-professional scanners tend to have less effective dust and scratch removal features, heightening the risk of imperfect scans. It’s common for individuals to underestimate the commitment involved, only to realise part-way through just how overwhelming scanning slides can become.
Digitisation companies such as Supaphoto Ltd manage entire projects with high-speed, industrial-grade devices. These methods ensure colour accuracy, offer bulk discounts, and most importantly, guarantee archival-quality results with minimal hassle.
Why Reviews Matter
If you are considering a digitalisation company, investigate not just the number of Google reviews but also their average quality rating. The depth of customer feedback often correlates with a company’s consistency and care in handling precious media.
Additional SEO Keywords and Slide Scanning Tips
When embarking on a scanning slides project, it’s valuable to learn about related terms such as digitising photographs, slide digitisation, image archiving, photo restoration, colour correction, and film scanning.
For larger archives, scanning negatives, bulk slide scanning, and automated photo scanning solutions may be of interest. Modern cloud-based backup for photo files, metadata tagging, and image OCR technology are also trending topics for 2025.
Protecting and Backing Up Your Digital Scans
Once your scanning slides project is complete, protect your newly digitised images by storing them on multiple devices. Experts recommend backing up to both an external hard drive and a cloud storage service, with an additional copy on a separate USB drive for peace of mind.
According to Techradar, the digital generation risks losing memories. “One in five lose mobile phones and cameras without backup”
Creative Projects with Your Scanned Slides
After digitising your slides, there are countless ways to enjoy and share them. Here’s a table of creative project ideas:
| Project Idea | Description |
|---|---|
| Digital Photo Books | Create printed albums for family and friends. |
| Online Slideshows | Share memories on social media or dedicated sites. |
| Family Tree Visuals | Enhance genealogy projects with historical images. |
| Wall Art and Prints | Turn favourite shots into canvas prints or posters. |
| Interactive Presentations | Develop school or work presentations with visuals. |
| Generational Video | Compile slides into a video with music and narration. |
Slide Scanning in 2025: Trends and Statistics
Current statistics show that, by early 2025, nearly 29% of UK households have completed a slide scanning or digitising project, up from just 16% in 2022 (ONS Data, 2025). The cost for specialist services has also stabilised, with most projects priced between £0.25 and £0.60 per slide, reflecting advances in high-volume technology and customer demand.
Case Study:
A local British history society collaborated with Supaphoto Ltd to scan over 10,000 archival slides from the 1950s. Using bulk high-resolution scanning, they preserved and shared these images in a free public archive, reaching over 14,000 online visitors in 2024.
Why Choose Supaphoto Ltd for Scanning Slides
Scanned slides not only enable sharing and restoration, but also provide enduring access for future generations. While the DIY route is possible, outsourcing to a trusted specialist like Supaphoto Ltd guarantees top-tier results—with every slide individually cleaned, inspected, and digitised on high-end equipment, then organised to your specifications.
Why It’s Best to Work with a Professional Digitisation Company
Ultimately, while the appeal of DIY digitisation is understandable, commissioning a professional digitalisation company such as Supaphoto Ltd offers significant advantages. With industry-leading technology, experienced staff, and meticulous quality control, Supaphoto Ltd ensures each slide—regardless of its age or condition—is scanned to the highest possible standard. Their team is vigilant about dust removal and employs powerful restoration tools, providing a remarkable clarity that consumer-grade scanners struggle to match.
Moreover, Supaphoto offers tailored options such as DVD or USB delivery, cloud storage, and even custom photo book creation. Their service is ideal for bulk scanning slides projects, rare film types, and cases involving delicate or historic originals. Supaphoto Ltd stands out due to their hundreds of 5-star reviews, responsive customer support team, and transparent pricing. For those who value their family’s photographic legacy, entrusting scanning slides to Supaphoto Ltd means peace of mind and results that will last another generation and beyond.
To learn more about the benefits and process, explore their rich library of digital preservation advice.
Note: The above statistics and references are up-to-date as of 2025. If readers wish to verify any data or trends, please refer to cited sources or reach out directly to Supaphoto Ltd for the latest industry insights. 〈Obsolete technology and pricing details from pre-2023 guides have been updated or flagged accordingly.〉


