How to clean 35mm slides before scanning… No one likes that dreaded feeling of finding your slides for photo scanning dirty and unloved. Not only dirty, but they have mould too! Unfortunately, slides growing mould is a very real risk that you need to watch out for! But don’t fret, with this guide to cleaning 35mm slides, you can easily nurse your photos back to health before preserving them with a slide scanning service.
If you have an interest in the history of photo slides then take a gander into the past with our Photo Slides Through The Centuries blog
How to clean 35mm slides?
When it comes to cleaning 35mm slides, there are a couple rules to follow. The main one being that the less contact with the photo is better. We carry destructive oils on our fingers, so continuously touching your already worse-for-wears photo slides isn’t the best idea!
So, it goes without saying that before beginning, you need to be wearing cotton gloves. This is an incredibly important step. With your slides already in bad shape, the last thing you want to do is make them worse. As mentioned before, our hands carry natural oils or dirt, which will leave marks or soften the emulsion on the slide.
However, by working with us through this guide, we will make sure that minimal contact with the slide is paramount, ensuring the prevention of any further damage.
1. Compressed air when cleaning 35mm slides
As we have established, when cleaning 35mm slides it is incredibly important to minimise contact with the photo to prevent any further damage. This is where compressed air will come in handy. Using compressed air, it’ll aid you in removing any dirt or dust from the slide without scratching the image.
Compressed air only! Blowing on your slide is a bad idea. This is because the moisture from your mouth can damage the emulsion on the slide. Doing this may put your slide in an even worse position than when you started!
2. Use a Microfiber cloth to wipe your 35mm slide
Compressed air is good for the lighter stuff when it comes to cleaning 35mm slides, like dust, but sometimes dirt needs a bit more persuasion to get off your slide. So, using a Microfibre cloth, gently rub your slide to remove more significant marks. Though it goes without saying, make sure to take care when touching your slide, even with the cloth, because dirt can scratch photos if rubbed too hard.
3. Got mould? Use Isopropyl alcohol and a cotton pad
Having mould on your tapes is the worst scenario. If your slide has mould on it, then isopropyl alcohol is your best bet at recovering your slide. The alcohol-based cleaner must be 99.9% alcohol and have a neutral pH level . This is because any water on your slide will soften and damage the emulsion when cleaning your 35mm slides, much like the oils from our fingers.
Pour the cleaner onto the cotton pad and ever so lightly wipe the slide. If the slide is damp, leave it out to dry before remounting the photo.
The best way to prevent mould is to invest in a slide storage system which will prevent any damage.
4. Any marks remaining can be edited
As I’m sure you have caught on by the many risks of touching your slide, blowing on it, rubbing too hard, etc, there is a limit to how much you can clean a slide before damaging it. If your slide has scratches, mould, or heavy marks on it, editing is a better option. After digitising photos, download Adobe Photoshop. They have a spot removal tool that will remove any unwanted scratches or marks on your photos.
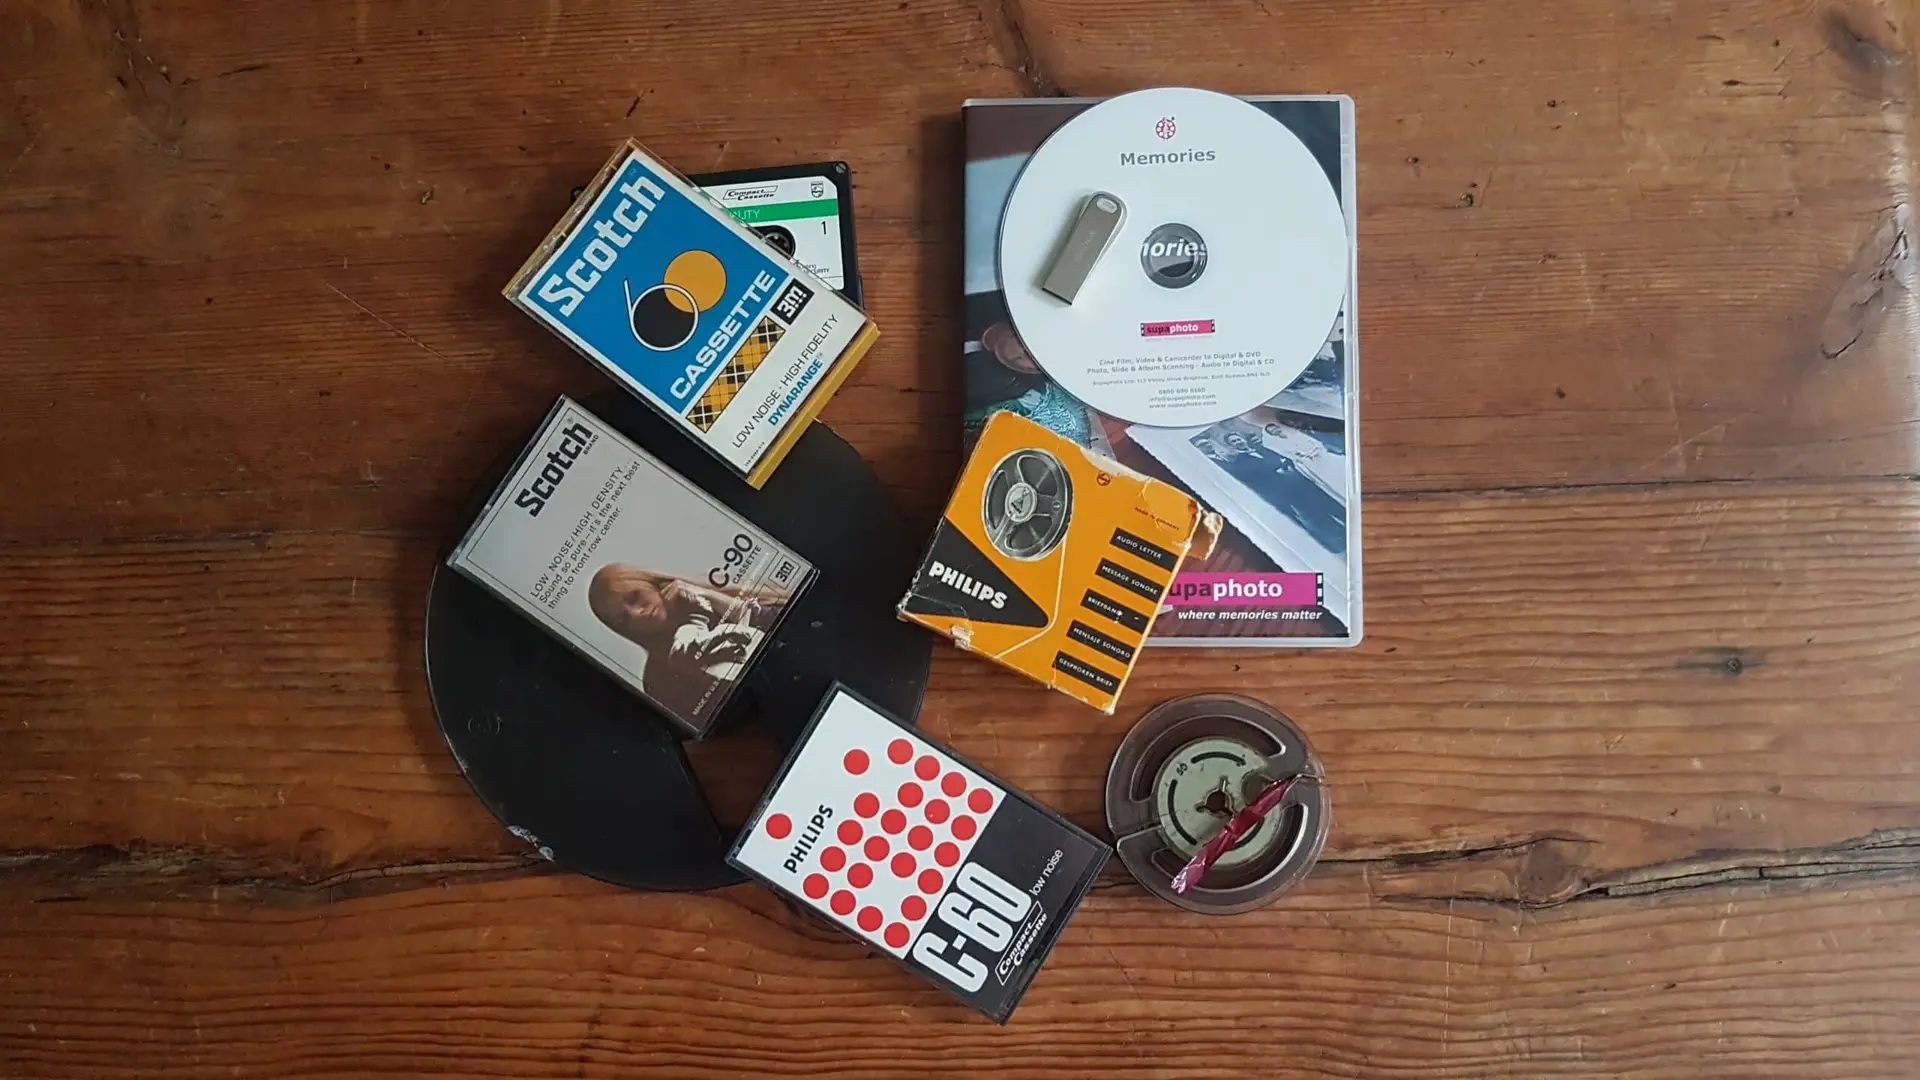
Alternatively, you can use a slide scanning service, like Supaphoto. They will professionally clean, digitise and correct any of those stubborn marks or even colouring issues for you. Which means you don’t have to splash out on paying for Photoshop once you have scanned slides. If you have any queries then don’t hesitate to contact us!