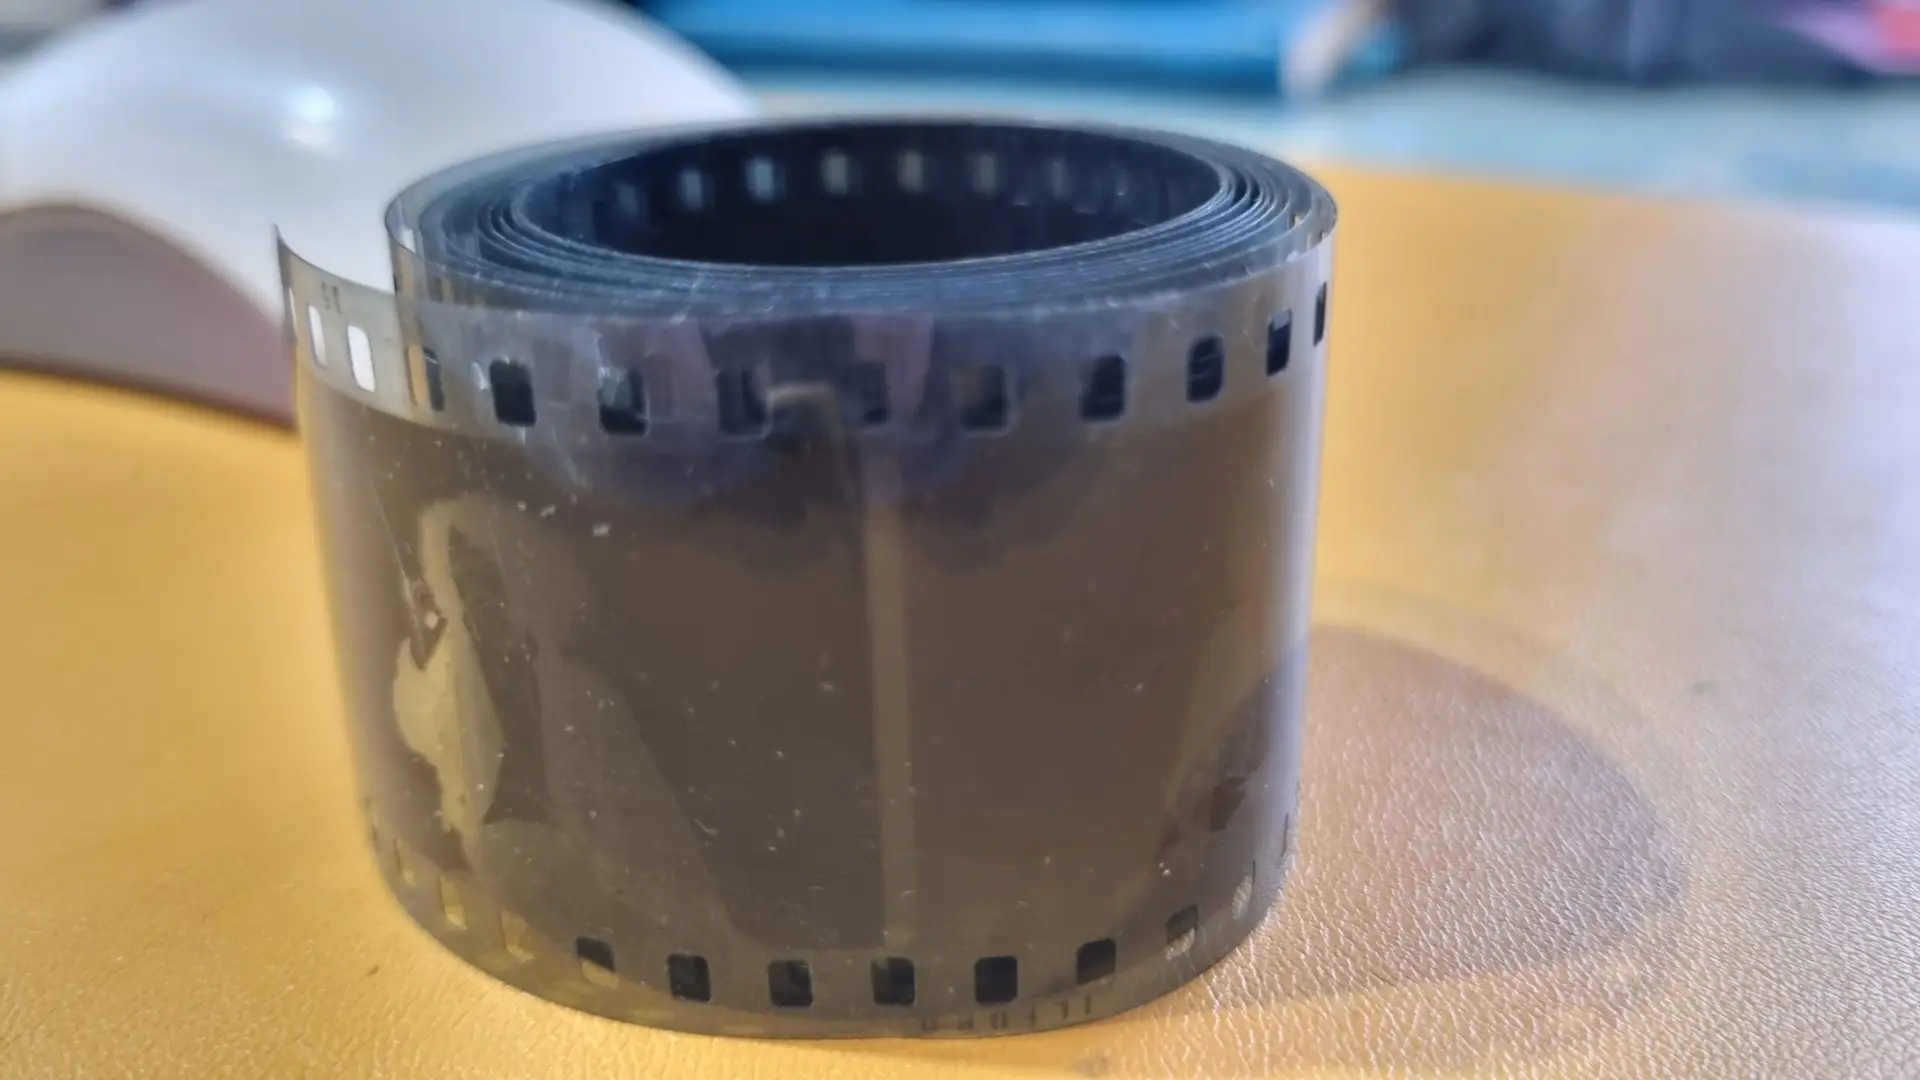
Negative photos are reverse-tone images used in traditional photography to create positive prints. The light and dark areas of the scene appear inverted. This reversal is critical in developing photographs from film.
Chemicals develop the film, creating a reversed image.
Light areas appear dark; dark areas appear light.
A photographic enlarger projects the negative onto photographic paper.
The paper is processed, converting it into a positive image.
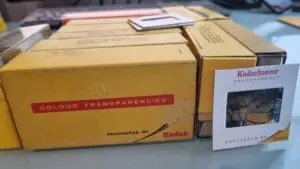
Negative photos are stored for archiving or further reproduction.
What Does “Negative” Mean in Photography?
The term “negative” in photography refers to the inversion of tones in a film image. Bright parts of a scene, such as skies or light clothing, appear dark on the film, while shadows show up as bright. This occurs because photographic film reacts chemically to light exposure, creating an opposite representation of the original subject.
A Brief History of Negative Photos
The use of negative photos dates back to the 1830s, when William Henry Fox Talbot pioneered the calotype process. His method involved producing paper negatives from which multiple positive prints could be made, a major advancement over the one-off daguerreotype. By the late 19th century, glass plate negatives and eventually film negatives became standard.
📊 Expert Insight “The biggest lesson in photography is that from negative we make a positive”, according to FilmShootersCollective.
Why the Image is Reversed
Photographic film is light-sensitive. When exposed to light, it captures light intensity at each point. The more light hits the film, the darker that spot becomes after developing. This reversal is why light areas of your subject look dark on a negative photo, and vice versa.
How Are Positives Created From Negatives?
Positive prints are made by projecting the negative image onto light-sensitive photographic paper. This step reverses the tones back to their original state. In the darkroom process, precise timing and controlled lighting are crucial to maintain accurate exposure.
Why Not Capture a Positive Image Directly?
Creating a direct positive was technically difficult and impractical in early photography. Negatives allowed for multiple high-quality copies, while direct positives—such as Polaroids—offered no room for correction or replication. Moreover, film negatives retain more detail in shadows and highlights, essential for professional results.
📷 Expert Insight “film negatives generally have a wider dynamic range compared to many digital cameras, especially when considering older or more basic digital sensors. Dynamic range refers to the range of light intensities a sensor or film can capture without clipping (losing detail in shadows or highlights). Film negatives, particularly colour negative film, can capture a wider range of light levels, often between 12 to 18 stops, compared to many digital cameras, which might average around 14 stops” Analog Cafe
Pitfalls of DIY Scanning Your Negative Photos
While digitising negative photos at home may seem cost-effective, it often proves inefficient. Issues such as improper resolution, colour correction errors, and dust contamination can result in inferior digital copies. Negative scanning requires specialised equipment and technical knowledge, which average flatbed scanners and phone apps simply can’t replicate.
Common Issues with DIY Scanning:
Misaligned negatives
Dust and scratches not removed
Poor resolution and tonal balance
Colour shifting due to light source inconsistencies
Working with an expert ensures accurate, high-resolution digital files that preserve your photo legacy.
🛠️ Expert Insight “A flatbed scanner won’t capture film grain or tonal range. Professional-grade scanners do.” — Family Tree
Recognising Different Types of Photo Negatives
Identifying different types of negative photos can help you understand their origin, value, and how best to digitise them. There are several formats:
35mm Negatives: These are the most common and are usually stored in strips of four to six frames. They have sprocket holes on both sides and produce standard-sized prints.
Medium Format Negatives: Typically found in sizes like 6×4.5cm, 6x6cm, or 6x7cm, these negatives lack sprocket holes and offer superior image detail. They’re often associated with professional photography.
Large Format Negatives: These include sheet films like 4×5″ or 8×10″ negatives used for studio or landscape work. They are very detailed and fragile.
Black and White vs Colour: Black and white negatives have greyscale tones, while colour negatives have an orange base and colour casts that require correction during digitisation.
Slide Film (Reversal Film): Often confused with negatives, slides are positives that don’t require tone inversion.
Recognising these types ensures appropriate handling and scanning, preserving the original quality of your cherished photographs.
What You Can Do With Digitised Negative Photos
Once your negative photos have been scanned and converted to high-quality digital files, a world of creative and practical uses opens up.
Project Idea
Description
Photo Book
Turn digitised photos into elegant albums
Wall Art
Print enlargements or canvas art from negatives
Family History Archive
Create detailed family trees with visuals
Memorial Videos
Include digitised images in tribute presentations
Digital Collages
Mix old and new visuals for artistic effects
Case Study: Family History Saved From Decay
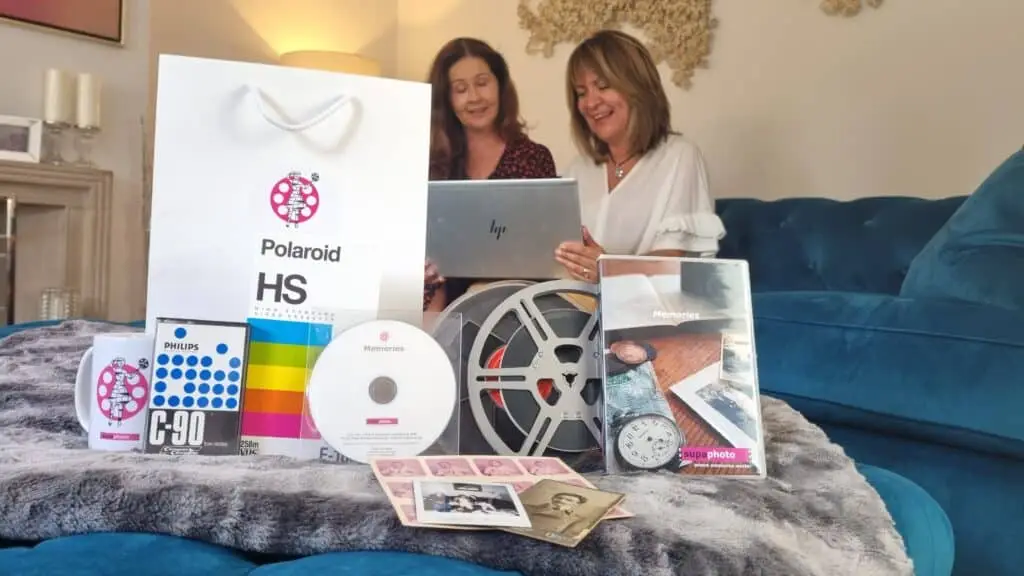
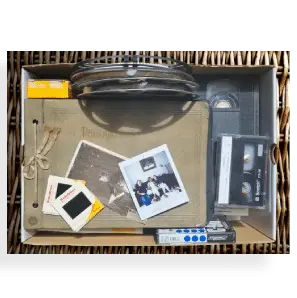
When the Saunders family discovered a shoebox of negative photos from the 1940s, they turned to Supaphoto Ltd to digitise them. Many frames were fading and fragile. The digitised results allowed them to create a family archive and printed book gifted to their grandmother’s 90th birthday. Without expert help, these memories may have been lost.
Whether you’ve inherited a family collection or discovered rolls of forgotten film, it’s time to act. Supaphoto Ltd makes it easy to preserve and share your memories from negative photos.📨
Final Word: Why Work With a Professional?
Ultimately, working with a professional digitisation company like Supaphoto Ltd ensures that your negative photos are preserved with care, precision, and quality that DIY efforts can’t match. Their professional scanners are calibrated for colour accuracy, removing dust, correcting tone, and saving files in multiple archival formats.
While cheap alternatives may save you pennies, they risk losing irreplaceable memories. Supaphoto’s team guides you through the process, offering convenience, expert care, and secure handling of your cherished negatives. With thousands of satisfied customers, they remain the UK’s go-to provider for photographic preservation.

 443
443