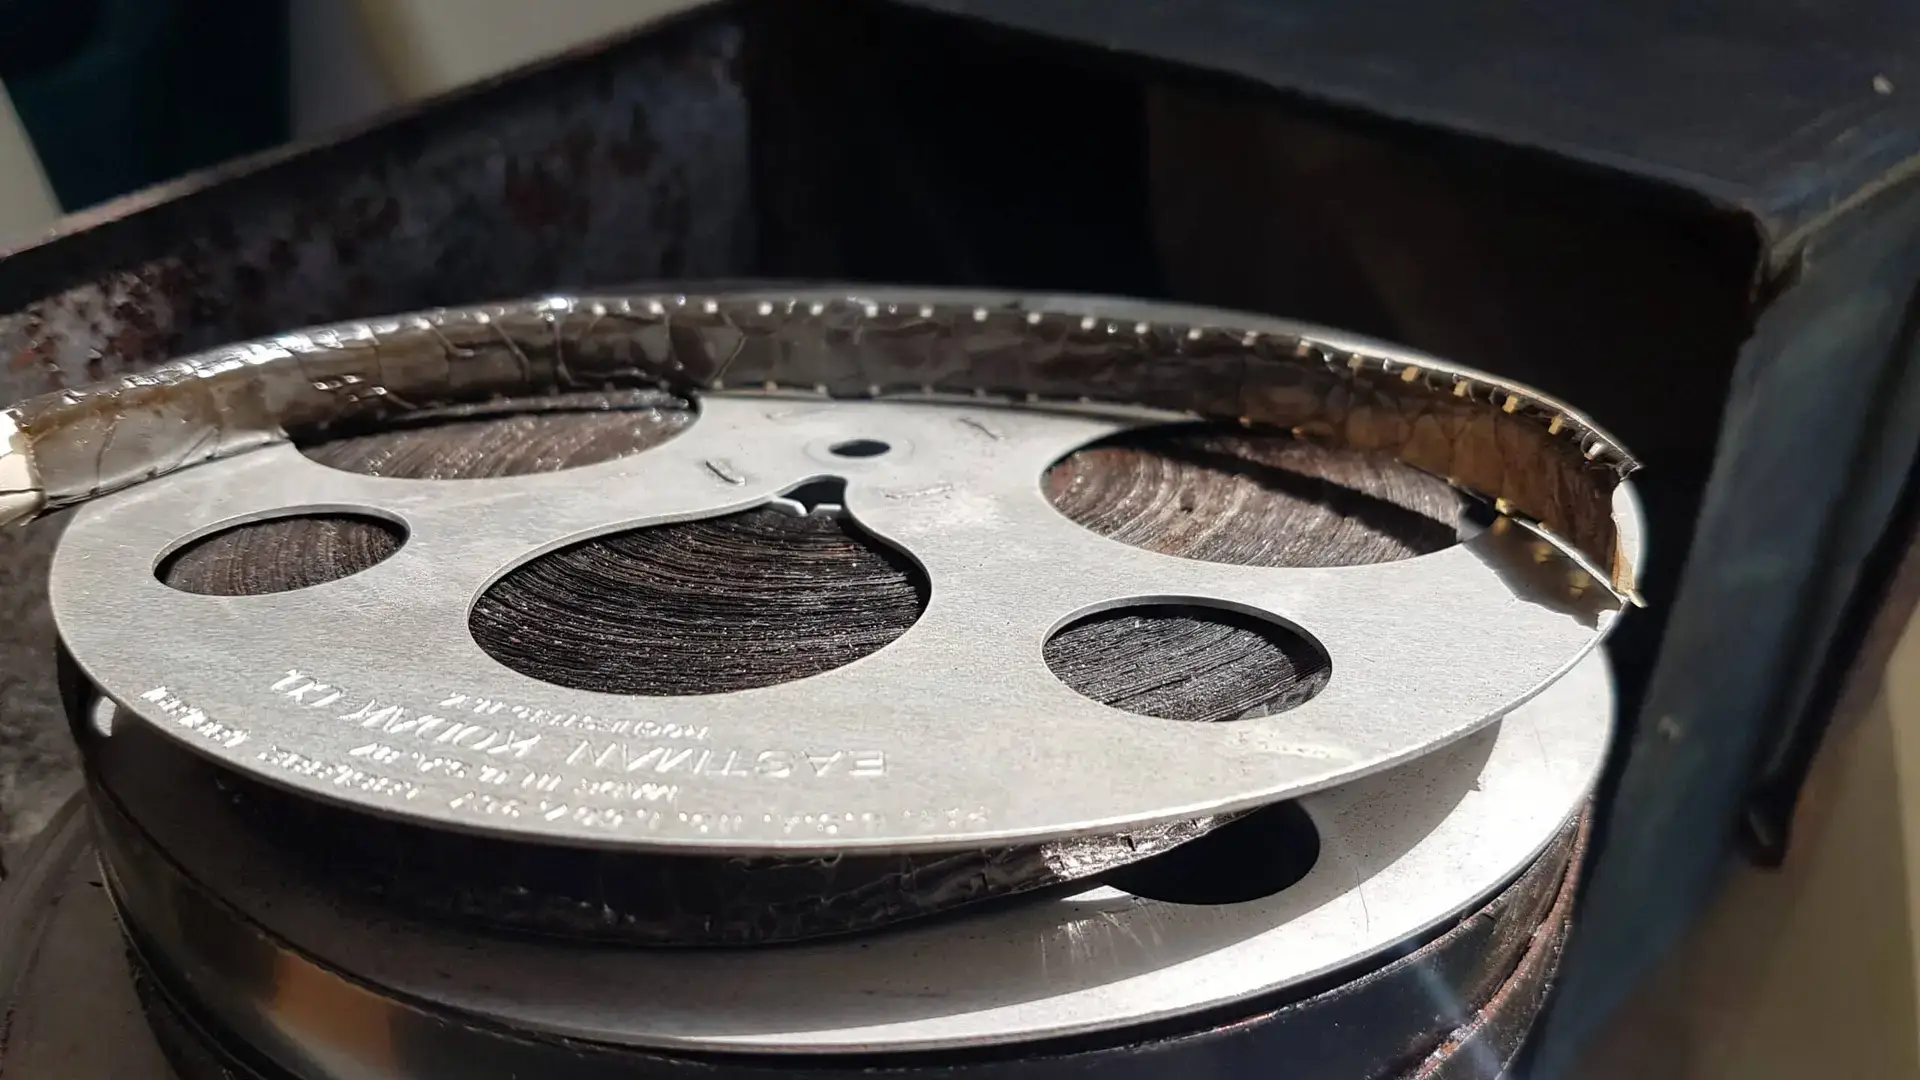
Getting prints from negatives: Understanding Film Formats and Why Choosing the Right Digitisation Service Matters.
Methods to Convert Negatives into Prints
1. Traditional Darkroom Printing
The classic approach involves creating prints in a darkroom using an enlarger.
Steps:
- Preparation: Set up a darkroom equipped with an enlarger, trays for chemicals, and a safelight.
- Enlarging: Place the negative in the enlarger to project the image onto photographic paper.
- Exposure: Adjust the focus and exposure time to achieve the desired image.
- Developing: Process the exposed paper through developer, stop bath, and fixer solutions.
- Washing and Drying: Rinse the print thoroughly and allow it to dry.
This method offers hands-on control over the final image, allowing for creative adjustments during the printing process.
2. Digital Scanning and Printing
Modern technology allows for scanning negatives and printing them digitally.
Options:
- Dedicated Film Scanners: Devices like the Epson Perfection V600 can scan negatives at high resolutions.
- Flatbed Scanners with Transparency Units: These can handle various film sizes and are versatile for different formats.
- DSLR Scanning: Using a DSLR camera with a macro lens and a light source to photograph negatives.
Process:
- Scanning: Digitise the negatives using your chosen method.
- Editing: Use software like Adobe Photoshop or Lightroom to invert colors, adjust tones, and enhance the image.
- Printing: Print the edited images using a high-quality photo printer.
This method provides flexibility and the ability to easily share and store digital copies.
3. Professional Lab Services
For those who prefer a hands-off approach, professional labs offer services to convert negatives into prints.
Process:
- Submission: Send your negatives to the lab, either in person or via mail.
- Scanning and Printing: The lab scans the negatives and produces prints, often offering options for sizes and finishes.
- Delivery: Receive your prints and, in some cases, digital copies.
This option is convenient and ensures professional quality, especially for valuable or delicate negatives.
Tips for Successful Negative Conversion
- Handle with Care: Always handle negatives by the edges to avoid fingerprints and scratches.
- Proper Storage: Store negatives in archival-quality sleeves in a cool, dry place.
- Cleanliness: Ensure your scanning equipment and workspace are clean to prevent dust spots on scans.
- Test Prints: Before printing large sizes, create test prints to check for color accuracy and exposure.
Conclusion
Transforming negatives into prints is a fulfilling process that preserves memories and showcases the art of photography. Whether you choose the tactile experience of a darkroom, the convenience of digital methods, or the expertise of professional labs, each approach offers unique benefits. Embrace the method that aligns with your comfort and desired outcome, and enjoy bringing your negatives to life.
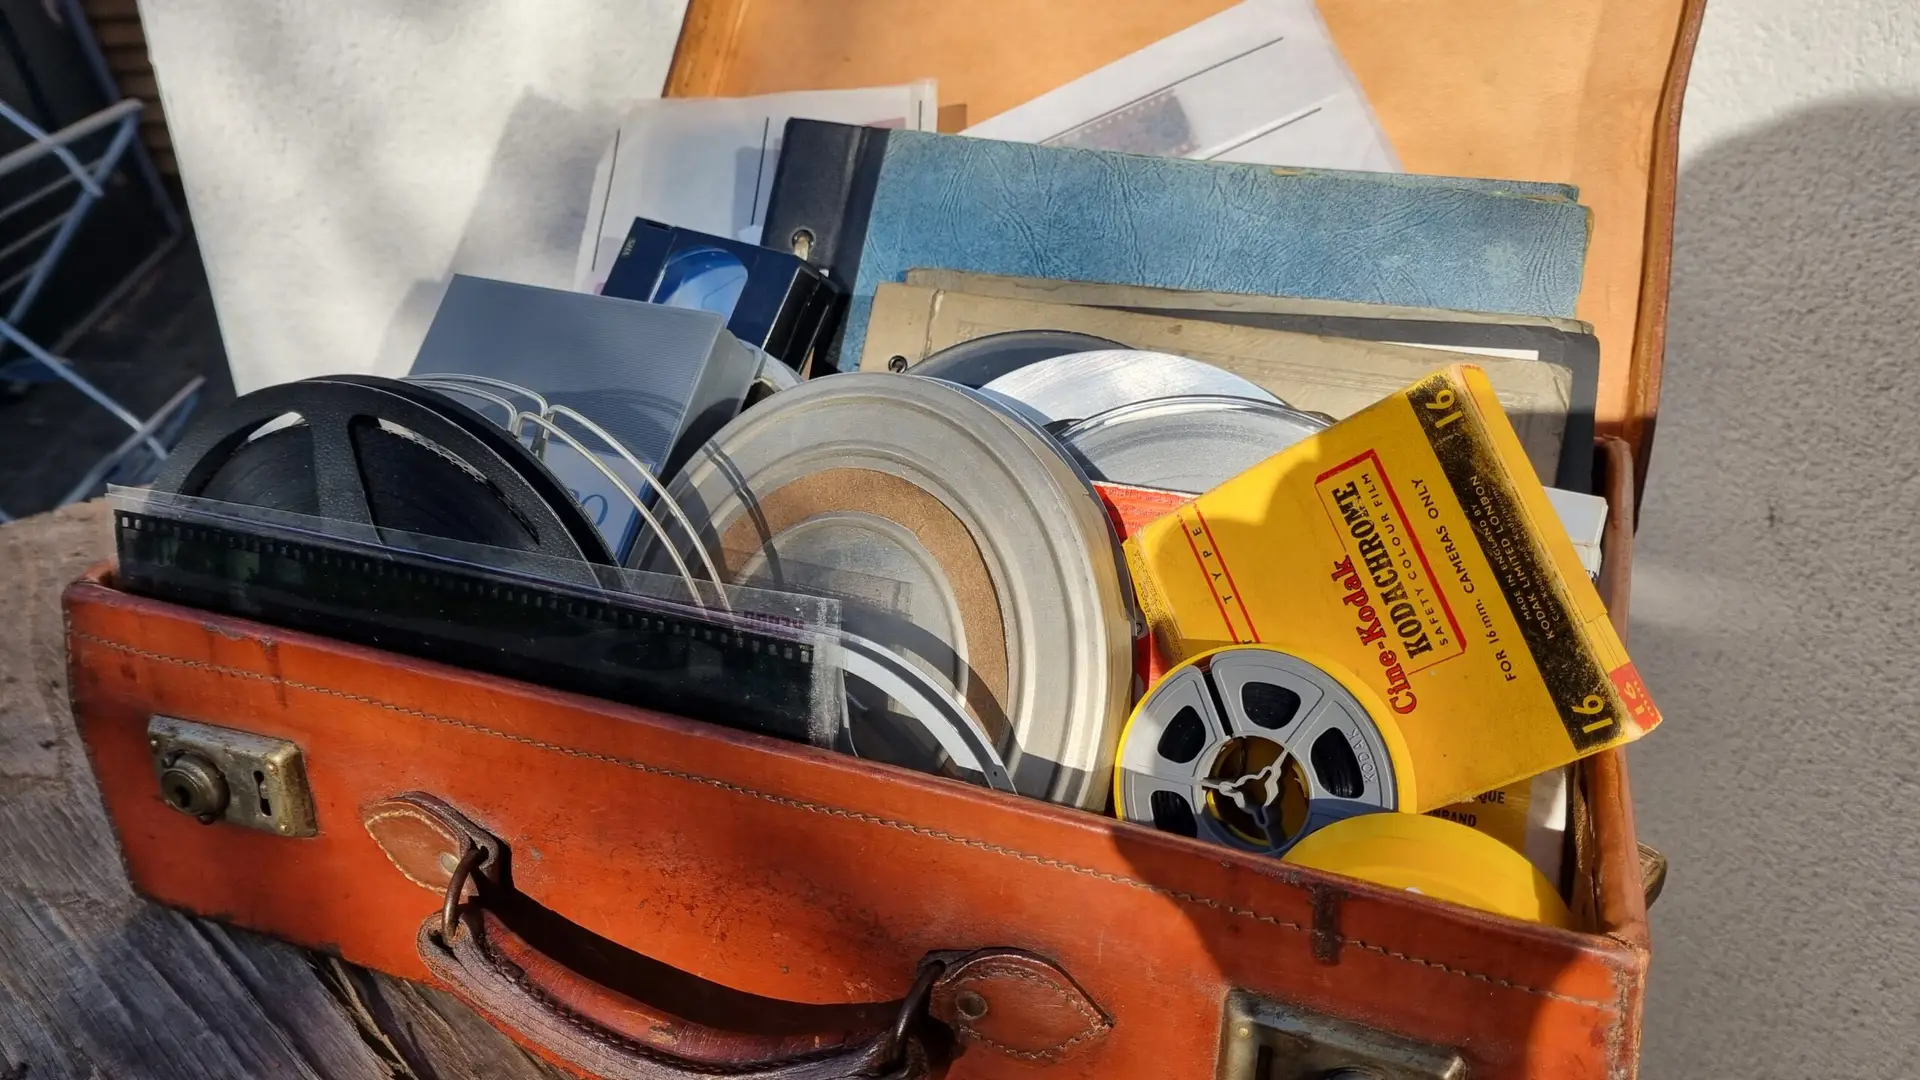
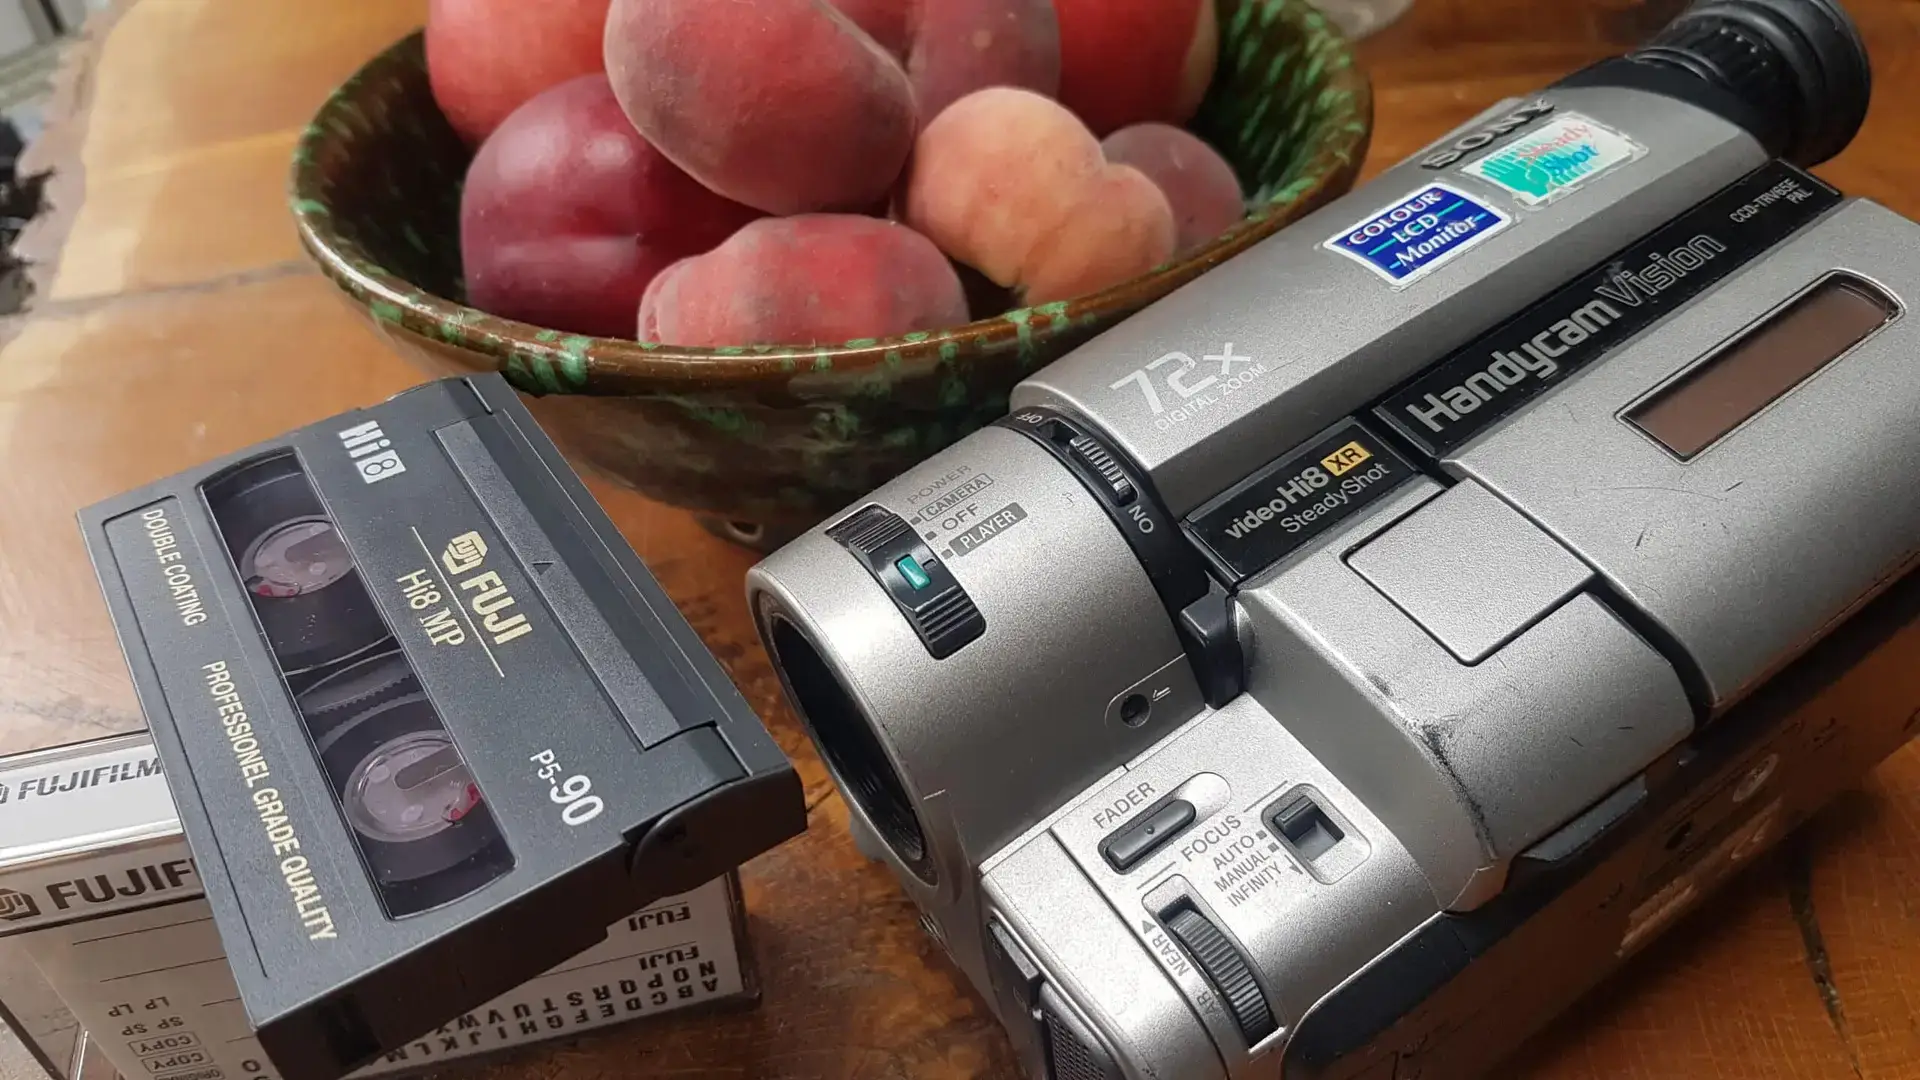
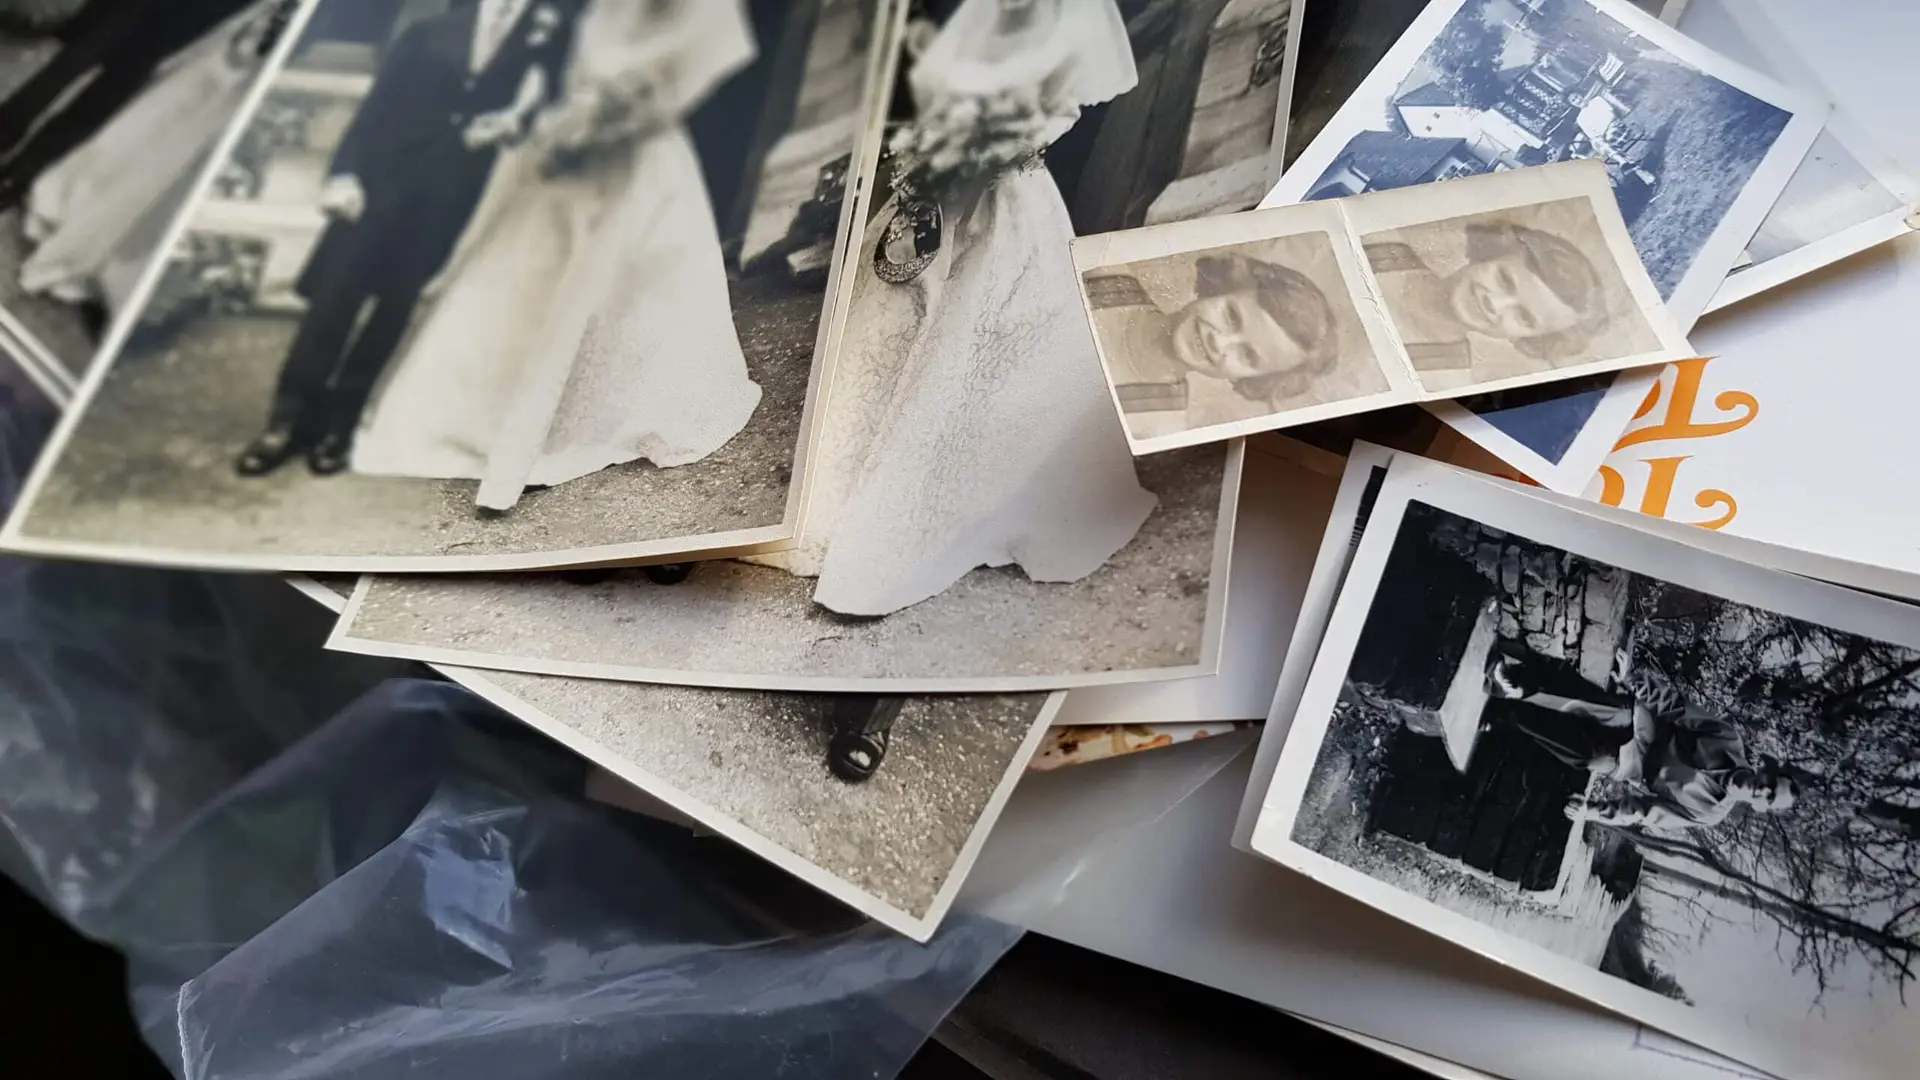
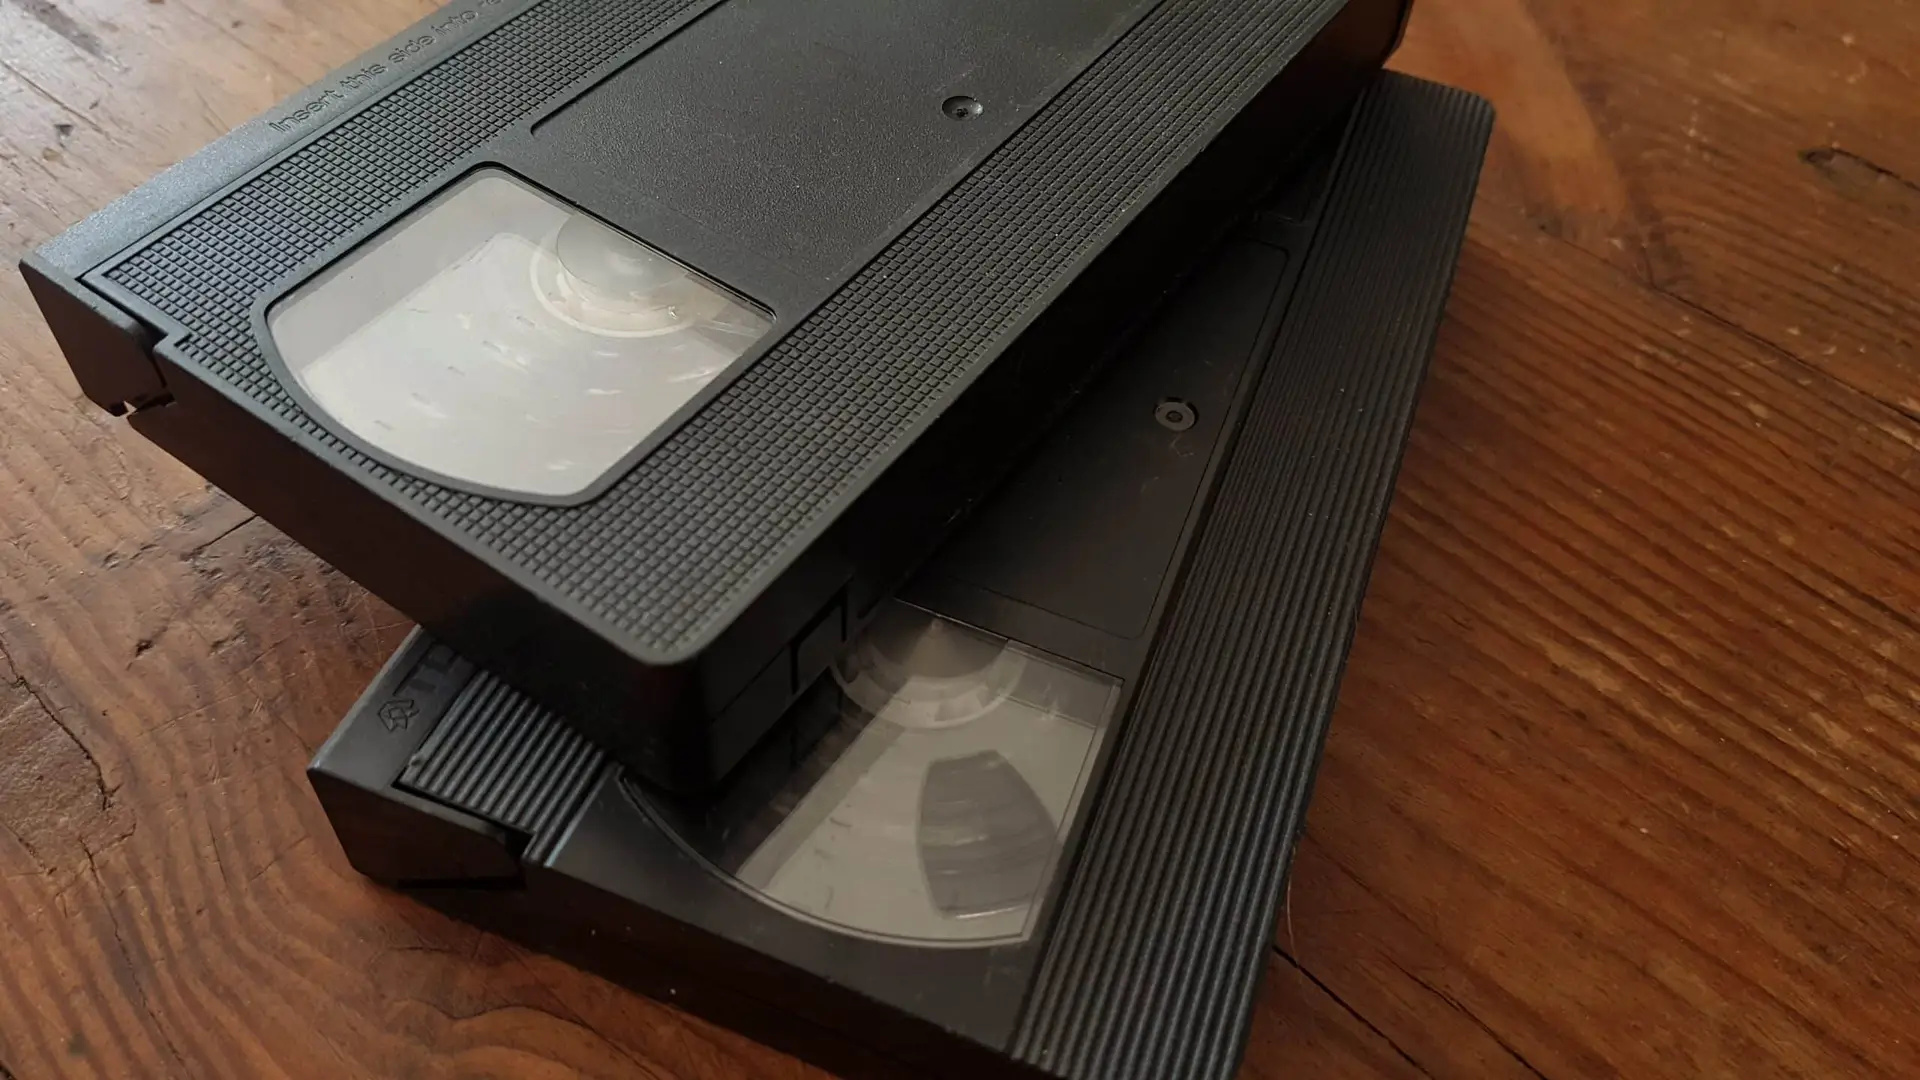
In an age where smartphones and digital cameras dominate the photography scene, it’s easy to forget the roots of the art form—film photography. Yet for many, old negatives still hold memories worth preserving. Whether found tucked away in attic boxes, photo albums, or passed down from family members, film negatives are fragile vessels of moments gone by. Converting these negatives into digital prints isn’t just about convenience—it’s about preservation.
This comprehensive guide will walk you through what film negatives are, the different types including the popular 35mm format, and why entrusting a professional, reputable company with digitising your negatives is the best decision you can make for safeguarding your visual history.
What Are Film Negatives?
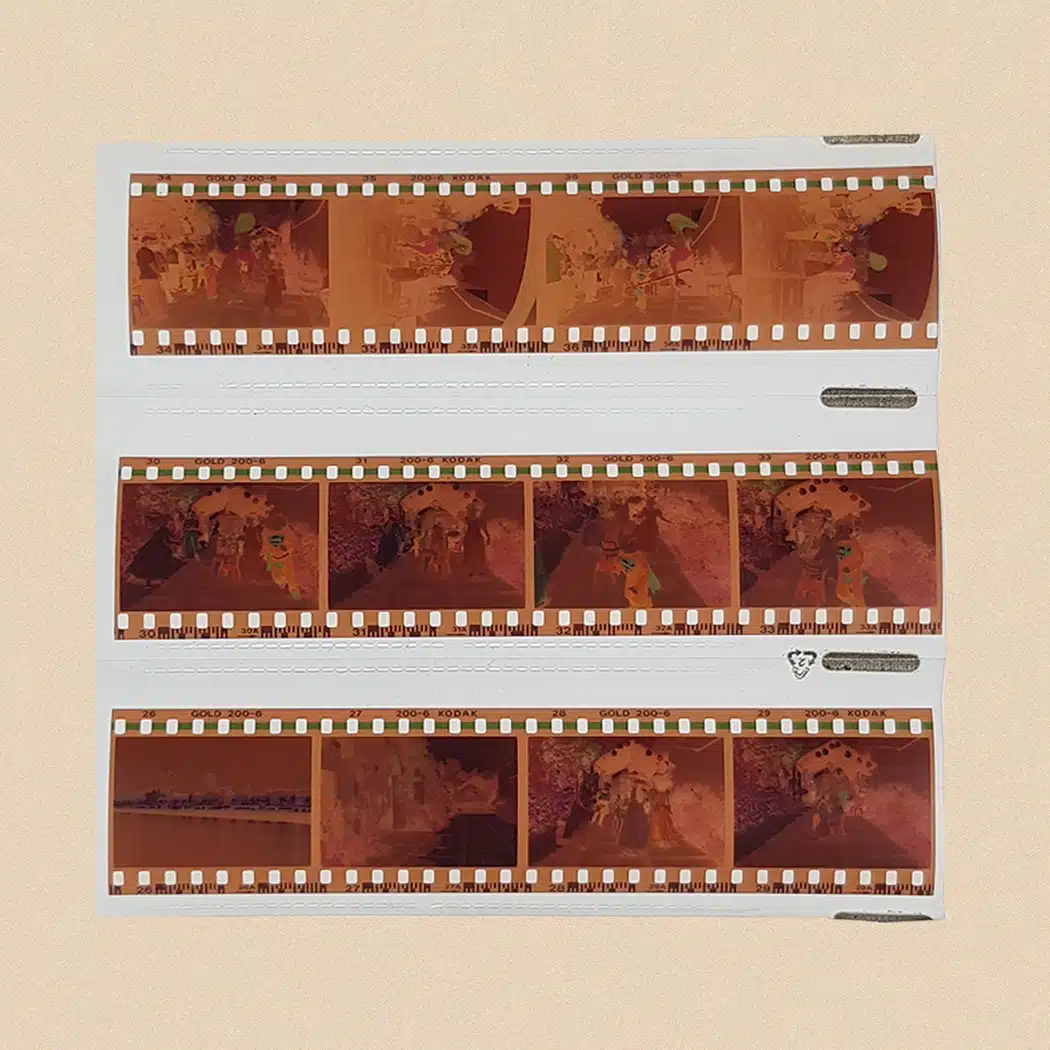
Film negatives are strips or sheets of photographic film that have been exposed to light through a camera. The result is an image where light and dark are inverted: shadows appear light, and highlights are dark. For colour film, the colours are also reversed. These negatives are then used to create positive prints through either analogue or digital processes.
Comparison of Film Negative Types
| Film Type | Colour Output | Developing Process | Grain/Resolution | Typical Use |
|---|---|---|---|---|
| Black & White | Monochrome (grayscale) | B&W chemistry (e.g., D-76) | Fine to coarse (varies by ISO) | Artistic, documentary, archival work |
| Colour Negative (C-41) | Full colour (prints) | C-41 process | Fine grain (especially low ISO) | General photography, portraits |
| Slide Film (Reversal/E-6) | Colour positive (for projection) | E-6 process | Very fine grain, high contrast | Professional, archival, nature |
| Infrared Film | B&W or false colour | Specialised B&W or C-41 | Variable (often grainier) | Experimental, landscape, forensic |
| Instant Film | Colour or B&W | Self-developing (e.g., Polaroid, Instax) | Medium grain | Casual, instant sharing |
Negatives were the standard method of capturing and storing photographic images before digital photography became widespread. They are, in essence, the raw data of the analog world—a more permanent medium compared to prints, but one that requires careful handling and proper equipment to view or reproduce.
Types of Film Negatives
While 35mm film is the most well-known, there are several types of film formats, each with its own size, quality, and intended use. Understanding the differences can help you identify what you have and what your options are for digitising them.
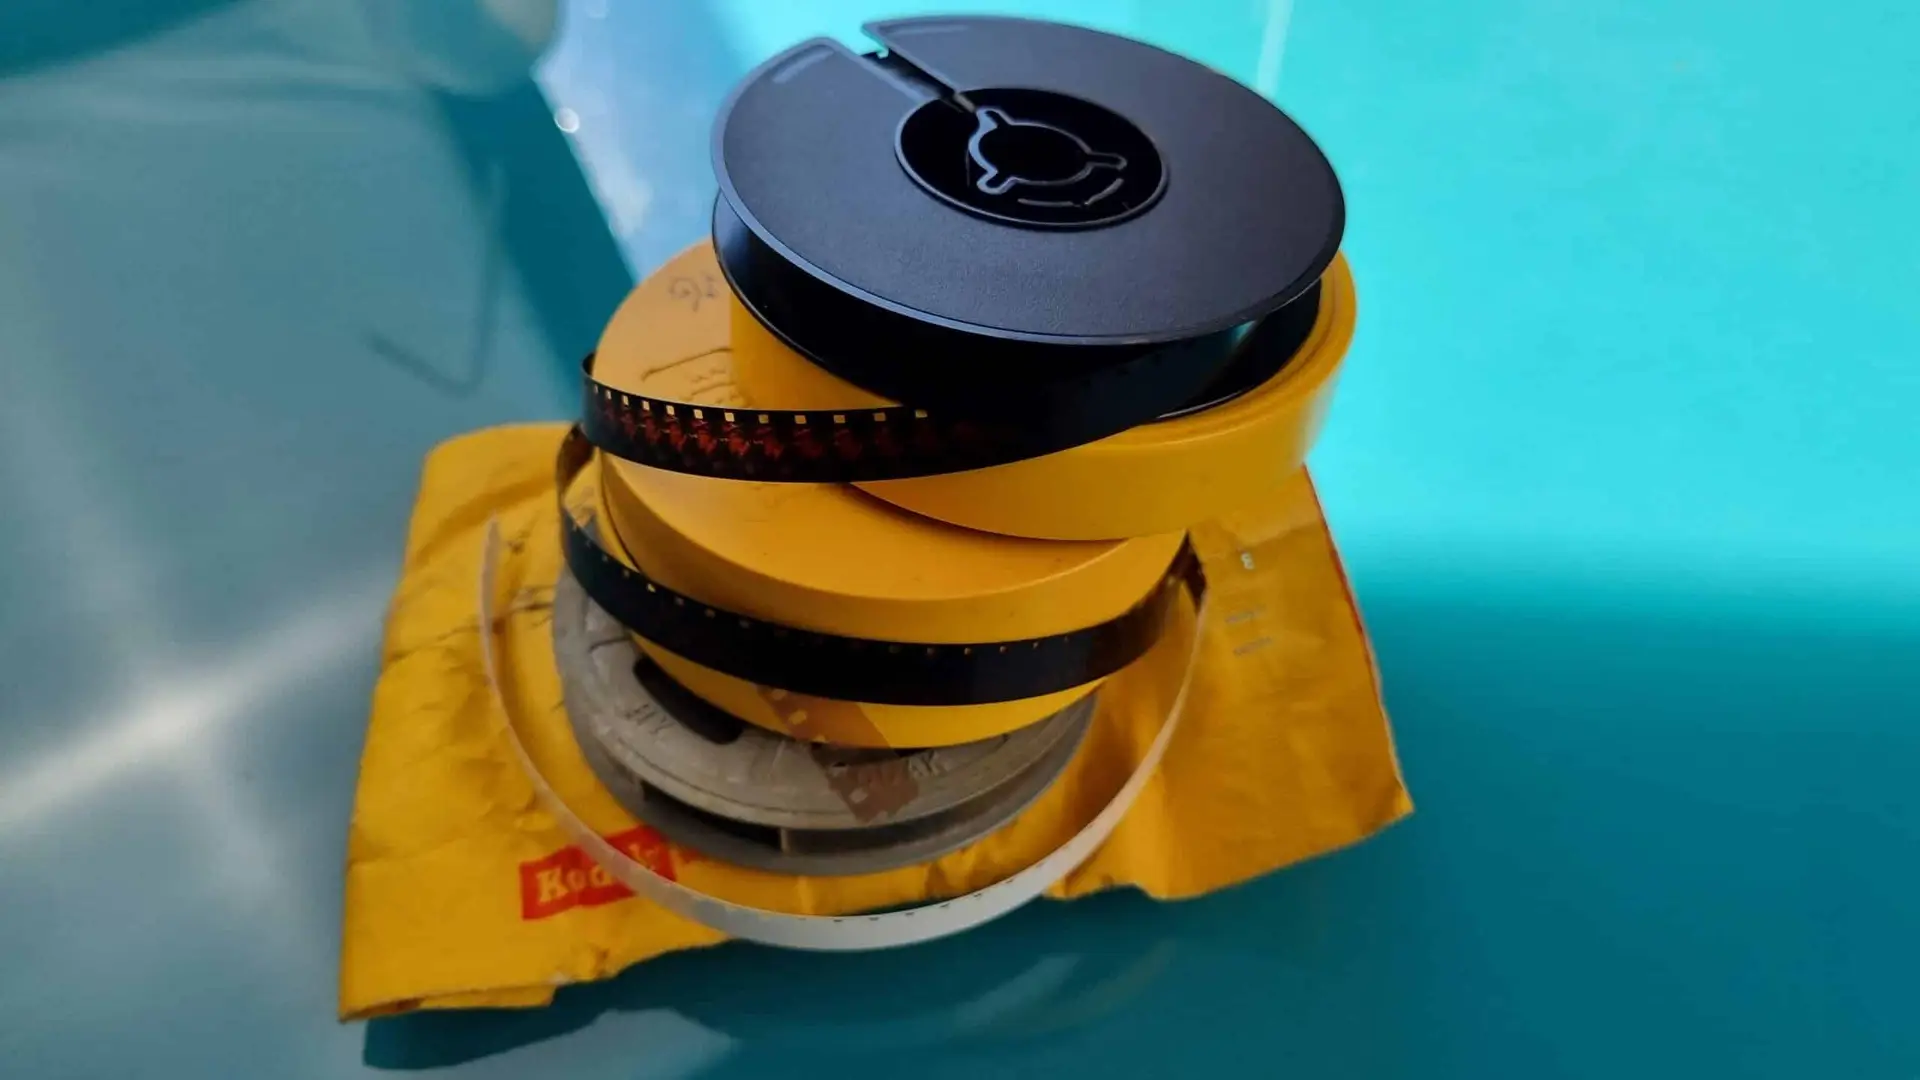
- 35mm Negatives
Dimensions: Each frame measures 24mm x 36mm.
Common Use: Most popular among amateur and hobbyist photographers from the 1930s through the early 2000s.
Identifiable Features: Film rolls come in small canisters, with perforated edges along both sides of the strip.
35mm film was beloved for its balance between image quality and convenience. Most consumer cameras used this format, and as a result, millions of households have collections of 35mm negatives tucked away. These frames typically contain family vacations, birthdays, graduations, and other significant milestones.
- Medium Format (120/220 Film)
Dimensions: Frame sizes vary—common sizes include 6×4.5cm, 6x6cm, and 6x7cm.
Common Use: Professional and serious amateur photographers.
Features: No sprockets; film is wound on a spool.
Medium format film produces significantly higher resolution images than 35mm, thanks to its larger surface area. This format was favoured by professional portrait, fashion, and landscape photographers. If you come across square or rectangular negatives larger than 35mm, they’re likely medium format.
- Large Format Negatives (Sheet Film)
Dimensions: Typically 4×5 inches, 5×7 inches, or 8×10 inches.
Common Use: Studio and fine art photography.
Features: Individual sheets loaded into film holders.
Large format film is rarer but offers unmatched detail and tonal range. These negatives require special handling and are often found in archives or among the collections of serious photographers.
- APS Film (Advanced Photo System)
Dimensions: Variable (Classic, HDTV, Panorama formats).
Common Use: Late 1990s and early 2000s point-and-shoot cameras.
Features: Comes in a sealed cartridge; frames are smaller than 35mm.
APS film had a short run but was embraced for its ease of use. If your negatives are still inside a cylindrical cartridge and are marked with labels like “C,” “H,” or “P,” you may be holding APS film.
- 110 and 126 Film
Dimensions: 110 is 13x17mm; 126 is 28x28mm.
Common Use: Pocket cameras and Kodak Instamatics.
Features: Cartridges designed for simplicity and compact cameras.
These formats were geared toward casual users and children. While not high-resolution, the sentimental value of these negatives is still immense.
Why Digitise Your Negatives?
Negatives degrade over time due to exposure to humidity, temperature changes, dust, scratches, and even improper storage. Moreover, they are nearly impossible to view without specialised equipment. Digitising your negatives provides several key benefits:
Preservation: Digitising creates a backup, protecting against loss or damage.
Accessibility: Digital images can be easily shared, stored, and printed.
Restoration: Digitised photos can be edited to repair damage or correct colour.
Convenience: No more hunting for a lightbox or loupe—just open a file.
Why Choosing a Reputable Digitisation Company Matters
It may be tempting to digitise negatives at home using a flatbed scanner or even a smartphone app, but professional digitisation services offer advantages that go far beyond convenience. When selecting a company to entrust with your negatives, the stakes are high—these are irreplaceable memories.
- Expert Handling and Care
Professionals are trained to handle fragile negatives without causing further damage. They use archival gloves, proper cleaning techniques, and dust-free environments to ensure your originals are preserved in the best condition possible. - High-Resolution Scanning
Consumer-level scanners typically do not match the quality of professional equipment. A reputable service will scan negatives at high resolutions (often 2400 dpi and above), capturing every detail, texture, and tonal nuance of the original frame. - Colour Correction and Restoration
Negatives—especially colour ones—tend to fade or shift hues over time. Expert digitisation services often include colour correction, exposure adjustments, and the option to restore damaged or scratched negatives using software like Adobe Photoshop. - Format Versatility
Whether you have 35mm film, medium format, or obscure types like APS or 110 film, a professional service will have the tools and knowledge to process them all. This is crucial if your collection spans multiple decades and formats. - Digital Archiving and File Management
Reputable companies provide organised file delivery—either on USB drives, cloud downloads, or external hard drives. Many services also offer options for naming files by roll, event, or date, which makes managing and enjoying your digitised collection much easier. - Security and Trustworthiness
Entrusting your negatives to a company means you’re relying on them to keep your memories safe. Look for services with transparent tracking systems, insured shipping options, and positive customer reviews. A reputable lab will communicate clearly and provide updates throughout the process.
Questions to Ask Before Choosing a Digitisation Service
What resolution do you scan negatives at?
Do you offer colour correction or dust removal?
Can you digitise all film types, including rare formats?
How are the files delivered, and in what formats (JPEG, TIFF)?
What is your return process for original materials?
Is shipping insured and traceable?
Do you offer photo restoration or retouching?
Final Thoughts: Make Your Memories Last
Film negatives are more than just outdated technology—they’re physical links to our past. Whether it’s a candid photo from your parents’ wedding, a childhood holiday, or your first foray into photography, those small strips of film carry enormous sentimental weight.
While you could attempt to scan them yourself, the risk of damage, poor image quality, or mismanaged storage isn’t worth it. Instead, choose a reputable company that specialises in negative digitisation. It’s an investment not just in the images, but in the stories they tell and the legacy they represent.
Preserve, protect, and print—give your negatives the future they deserve.
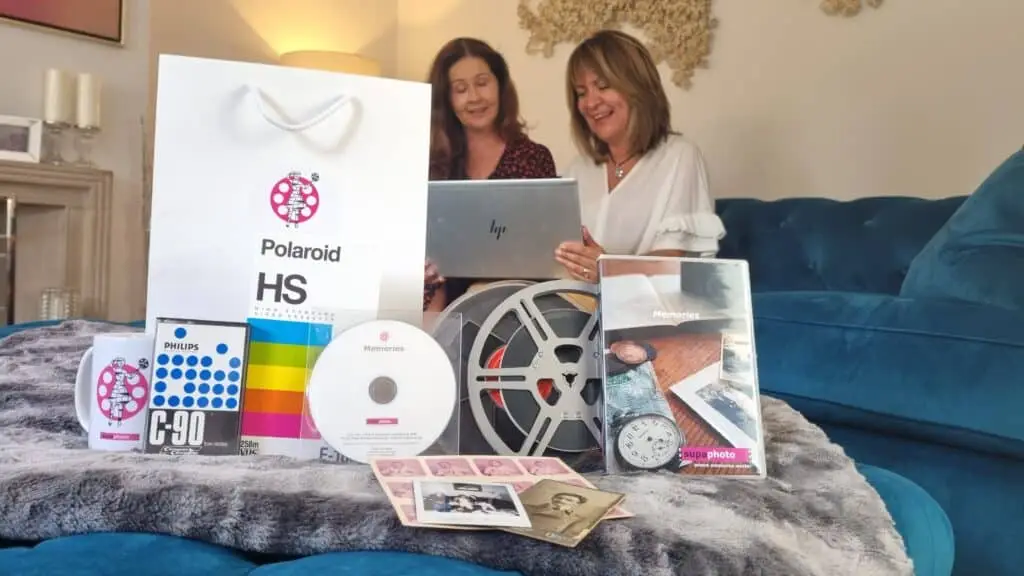
Alternatively, you can use negative scanning service, like Supaphoto. They can professionally scan, digitise and correct any issues which are typical of old negatives for you. Which means you don’t have to splash out on paying for Photoshop once you have scanned 35mm negative strips. If you have any queries then don’t hesitate to contact us!