
How To Transfer VHS To A Computer
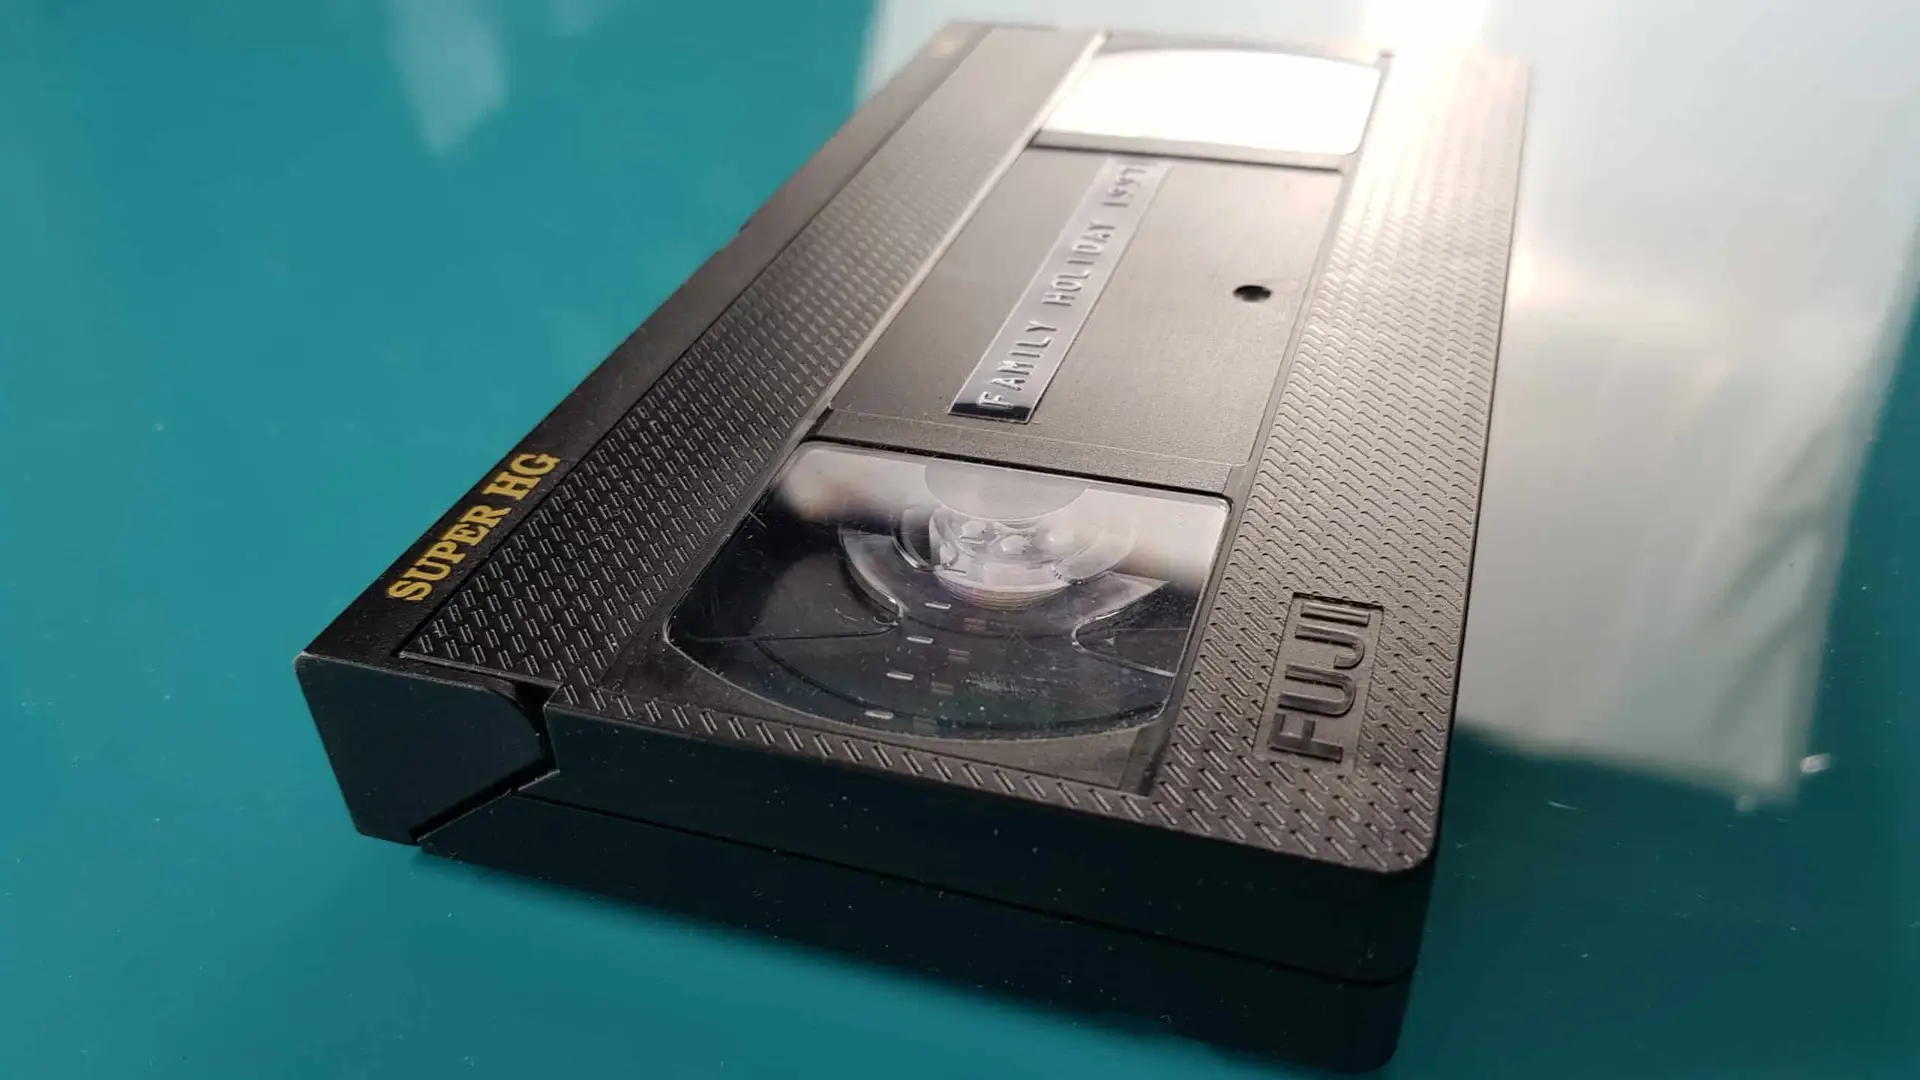
Transferring VHS to a computer means playing an old video cassette through a VHS player and capturing the picture and sound as a digital video file.
- You need a working VHS player, cables, a capture device and computer software.
- VHS transfer happens in real time, so a two-hour tape takes at least two hours.
- Check tapes for mould or damage before playing them.
- Use the right video settings to avoid poor sound, wrong shape or low-quality files.
- Professional transfer is often safer for valuable family recordings.
What You Need To Transfer VHS To A Computer
To transfer VHS to a computer, you need the right equipment. The basic setup is simple, but every part must work properly.
You will usually need:
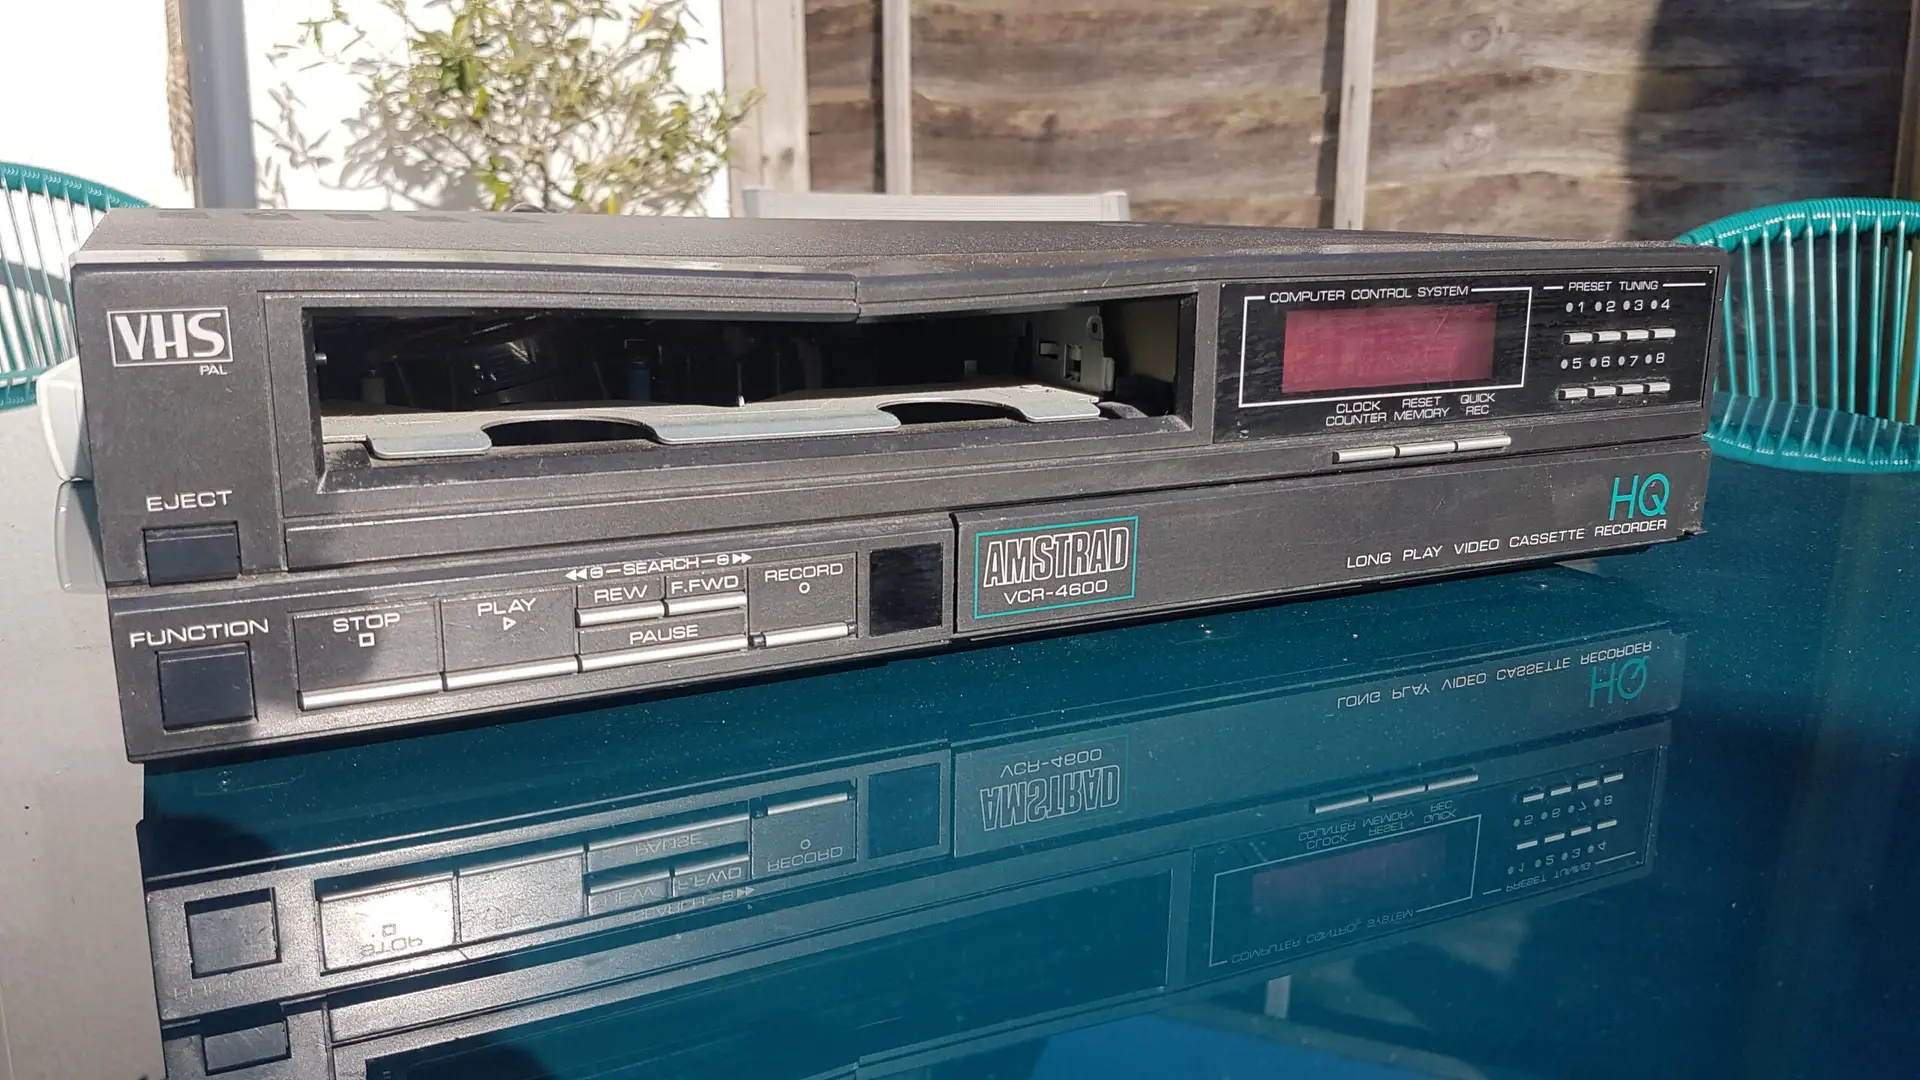
- a VHS player or VCR
- a computer or laptop
- a USB video capture device
- SCART, composite or S-Video cables
- audio cables
- capture software
- enough storage space
- an external drive or backup device
Most UK VHS players output through SCART or composite video. Composite uses yellow, red and white plugs. Yellow carries video. Red and white carry audio.
Some better machines also have S-Video, which can give a cleaner picture if your capture device supports it.
Step-by-Step: How To Transfer VHS To A Computer
Step 1: Inspect the VHS Tape
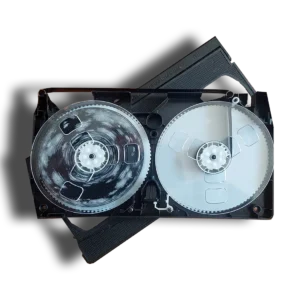
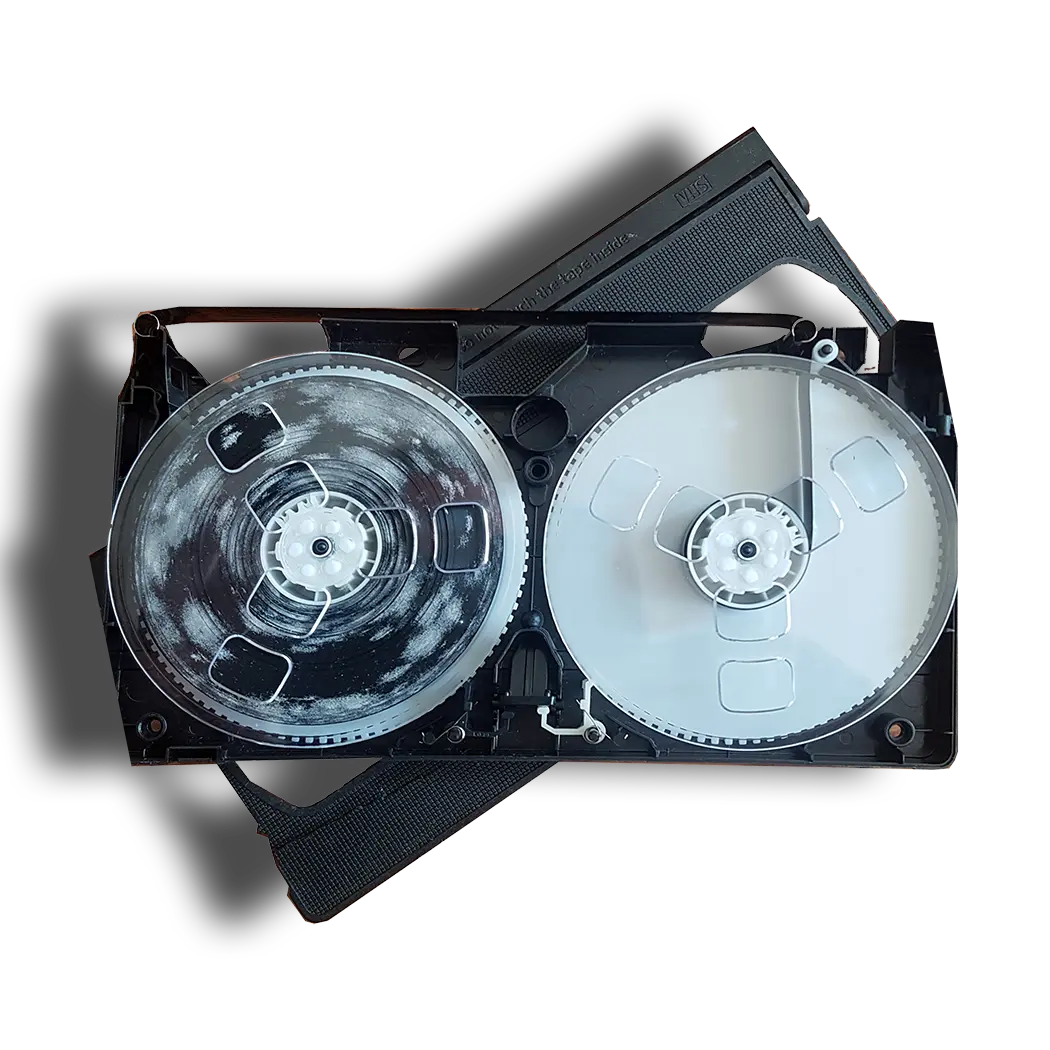
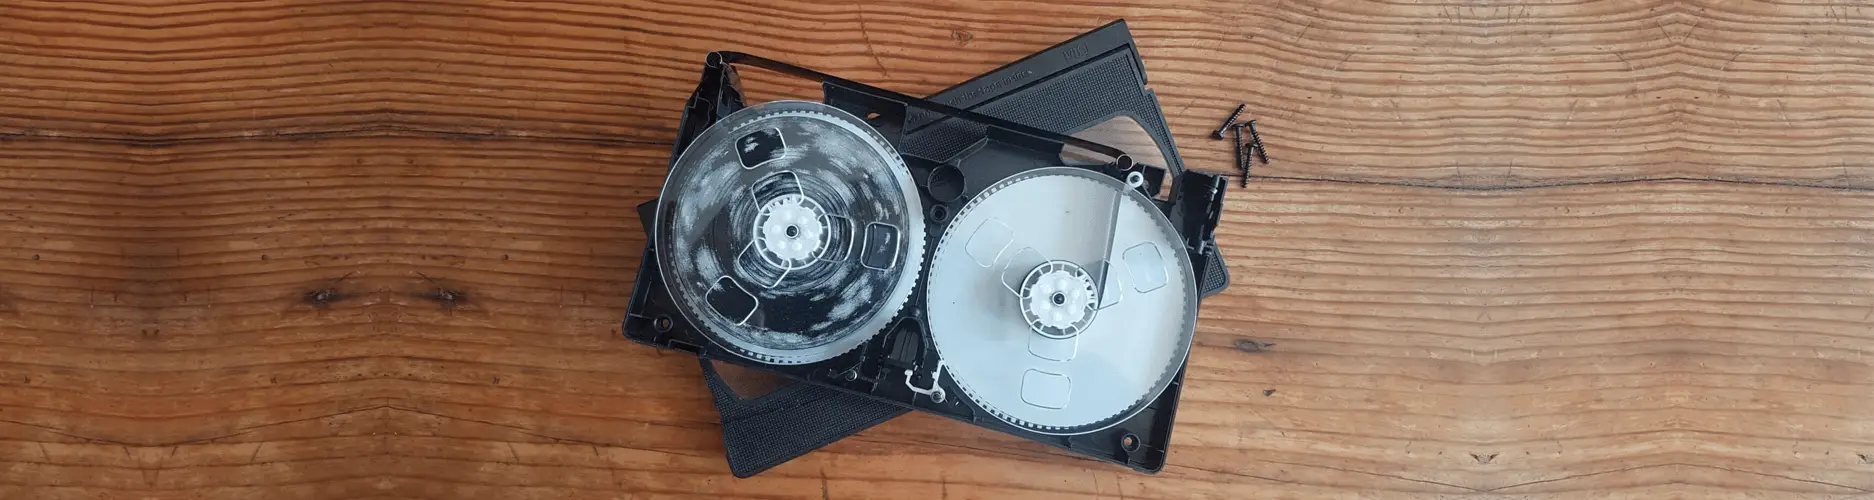
Before you play the tape, check it carefully. Look through the cassette window for white, grey or powdery marks. These may indicate mould.
Do not play a mouldy tape in a home VCR. It can contaminate the machine and damage the recording.
Step 2: Test Your VHS Player
Use an unimportant tape first. Make sure the machine plays, rewinds, fast-forwards and ejects properly.
If the tape crinkles, sticks, squeals or struggles to eject, stop immediately.
Step 3: Connect the VHS Player to the Capture Device
Connect the video and audio outputs from the VHS player to the USB capture device. Then plug the capture device into your computer.
Check that yellow goes to video, and red and white go to audio.
Step 4: Open the Capture Software
Your capture device may include software, or you may use a trusted video capture program. Select the correct video input and audio input.
For UK tapes, choose PAL settings where available.
Step 5: Start Recording
Press record in the software, then press play on the VHS player. Capture the whole tape in real time.
A three-hour tape will take at least three hours to transfer.
Step 6: Check the Finished File
Do not assume the file is fine just because the capture finished. Watch the beginning, middle and end. Check picture, sound, sync and running time.
Step 7: Save and Back Up
Save the file with a clear name, such as:
Smith-family-wedding-1994.mp4
Keep at least two copies in different places.
Best File Format for VHS Transfer
For most families, MP4 is the most practical format. It plays on computers, tablets, phones, smart TVs and many media players.
A good access copy should be easy to open and share. The US National Archives notes that a DVD or MP4 file can make difficult video material easier to play on a computer or DVD player.
For long-term preservation, keep your files well labelled and backed up. Avoid saving everything on one laptop or one USB stick only.
Expert Insight
The National Archives recommends using well-supported access formats. For family use, MP4 is usually practical, but backups matter just as much as the file type.
Common Problems When Transferring VHS To A Computer
No Sound
This often happens when the audio cables are connected incorrectly or the wrong audio input is selected in the software.
Black and White Picture
This may happen if the wrong video standard is selected. UK tapes usually need PAL settings.
Wrong Shape Picture
VHS is normally 4:3. If it appears stretched wide, your capture or playback settings may be wrong.
Dropped Frames
A slow computer, poor capture device or unstable tape can cause jumps in the finished video.
Audio Out of Sync
Long captures may drift out of sync if the device or software struggles.
Tracking Lines
Tracking issues usually come from the tape, VHS player or playback alignment.
Very Large Files
Uncompressed or lightly compressed files can become huge. Check your settings before capturing a long tape.
Why VHS Quality Is Limited
VHS was never high-definition. It is a soft analogue format with limited detail compared with modern video.
Digitising VHS will not magically turn it into 4K footage. A good transfer aims to capture the best possible version of what is on the tape, not invent detail that was never recorded.
The British Film Institute explains that videotape has its own preservation challenges and that digitisation is an important part of keeping video heritage accessible.
VHS can look softer than modern video, but the memories are often far more valuable than the resolution.
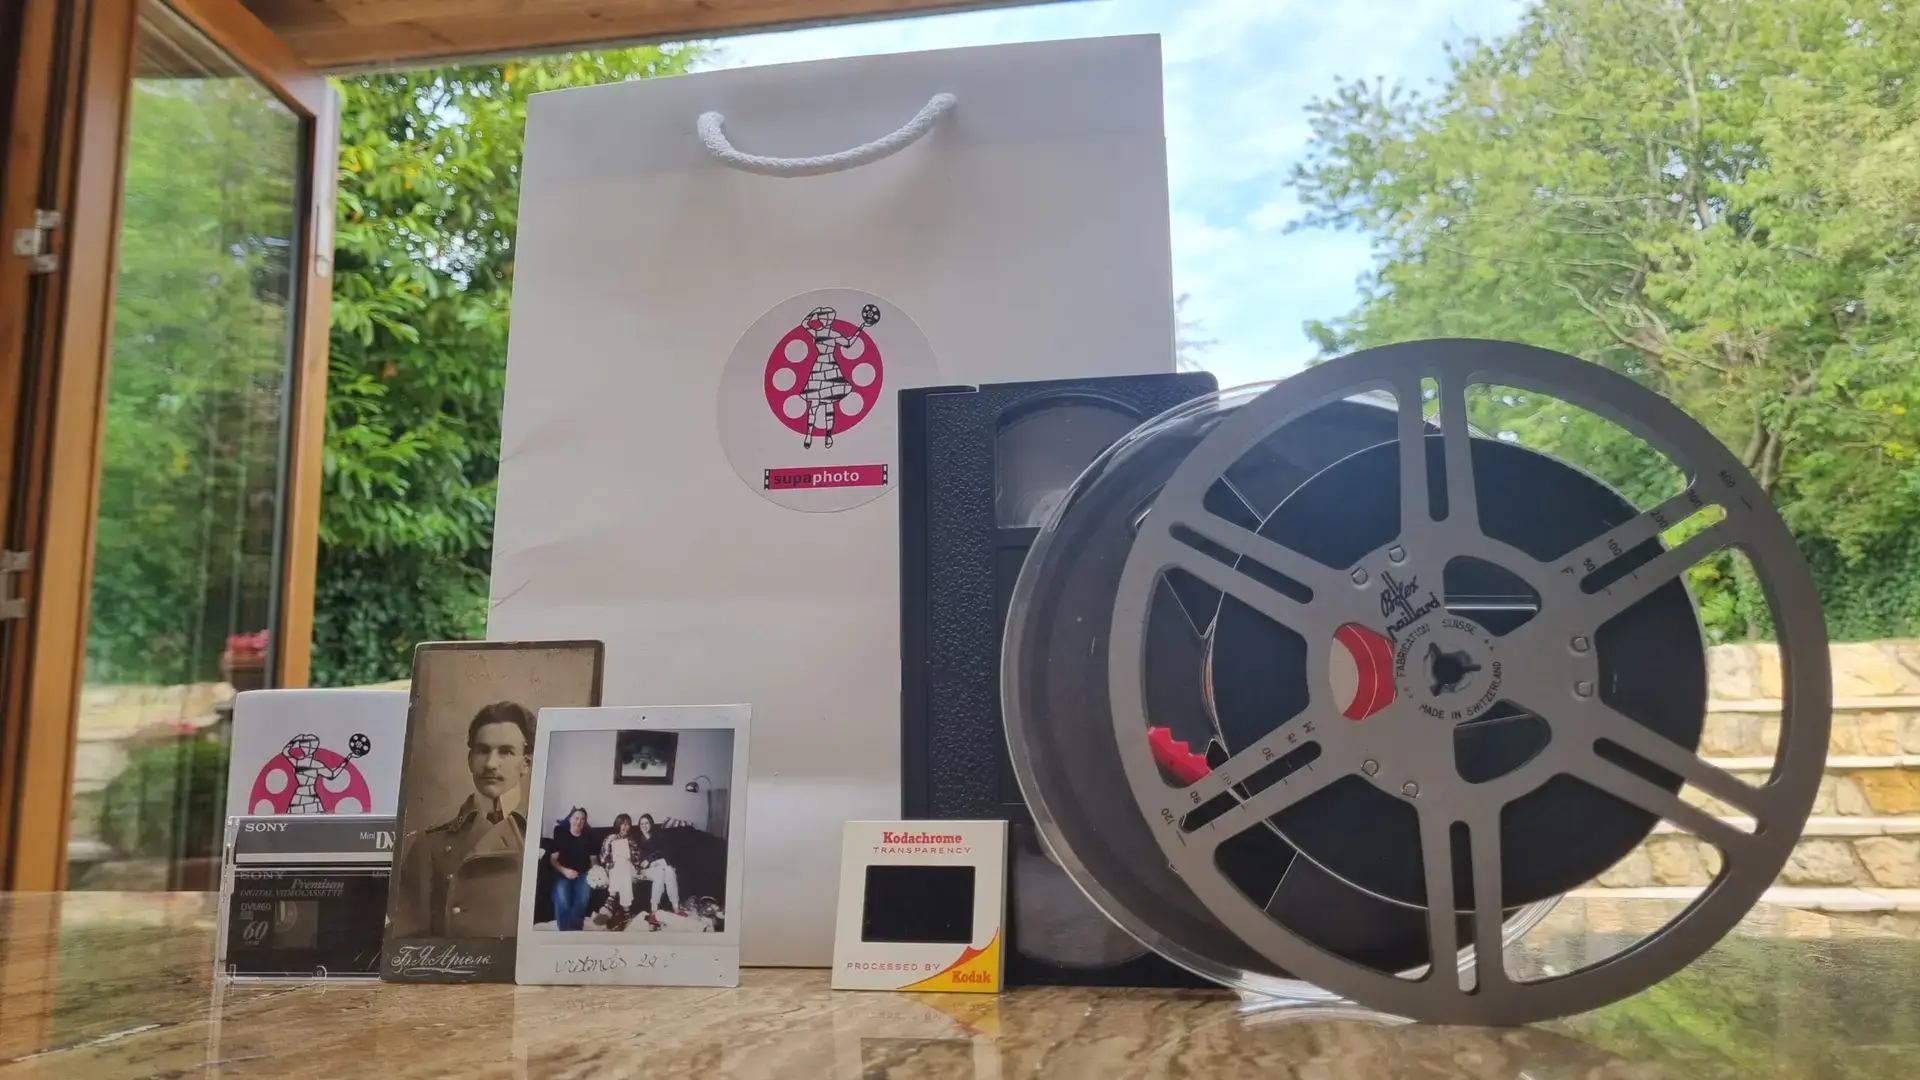
© Image by Supaphoto
DIY VHS Transfer: Is It Worth It?
DIY transfer can be worthwhile if you enjoy technical projects and have several non-fragile tapes. It gives you control and may save money if your equipment works well.
However, it takes longer than many people expect. Every tape must play from start to finish. You also need time to test settings, solve sound problems, name files and check results.
DIY is less suitable when:
- the tape is mouldy
- the cassette is damaged
- the recording is irreplaceable
- your VCR is untested
- you are unsure about cables and settings
- you want reliable results without trial and error
A faulty VHS player can chew or crease tape. Poor capture settings can leave you with files that are difficult to watch or share.
Why Many People Choose Professional VHS Transfer
A professional digitisation service can reduce the risk of damaging important recordings.
Supaphoto Ltd works from a dedicated UK studio and handles tapes with professional inspection, careful handling, order tracking, specialist equipment and quality assurance. Where needed, tapes can be assessed for repair or mould treatment before transfer.
This is especially important for family memories such as weddings, birthdays, holidays, school plays and recordings of relatives who have passed away.
If you would rather avoid the technical setup, Supaphoto can help with turning old VHS tapes into digital files for easier viewing and sharing.
Expert Insight
The BFI has digitised large amounts of videotape heritage using controlled workflows and specialist technicians. Family tapes benefit from the same principle: inspect first, then transfer carefully.
VHS To Computer, DVD or USB: Which Is Best?
Computer Files
Best for editing, sharing, backing up and organising.
DVD
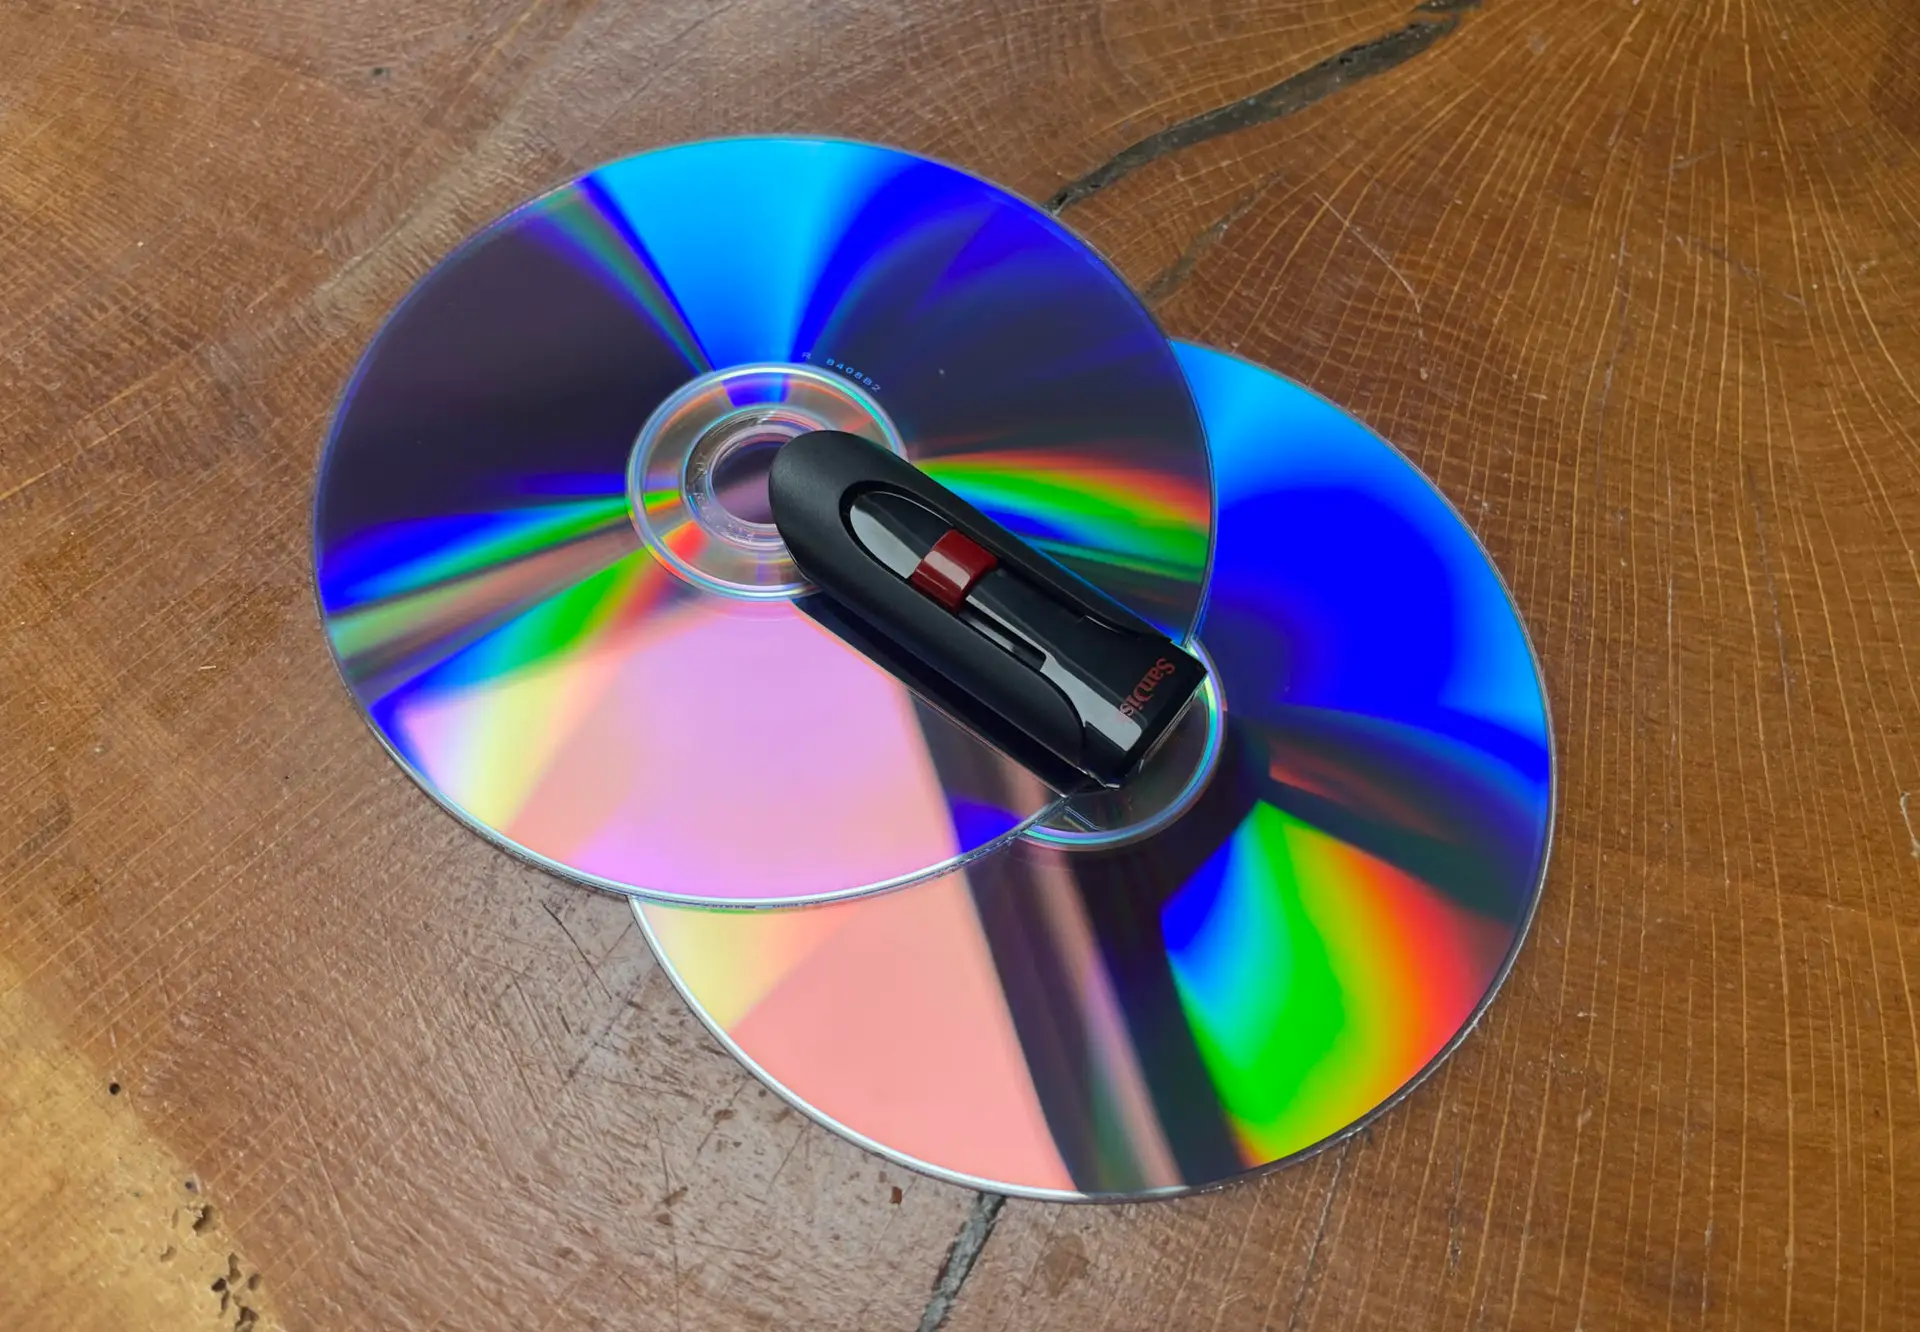
Best for simple playback on a DVD player, especially for relatives who prefer discs.
USB
Best for convenient viewing on many modern TVs and computers.
Many families choose more than one option. For example, MP4 files for archiving and sharing, plus a DVD or USB copy for easy viewing.
Supaphoto’s video preservation advice can help you decide which format suits your family recordings.
How To Prepare Your Tapes Before Transfer
Before digitising, sort your tapes into groups:
- family events
- weddings
- holidays
- camcorder tapes
- TV recordings
- unknown tapes
- damaged or mouldy tapes
Write down any labels exactly as they appear. Even vague notes such as “Christmas 1992” or “Mum’s party” can help later.
Do not clean tapes with household products. Do not open the cassette shell unless you know what you are doing.
Project Ideas After Transferring VHS To A Computer
| Project idea | What you can create | Best format |
|---|---|---|
| Family archive | Folders by year, person or event | MP4 |
| Birthday gift | Short edit of childhood clips | MP4 |
| Wedding anniversary | Preserved wedding film | USB or MP4 |
| Memory box | USB with videos and scanned photos | USB |
| Family history | Combine video with written notes | Digital archive |
| Care home viewing | Easy copy for older relatives | DVD or USB |
| Private sharing | Short clips for family groups | MP4 |
For creative ways to enjoy old recordings again, Supaphoto’s inspiration section offers useful family memory ideas.
FAQs About How To Transfer VHS To A Computer
Can I transfer VHS to my computer myself?
Yes. You need a working VHS player, a USB capture device, cables, software and enough time to record each tape in real time.
What cable do I need for VHS to computer?
Most UK setups use SCART to composite, or composite red, white and yellow cables into a USB capture device.
What is the best format for VHS on a computer?
MP4 is usually the most convenient format for family viewing, sharing and storage.
Can I transfer VHS without a VCR?
Not usually at home. The tape must be played by a compatible machine. A professional service can provide the playback equipment.
How long does VHS transfer take?
The transfer takes as long as the tape runs. A two-hour tape takes at least two hours, plus checking and saving time.
Can mouldy VHS tapes be transferred?
Often they can, but they need specialist inspection. Do not play mouldy tapes in a normal home VCR.
Conclusion
Learning how to transfer VHS to a computer is useful if you have the right equipment and patience. For simple tapes, DIY can work well. For valuable, damaged or mouldy recordings, professional transfer is usually safer.
The most important thing is not just creating a file. It is protecting the people, voices and memories recorded on the tape before the cassette or player fails.
Newsletter sign-up: Join the Supaphoto newsletter for practical tips on preserving old tapes, photos and family memories.
Request a quotation: Ask Supaphoto for a quote if you would like VHS tapes inspected and converted to DVD, USB or digital files.
Social media share or follow: Share this guide with someone who still has old tapes at home, or follow Supaphoto for more preservation advice.