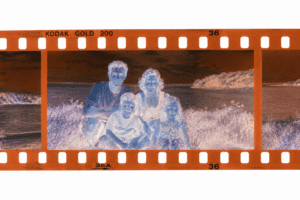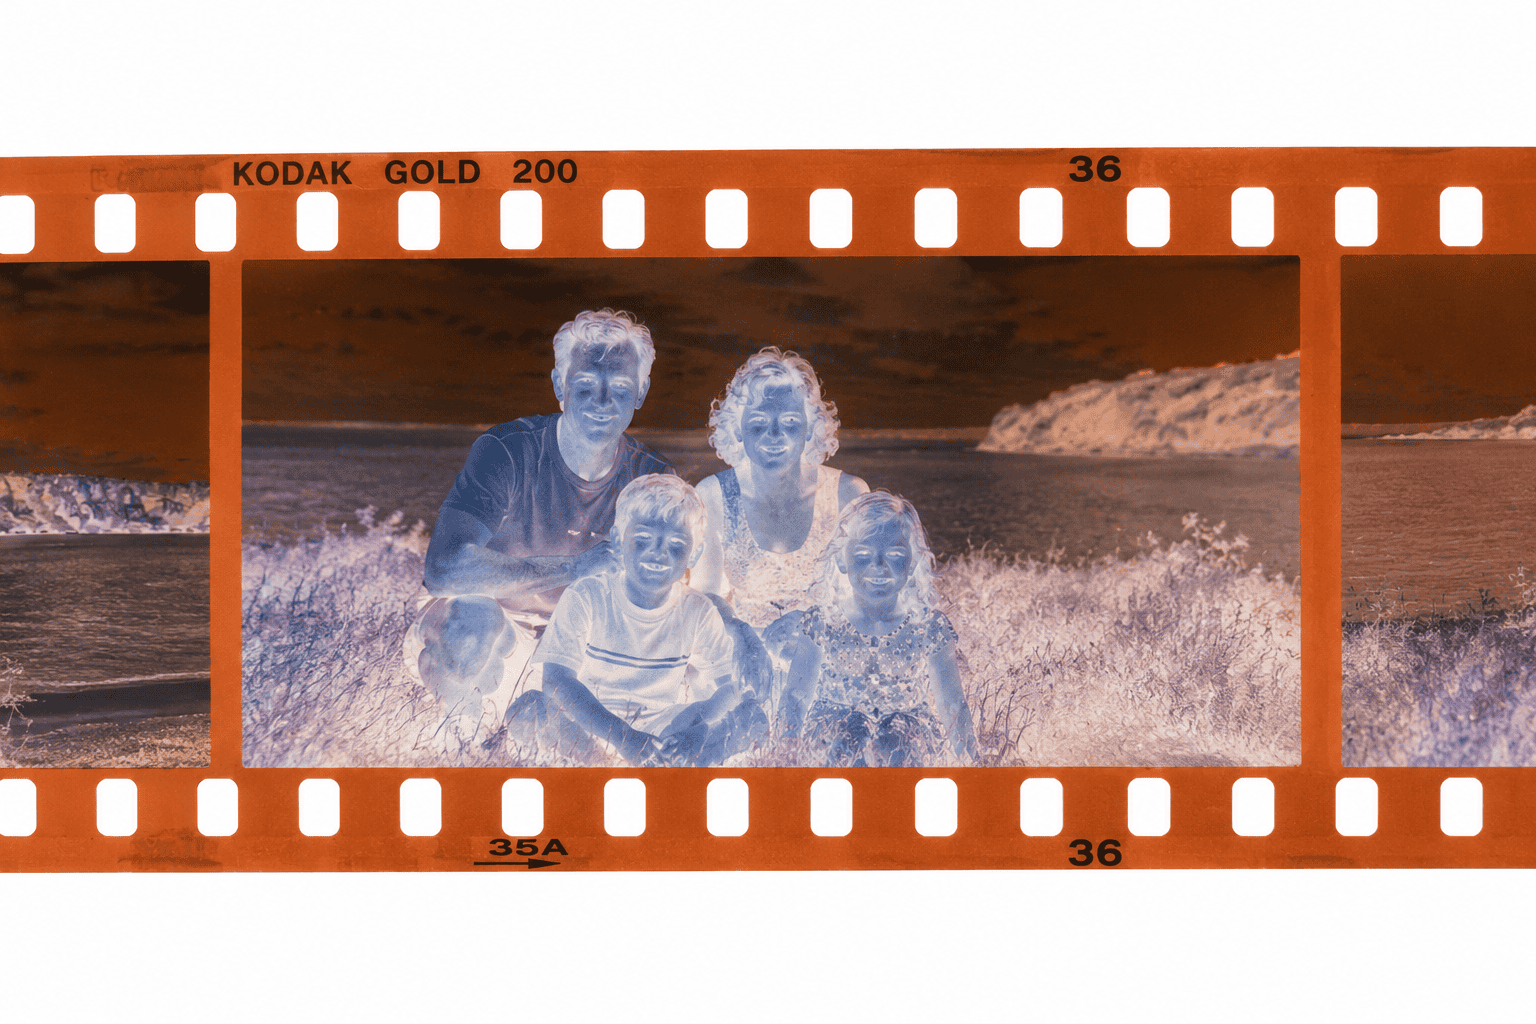

To convert negatives into digital images, first identify the film format, then capture it with equipment designed to transmit light through photographic film. A good scan preserves detail from the original negative before software reverses the image, corrects colour and exposure, and creates a positive digital photograph.
| Negative format | Typical image size | Common clue | Scanning consideration |
|---|---|---|---|
| 35mm / 135 | 24 × 36mm | Perforations on both edges | Widely supported |
| 110 | Approx. 13 × 17mm | Very narrow film | Tiny frame needs strong optical resolution |
| 126 | Approx. 28 × 28mm | Square frames | Different perforation layout from 35mm |
| 120 | Varies by camera | Much wider roll film | Excellent detail potential |
| APS | 24mm film | Usually kept in cartridge | Requires specialist access to the film |
The most important rule is simple: don’t assume every strip of film is 35mm. Choosing the right scanner, holder and settings starts with correctly identifying what you have.
Why Negatives Can Produce Better Digital Images Than Old Prints
If you still have the original negative, it often provides the strongest source for a new digital image.
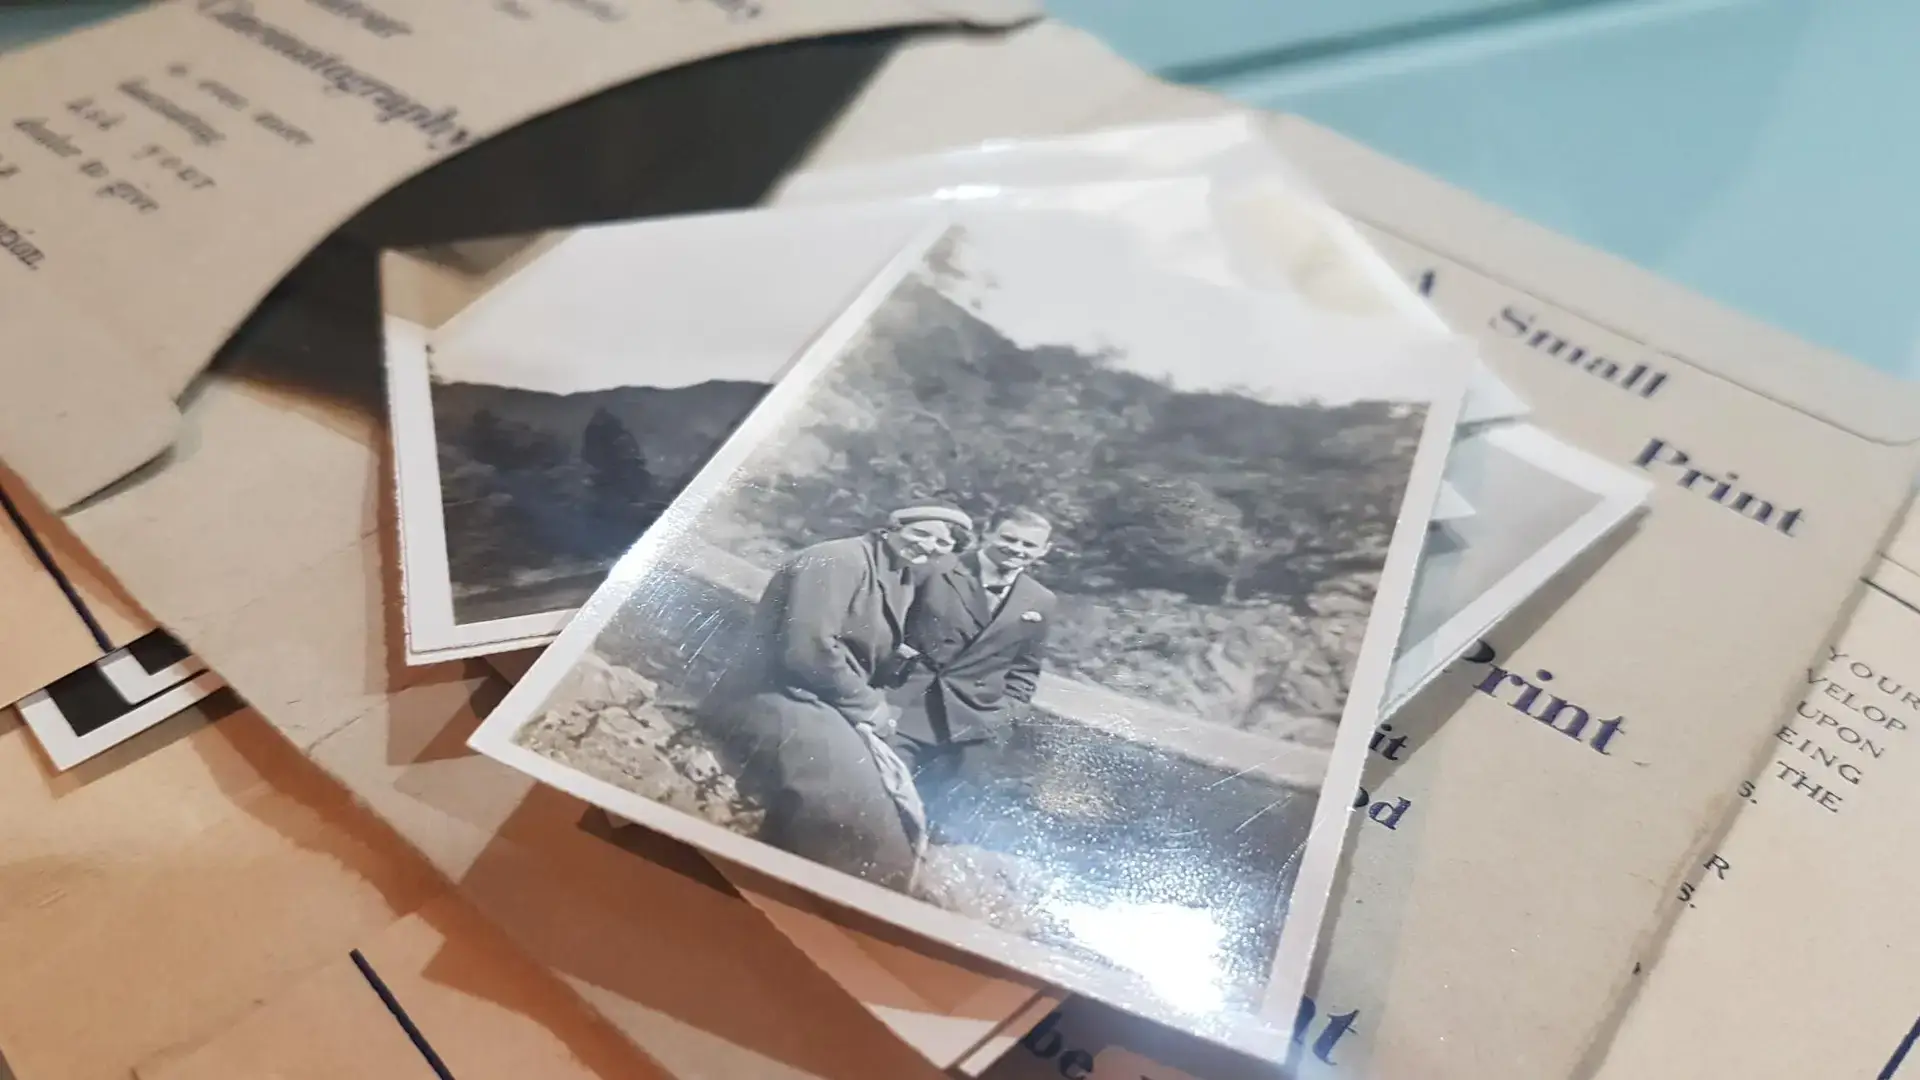
A traditional photographic print is already one generation removed from the camera negative. During printing, a laboratory may have changed:
- cropping
- brightness
- contrast
- colour balance
- exposure
The negative may also contain image information that never appeared on the paper print.
For example, scanning the original film might reveal an extra person at the edge of the frame, more of a building, a road sign or other details that were cropped from the print.
Archival digitisation guidance also recognises that every photographic copying generation can introduce some quality loss. US National Archives guidance explains why camera-original photographic material generally provides the strongest digitisation source.
However, condition still matters. A badly scratched or chemically deteriorated negative may produce a worse result than a pristine original print.
For important photographs, compare both.
35mm Negatives: The Most Familiar Family Format
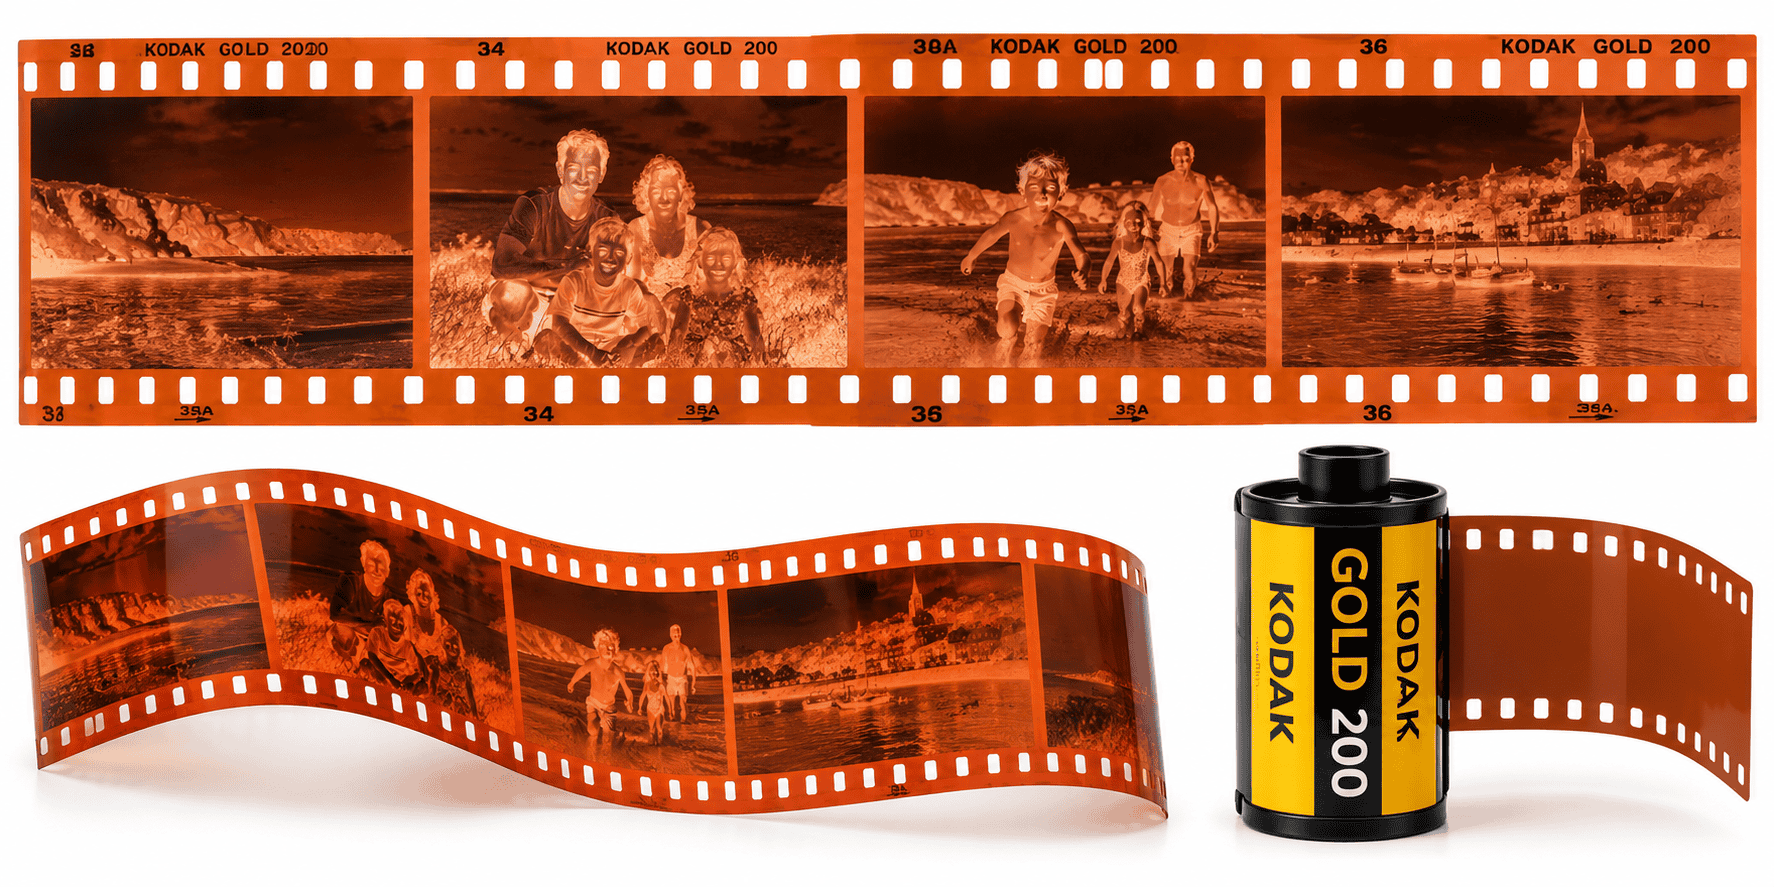
35mm film, also called 135 film, is probably the negative format most people recognise.
The image area measures approximately 24 × 36mm, and the film normally has perforations running along both edges.
You will often find negatives:
- cut into strips of four or six images
- stored inside processing envelopes
- kept in transparent sleeves
- filed alongside the original prints
Because 35mm became so widespread, scanning equipment commonly supports it.
Dedicated film scanners and transparency-capable flatbeds often include suitable 35mm holders.
How Much Resolution Does 35mm Need?
A negative is physically much smaller than a print, so it needs a higher scanning resolution.
Around 4,000 PPI is a useful high-quality benchmark for small photographic film, particularly when you want flexibility for:
- enlargement
- restoration
- cropping
- archival storage
Do not confuse a scanner’s enormous advertised resolution with genuine captured detail.
Optical resolution describes what the scanner can actually resolve from the film.
Interpolated resolution creates additional pixels mathematically.
A huge interpolated image file does not necessarily contain more photographic information.
110 Negatives: Tiny Frames With a Bigger Scanning Challenge
110 negatives are much smaller than 35mm.
The film itself is approximately 16mm wide and the photographed frame is only around 13 × 17mm.
These negatives came from compact pocket cameras that became popular because they were extremely easy to carry and load.
You can usually recognise 110 film by:
- its very narrow width
- tiny rectangular pictures
- characteristic perforations
- its association with small cartridge cameras
Because the photograph occupies such a small area of film, scanner performance becomes particularly important.
A weak scan can quickly run out of usable detail when you enlarge the photograph.
A good high-resolution capture gives you the best opportunity to extract what the tiny original contains, but it cannot correct problems that occurred when the photograph was taken.
It cannot recover:
- missed focus
- camera shake
- severe underexposure
- detail the original lens never resolved
126 Negatives: Look for the Square Frames
126 film is closely associated with Kodak’s Instamatic cameras.
It usually produces a roughly 28 × 28mm square image.
The film is approximately the same overall width as 35mm, which can cause confusion when people find loose strips.
Look more closely and the differences become obvious.
126 commonly has:
- square frames
- a different perforation arrangement
- one registration perforation associated with each image
- image spacing unlike ordinary 35mm film
This means a standard 35mm scanning holder may not position a 126 frame correctly.
If the holder masks part of the film, you can accidentally crop the image during capture.
For archival scanning, the holder should expose the complete photographed area wherever practical.
120 Film: Large Negatives With Impressive Potential
120 film is a medium-format roll film and can produce negatives substantially larger than 35mm.
Unlike 35mm, it does not have one fixed frame size.
Depending on the camera, you may encounter formats including:
- 6 × 4.5cm
- 6 × 6cm
- 6 × 7cm
- 6 × 9cm
The larger film area can capture considerably more usable image information.
That is why photographs made on older medium-format cameras can sometimes produce surprisingly detailed modern scans.
A box camera may look primitive compared with a modern digital camera, yet a large, well-focused negative can contain a great deal of photographic detail.
Does 120 Need 4,000 PPI?
Not necessarily.
A 6 × 6cm negative is already much larger than a 35mm frame.
You can therefore create a large digital image from it at a lower PPI.
The right setting depends on:
- negative dimensions
- genuine detail in the film
- intended print size
- restoration requirements
- scanner capability
Scanning resolution should match the source rather than following one number blindly.
APS Negatives: The Film May Still Be Inside the Cartridge
APS, or Advanced Photo System, presents a different challenge.
Processed APS film was commonly returned inside its original cartridge rather than as exposed strips.
That means an APS cartridge that appears closed may still contain all the developed negatives.
Do not prise it apart simply to see what is inside.
The film is 24mm wide and requires compatible equipment to extract or transport it safely for scanning.
APS also incorporated information intended to help with processing and printing.
If you find several cartridges among family photographs, keep any index prints or processing envelopes with them. These can help you identify the contents without repeatedly handling the film.
What About 127 and Other Unusual Negatives?
Family archives do not stop at five formats.
You may also encounter:
- 127 roll film
- 220 medium-format film
- large-format sheet negatives
- glass negatives
- disc film
- unusual historical formats
Do not cut an unfamiliar negative simply because it does not fit a scanner holder.
The format may be perfectly scannable with different equipment.
A useful rule is to identify first, adapt second.
Cutting, trimming or forcing old photographic film into unsuitable holders can permanently remove image information.
Colour Negatives Need Proper Interpretation
Black-and-white negatives reverse light and dark tones.
Colour negatives are more complicated.
Many contain a strong orange-coloured mask. Simply pressing “invert” in basic image software often produces unnatural colours.
A good negative conversion needs to interpret:
- the orange mask
- individual colour channels
- film age
- exposure
- fading
- contrast
The US National Archives notes that digitising photographic negatives involves more interpretation than scanning positive photographs because there is no obvious positive original to match. Its technical digitisation guidance explains why producing an accurate positive from a negative depends partly on careful tonal judgement.
This is one reason two scans of exactly the same colour negative can look surprisingly different.
Should You Clean Negatives Before Scanning?
Remove loose dust carefully, but avoid aggressive cleaning.
Negatives contain a delicate image layer that can scratch easily.
Before handling:
- work on a clean surface
- keep food and drink away
- avoid touching the image area
- support long strips rather than letting them drag
- hold film carefully by its edges
The Library of Congress recommends careful handling of photographic materials and requires suitable scanning equipment that minimises the risk of physical damage. Its preservation guidance also recommends gloves when handling photographs during digitisation.
For ordinary loose dust, a suitable photographic blower or soft specialist brush can help.
If the negative has:
- mould
- sticky surfaces
- severe curling
- emulsion damage
- unusual deposits
- a strong vinegar-like smell
do not experiment with household chemicals.
Specialist assessment may be safer.
Why Dust Looks Much Worse After Scanning
A tiny particle on a negative can become highly visible after enlargement.
This is especially noticeable with 35mm and 110 film.
Some dedicated film scanners use infrared-based defect detection to identify dust and scratches on compatible film stocks.
Software can also remove marks afterwards.
However, excessive digital cleaning can soften genuine detail such as:
- hair
- fabric texture
- grass
- fine facial detail
The objective should be a clean photograph, not an unnaturally smooth one.
TIFF or JPEG: Which Should You Choose?
For important negatives, keep a high-quality master and create smaller copies for everyday use.
TIFF
TIFF works particularly well for:
- preservation masters
- significant restoration
- repeated editing
- important family photographs
- future reprocessing
Lossless TIFF files can be substantially larger than JPEGs.
JPEG
JPEG is useful for:
- phones
- tablets
- televisions
- online galleries
- everyday photo printing
You therefore do not have to choose one format exclusively.
A practical workflow is:
negative → high-quality master → restored version → JPEG sharing copies
That preserves your strongest capture while keeping everyday files manageable.
Keep the Whole Frame in the Master Scan
Avoid aggressive automatic cropping during the initial capture.
An old photo laboratory may already have cropped the paper print.
The negative could contain information around the edges that nobody has seen for decades.
That might include:
- another family member
- a shop sign
- house details
- a vehicle
- a landmark
- something that helps date the photograph
Keep the full photographic area in the master.
You can crop an attractive print version afterwards.
Maintain the Original Order
A box of unidentified negatives can quickly become hundreds of anonymous files.
Keep strips together and preserve the order in which you found them.
Useful naming might include:
Envelope04_Strip03_Frame01
Envelope04_Strip03_Frame02
Then add names or dates later as you identify people.
Keep:
- original processing envelopes
- handwritten notes
- index prints
- numbered sleeves
These may contain information that the negatives themselves cannot tell you.
For large or mixed collections, specialist scanning of photographic negatives across different film sizes can also help preserve the original sequence while handling formats that ordinary home scanners may not support.
Don’t Throw the Negatives Away After Scanning
Digital files provide access, not a reason to discard the original film.
Keep the negatives after digitisation.
Technology changes.
A future scanner or restoration process may extract more useful information than today’s equipment.
Digital files also have their own risks:
- hard-drive failure
- accidental deletion
- corrupted storage
- lost USB drives
- inaccessible online accounts
Maintain several digital copies in different locations and keep the original photographic material safely stored.
Frequently Asked Questions About Converting Negatives
Can I use a normal flatbed scanner?
Only if it supports film or transparency scanning.
Ordinary document scanners illuminate material for reflected-light scanning. Negatives require light to pass through the film.
Is 35mm better quality than 110?
Usually, 35mm provides greater image-quality potential because its frame area is substantially larger.
The actual result still depends on camera lens, focus, exposure and film stock.
Is 120 better than 35mm?
A good 120 negative can contain more usable detail because it has a much larger image area.
That is one reason medium-format photography has long been used when high image quality matters.
Can APS negatives still be scanned?
Yes.
The main challenge is safely accessing the processed film inside its cartridge.
Can I scan negatives with my phone?
Yes, particularly for identification and casual use.
You need even backlighting, careful alignment and negative-conversion software. Dedicated equipment generally provides greater consistency for archival-quality work.
Should I scan the print or the negative?
Start with the best surviving original.
A good negative commonly offers more image information, but a badly damaged negative may be less useful than a well-preserved print.
Treat Each Negative Format as a Different Original
The best way to convert negatives into digital images is not to force every format through the same scanner setting.
Identify the film first. A tiny 110 negative presents different challenges from 35mm, while a large 120 frame may contain far more detail. APS needs careful access to the cartridge, and 126 requires different framing from conventional 35mm.
Capture the full image, retain a strong master, make restoration changes on a separate version and keep the physical negative afterwards.
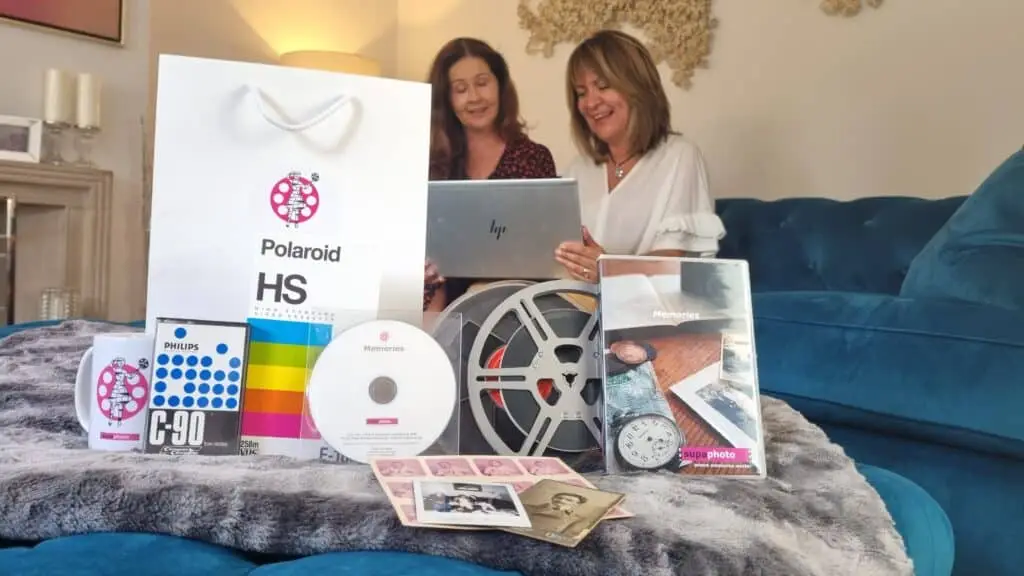
For a few straightforward strips, home scanning can work extremely well. For large collections containing multiple formats, fragile film or important family photographs, it ultimately makes sense to choose an experienced professional company used to handling photographic negatives safely, such as Supaphoto Ltd.