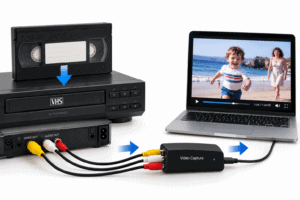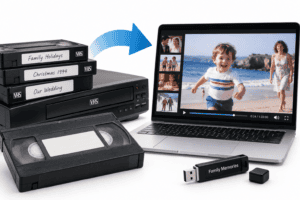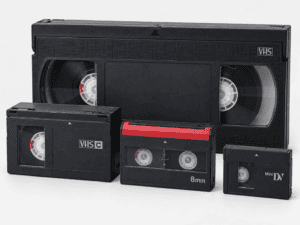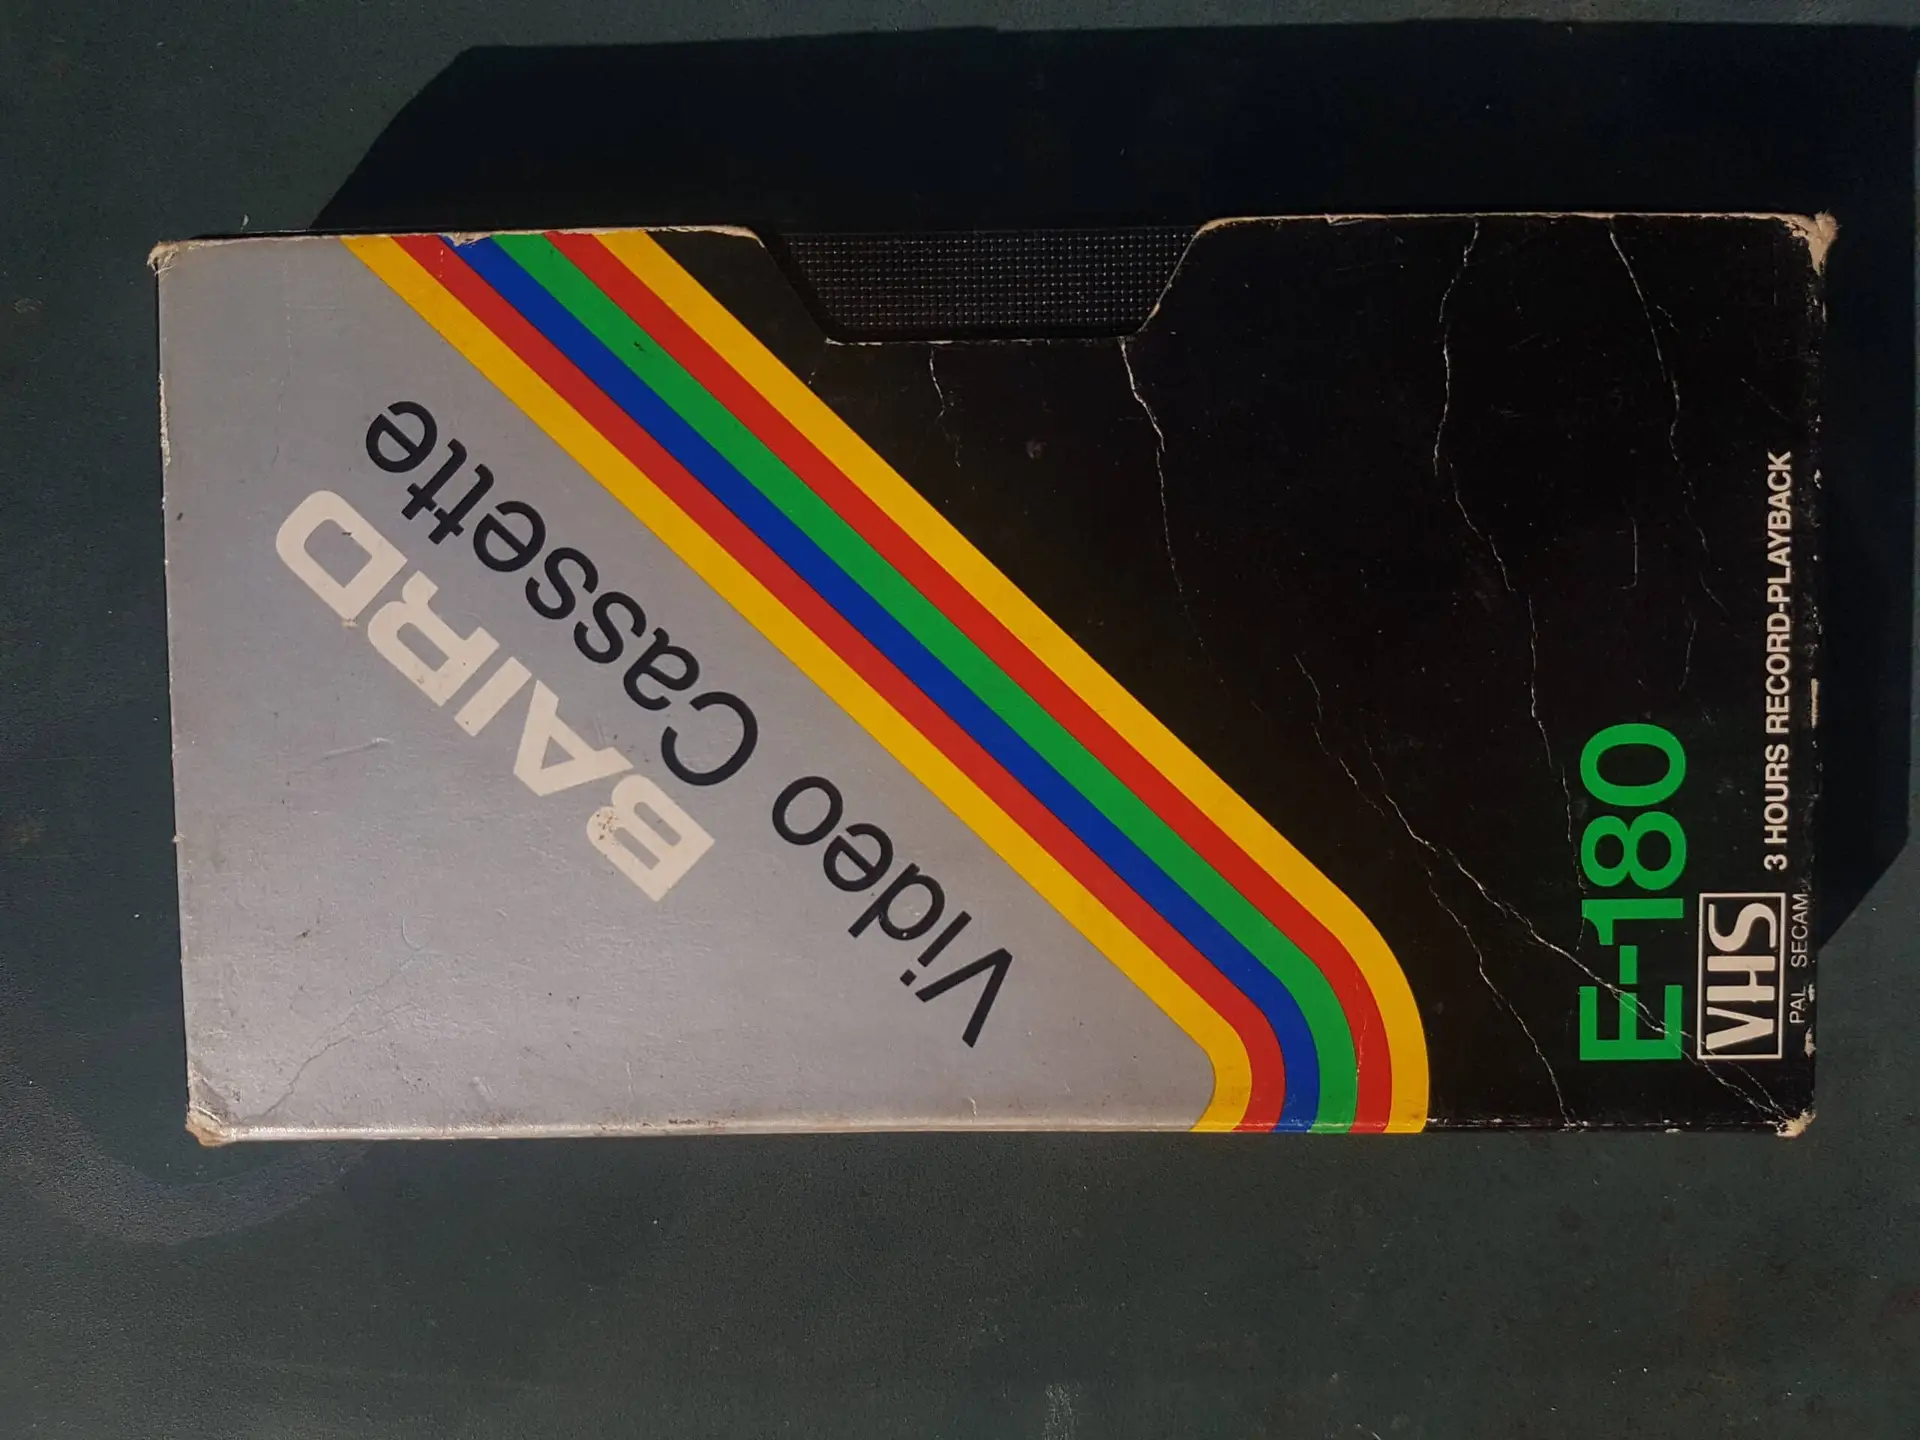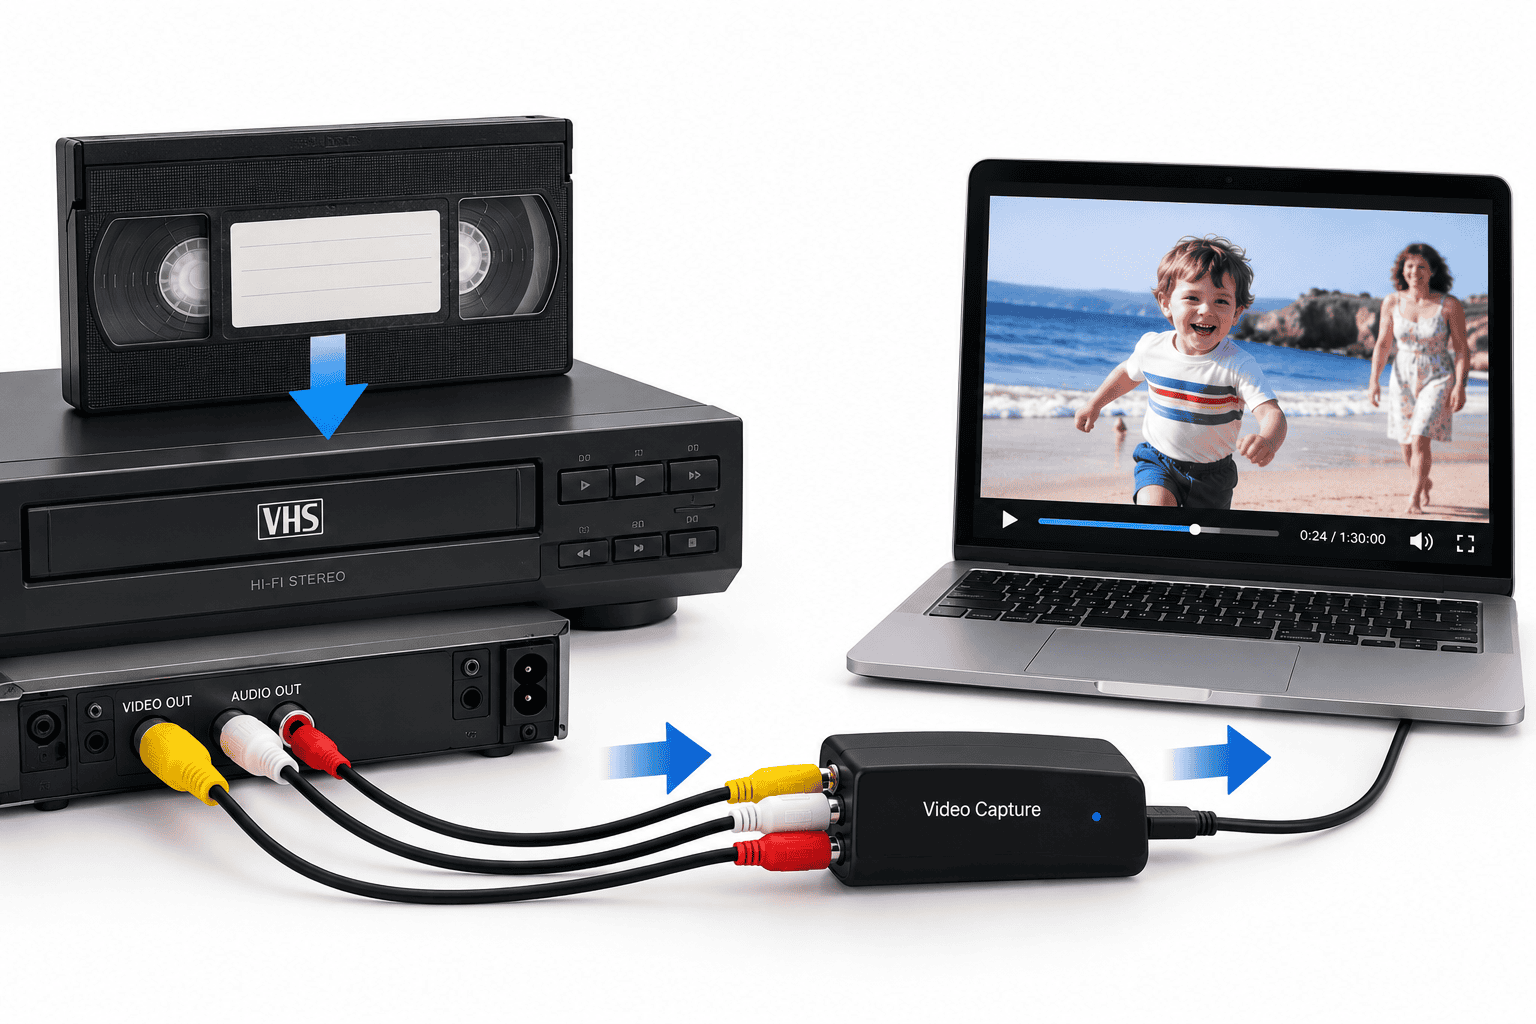

To transfer VCR to digital, you need a working VHS player, suitable video and audio cables, an analogue-to-digital capture device, a computer and capture software. The VCR plays the tape in real time while the capture device converts its analogue picture and sound into a digital video file.
A typical connection looks like this:
VHS tape → VCR → video/audio cable → capture device → computer → digital video file
| Equipment | What it does | Essential? |
|---|---|---|
| VCR | Plays the VHS tape | Yes |
| Composite or S-Video cable | Carries the video signal | Yes |
| RCA audio cables | Carry left/right audio | Yes |
| Capture device | Converts analogue signals to digital | Yes |
| Computer | Records the converted video | Yes |
| Time base corrector | Stabilises difficult analogue video | Not always, but often valuable |
| Capture software | Records the incoming signal | Yes |
The equipment may look straightforward, but the quality of the final file depends heavily on the condition of the tape, the VCR and the stability of the analogue signal.
Start With the VCR, Not the Capture Card
People often spend most of their time comparing USB capture devices.
The playback machine deserves at least as much attention.
The Canadian Conservation Institute recommends using the best practical playback unit available because the quality of the signal leaving the machine directly affects the digital result. Professional, prosumer and S-VHS decks can provide better playback than basic domestic VCRs.
A worn machine can introduce:
- tracking noise
- unstable pictures
- colour errors
- audio distortion
- tape transport problems
- dropped or distorted frames during capture
Before putting an irreplaceable family tape into an unfamiliar second-hand VCR, test the machine using an unimportant cassette.
Check that it:
- loads correctly
- plays smoothly
- rewinds and fast-forwards normally
- ejects without pulling tape out
- produces stable picture and sound
A machine that chews an ordinary tape should never be trusted with your only recording of a wedding or childhood holiday.
Which Cable Should You Use?
Most VHS players provide one or more analogue outputs.
The common options are:
- composite video
- S-Video
- SCART
- RCA audio
Composite Video
Composite uses a single video connection, traditionally the yellow RCA socket.
The colour and brightness information travel through one signal.
It works with almost every domestic VCR and is sufficient for many transfers.
S-Video
S-Video carries brightness and colour information separately.
Where the VCR genuinely outputs S-Video, particularly from an S-VHS deck, it can provide a cleaner signal with less colour bleeding than composite.
Do not assume an adaptor alone creates S-Video quality. The VCR itself must actually provide the separated signal.
SCART
UK and European VCRs commonly use SCART.
A SCART adaptor can provide:
- composite video
- stereo audio
- sometimes S-Video, depending on the machine and adaptor
Check whether the adaptor has an input/output switch.
If it points the wrong way, you may get a black screen even though everything appears connected correctly.
Don’t Forget the Audio Connections
Composite and S-Video carry picture, not stereo sound.
You normally need separate RCA audio connections:
- red = right audio
- white = left audio
If your recording has mono sound, the VCR may output only one channel or duplicate the signal across both.
After connecting everything, listen through headphones or speakers before starting the full capture.
Common audio problems include:
- only one channel working
- hum
- very low level
- distorted audio
- audio that gradually falls out of sync
Discovering one of these problems after digitising a three-hour tape means repeating the whole capture.
What Does the Capture Card Actually Do?
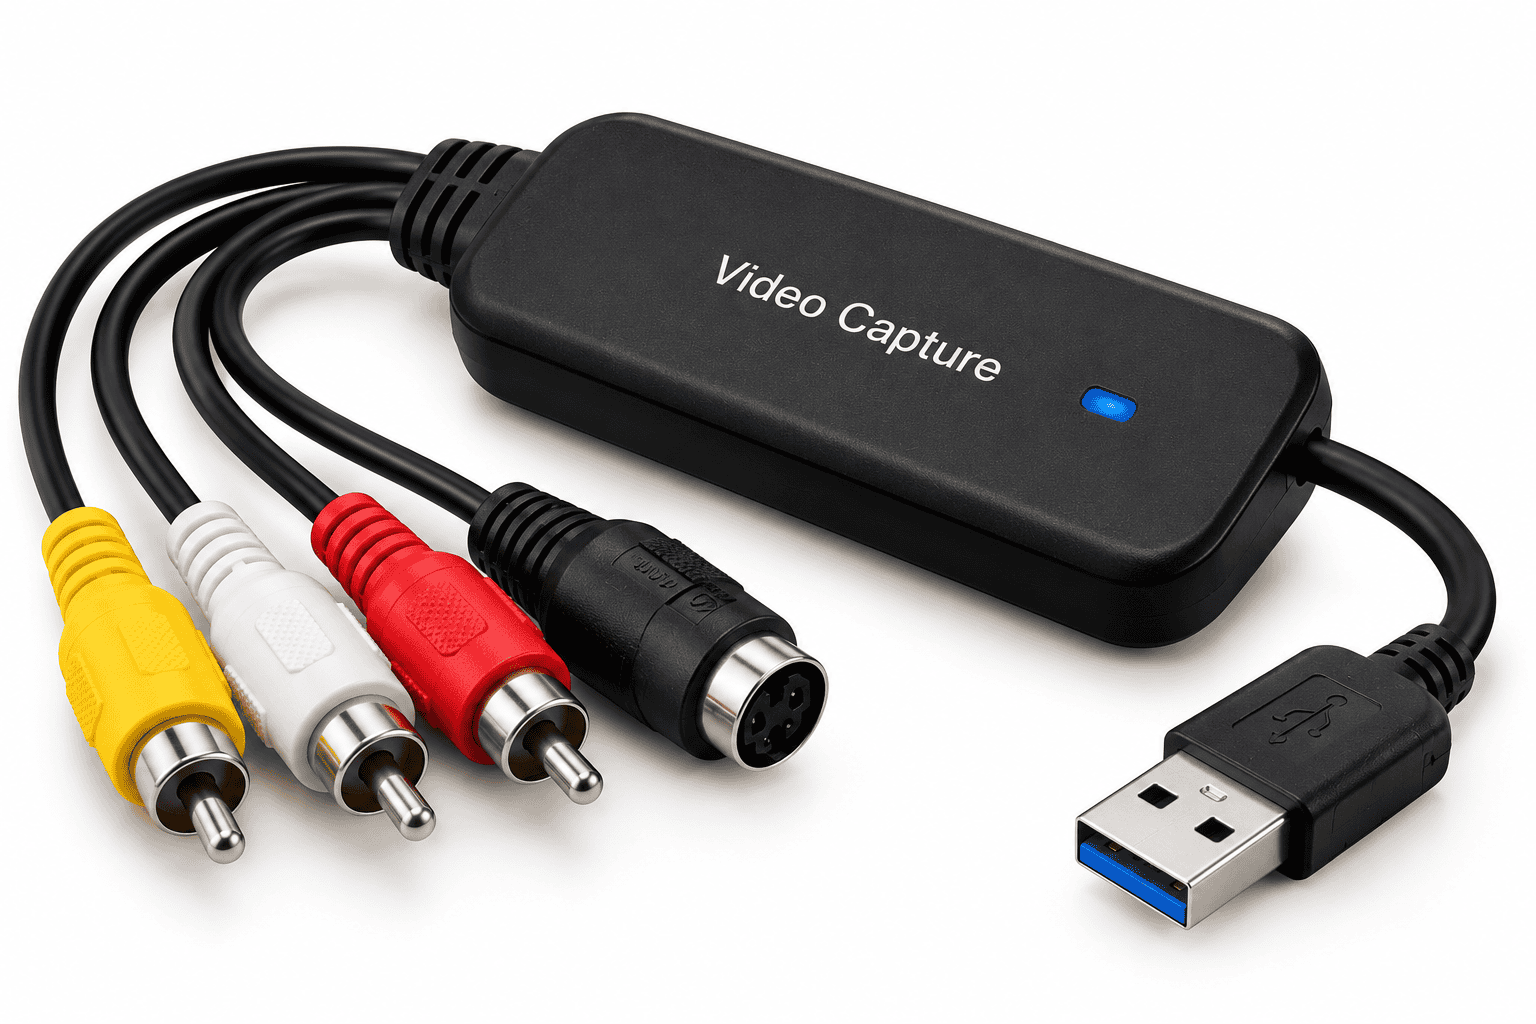
A VHS VCR produces an analogue electrical signal.
A computer needs digital data.
The capture device converts one into the other.
Consumer devices often connect to the computer through USB and provide inputs for:
- composite video
- S-Video
- RCA audio
Professional systems may use dedicated capture cards, external converters or SDI-based workflows.
The capture card matters, but it does not improve the source before conversion.
If the VCR sends it an unstable or badly tracked signal, a basic capture device may record those problems exactly as they arrive — or struggle to maintain a reliable digital capture.
Why Cheap Capture Devices Sometimes Give Poor Results
A low-cost USB capture stick can work perfectly well with a stable VHS recording.
Problems arise when the incoming analogue signal is irregular.
Old VHS tapes can contain:
- timing errors
- dropouts
- unstable synchronisation
- worn sections
- tracking differences
- noise
A more robust capture chain can tolerate these faults better.
This is why comparing capture devices solely by advertised resolution misses the larger issue.
The capture cannot recover video information the VCR failed to reproduce correctly.
What Is a Time Base Corrector?
A time base corrector, or TBC, helps stabilise the timing of an analogue video signal.
VHS does not always reproduce each scan line at exactly the correct moment. Mechanical variation, tape stretching and ageing can cause the picture to bend, wave or move.
The Canadian Conservation Institute describes TBCs as devices that correct variations in synchronisation timing so that scan lines begin at the proper point.
A TBC can help with:
- horizontal instability
- frame synchronisation
- capture lock
- timing errors
- some level and colour inconsistencies
It does not turn VHS into HD or restore lost detail.
Its job is to provide a more stable signal.
Some professional and prosumer S-VHS decks include built-in time-base correction. Other workflows use an external device.
Connect the VCR to the Computer
Once you have the equipment, the physical connection is relatively simple.
For a common USB setup:
- Connect composite or S-Video from the VCR output to the capture device.
- Connect red and white audio outputs.
- Plug the capture device into the computer.
- Open the capture software.
- Select the correct video and audio inputs.
- Play the tape.
- Confirm that picture and sound appear correctly.
- Stop the tape and return to the start point.
- Begin recording in the software.
- Press play on the VCR.
The conversion then happens in real time.
A Two-Hour VHS Tape Takes About Two Hours to Capture
VHS is not like copying a digital file from one USB drive to another.
The machine has to physically play the recording.
The Canadian Conservation Institute notes that VHS conversion occurs in real time and estimates that a proper workflow requires additional time for preparation and checking beyond the running length of the programme.
So a two-hour family film requires roughly two hours just for the recording stage.
You then need additional time to:
- inspect it
- set tracking
- check audio
- review the result
- encode the finished file
- name and organise it
This becomes significant when you have dozens of tapes.
Set the VCR Tracking Before You Capture
Tracking controls how accurately the video heads follow the recorded tracks on the tape.
Incorrect tracking can cause:
- horizontal noise bands
- snow
- unstable pictures
- intermittent sound
Many VCRs adjust tracking automatically, but older tapes can require manual adjustment.
The Canadian Conservation Institute recommends allowing the tape to play briefly and adjusting tracking until the picture looks its best before beginning the final digitisation.
Do this before pressing record rather than trying to repair a badly tracked capture afterwards.
Why Does the Capture Show a Blue Screen?
A blue screen can have several causes.
Check:
- whether the VCR is actually playing
- whether the capture software has the correct input selected
- whether your SCART adaptor is set to output
- whether the yellow composite cable is connected correctly
- whether the capture card driver is working
- whether the VCR itself outputs a picture to a television
Testing the VCR directly on a television can help isolate the problem.
If the television also shows no picture, the issue probably lies with the VCR or tape rather than the computer.
Why Is the Picture Black and White?
A black-and-white image commonly indicates a signal-standard or connection problem.
Possible causes include:
- PAL/NTSC mismatch
- incorrect S-Video handling
- faulty cable
- capture-device configuration
- unusual recording standard
For UK tapes, PAL is normally the first standard to check.
However, imported tapes or recordings made overseas may use NTSC or another standard.
A multi-standard VCR may be necessary for some collections.
Why Does the Image Have Horizontal Lines During Movement?
Traditional VHS video is interlaced.
PAL video typically contains 50 fields per second that combine into 25 interlaced frames.
On modern progressive computer screens, movement may show a comb-like pattern around people or objects.
This does not necessarily mean the tape is damaged.
It may simply be the interlaced source being displayed incorrectly.
You can preserve the original interlaced capture and create a separate deinterlaced viewing version for phones, computers and modern televisions.
Avoid destroying the only master through unnecessarily aggressive processing.
Why Does the Audio Drift Out of Sync?
Audio synchronisation problems can result from:
- dropped video frames
- unstable incoming timing
- capture-device limitations
- computer performance issues
- software settings
The longer the tape, the more obvious a small timing error can become.
A recording may start perfectly synchronised and finish several seconds out.
This is another reason to check the entire captured file rather than watching only the beginning and end.
Don’t Automatically Upscale VHS to 1080p or 4K
Standard VHS does not contain genuine HD detail.
Making a 1920 × 1080 or 4K file does not suddenly reveal information that was absent from the analogue recording.
Upscaling can still have a role in restoration and modern delivery, but treat it separately from the initial transfer.
A strong workflow is:
VHS → accurate digital master → restored/enhanced version → convenient MP4 copy
This protects the original capture while leaving room for future enhancement.
What File Format Should You Choose?
For most households, MP4 using H.264 video is convenient because it works with a wide range of devices.
It offers:
- manageable file sizes
- good picture quality
- easy playback
- simple sharing
- broad compatibility
If preservation or substantial restoration matters, you may also want a higher-quality master file.
The best master format depends on the capture workflow and storage available.
For important recordings, avoiding unnecessary repeated compression is more important than chasing a particular filename extension.
Don’t Convert the Same Recording Repeatedly
Lossy digital encoding can reduce quality each time you recompress the picture.
Avoid:
VHS → MP4 → another MP4 → smaller MP4 → edited MP4
Keep the strongest capture available.
Create smaller sharing copies from that master when needed.
This gives future restoration or editing software the best starting point.
What If the VHS Tape Is Mouldy or Damaged?
Do not play it.
The Library of Congress advises against attempting playback of damaged tape because doing so may further damage both the media and the equipment.
Stop if you see:
- mould
- loose tape
- cracked shells
- badly creased tape
- broken reel hubs
- sticky residue
- unusual resistance
It is also sensible to handle cassette-based audiovisual media by the outer shell and keep playback equipment clean and properly maintained.
For irreplaceable family footage, experimentation can turn a recoverable tape into a much more difficult repair.
DIY Transfer or Professional Conversion?
DIY makes good sense when you:
- have only a few tapes
- already own a reliable VCR
- enjoy technical projects
- have time to monitor captures
- are comfortable troubleshooting analogue video
Professional transfer becomes more attractive when you have:
- dozens of tapes
- damaged cassettes
- unstable recordings
- several video formats
- tapes recorded in different standards
- footage that cannot be replaced
A specialist service for transferring old VHS and video tapes into modern digital formats can also use different playback equipment where one machine does not reproduce every tape equally well.
Check Every Finished File
Do not assume that because the first two minutes look good, the entire transfer succeeded.
The Canadian Conservation Institute recommends playing the completed file in full because spot checking can miss sections that were not captured properly.
Watch for:
- missing footage
- frozen frames
- sound loss
- audio drift
- tracking errors
- sudden black screens
- repeated frames
- file corruption
For valuable family footage, this quality-control stage is essential.
Keep the Original VHS Tape
After digitisation, retain the original tape where practical.
Digital files make the recording easier to access, but drives fail and files can become corrupted or accidentally deleted.
The Library of Congress notes that playback equipment eventually becomes obsolete, making digital migration an important part of audiovisual preservation.
Keep:
- the original cassette
- your main digital file
- a separate backup
- ideally another copy stored elsewhere
That gives the recording protection against both physical and digital failure.
Frequently Asked Questions About Transferring VCR to Digital
Can I connect a VCR directly to a laptop?
Usually not.
Most laptops have no analogue video input, so you need a capture device between the VCR and computer.
Can HDMI convert VHS to digital?
Not directly.
A VHS machine normally outputs analogue video. You would need equipment that converts that analogue signal to HDMI or another digital format before capture.
Is S-Video better than composite for VHS?
It can be, particularly when using an S-VHS deck that genuinely outputs separated luminance and chrominance signals.
For ordinary VHS equipment, the quality difference may depend heavily on the deck.
Do I need a TBC?
Not every tape needs one.
However, unstable or difficult recordings often benefit from time-base correction, especially where capture devices struggle with the timing of the analogue signal.
Can I use OBS to capture VHS?
Yes, provided OBS recognises your capture device and you configure the correct resolution, frame rate, audio and video inputs.
The software does not compensate for poor VCR playback or an unstable analogue signal.
Why is my VHS capture worse than the picture on my television?
The television may tolerate unstable analogue signals better than a basic digital capture device.
Digital capture hardware needs reliable synchronisation. Poor timing can therefore become more obvious during digitisation.
The Best Way to Transfer VCR Footage to Digital
A successful transfer VCR to digital project depends on the complete signal chain rather than one piece of equipment.
Start with a reliable VCR. Use the best available output, connect the audio correctly and make sure the capture device receives a stable signal. Adjust tracking before capture, use time-base correction when required and record the tape in real time.
Then check the finished file properly and create more than one backup.
DIY conversion works well for straightforward tapes and people who enjoy the technical process. For difficult, damaged or irreplaceable family recordings, it ultimately makes sense to use an experienced professional company accustomed to working with ageing VHS equipment and unstable analogue signals, such as Supaphoto Ltd.