
How To Connect a VHS Player To A TV
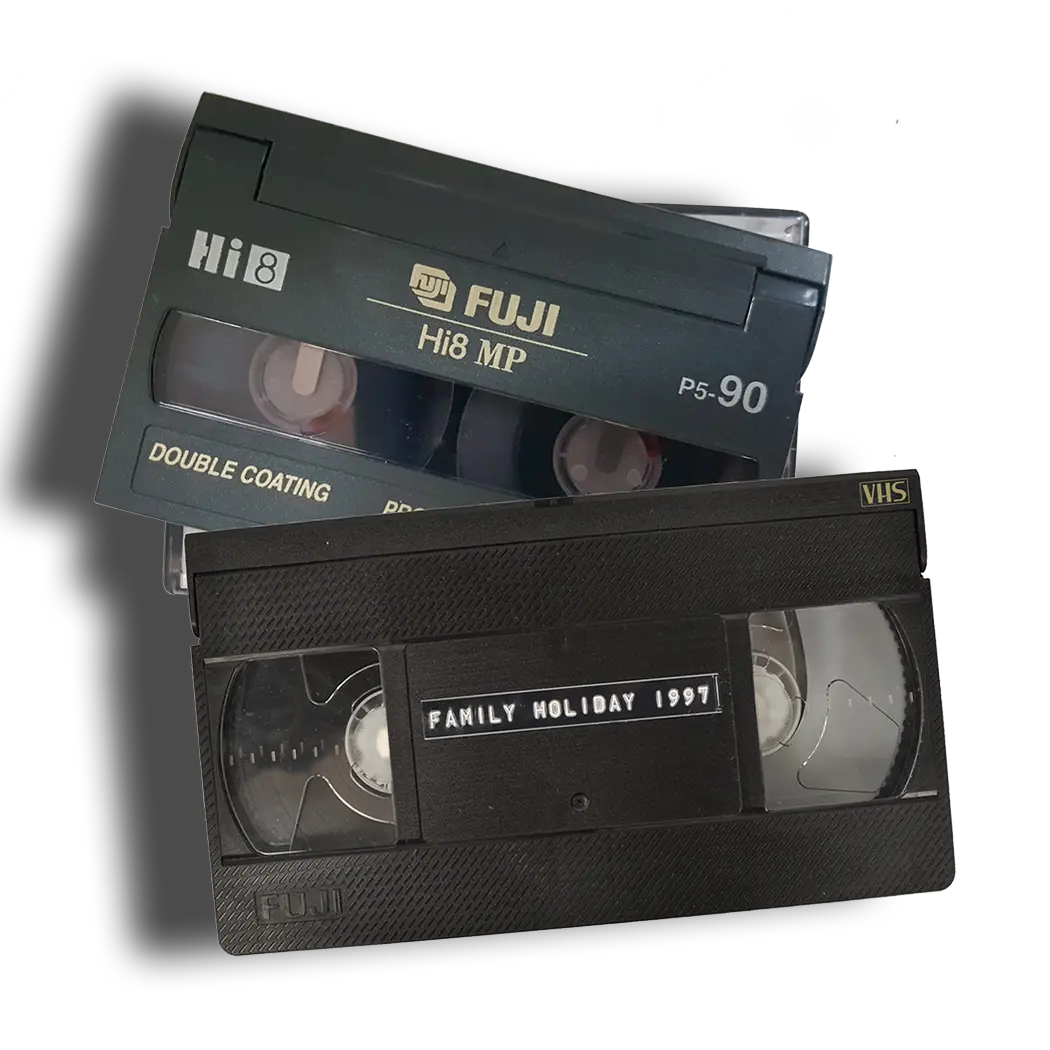
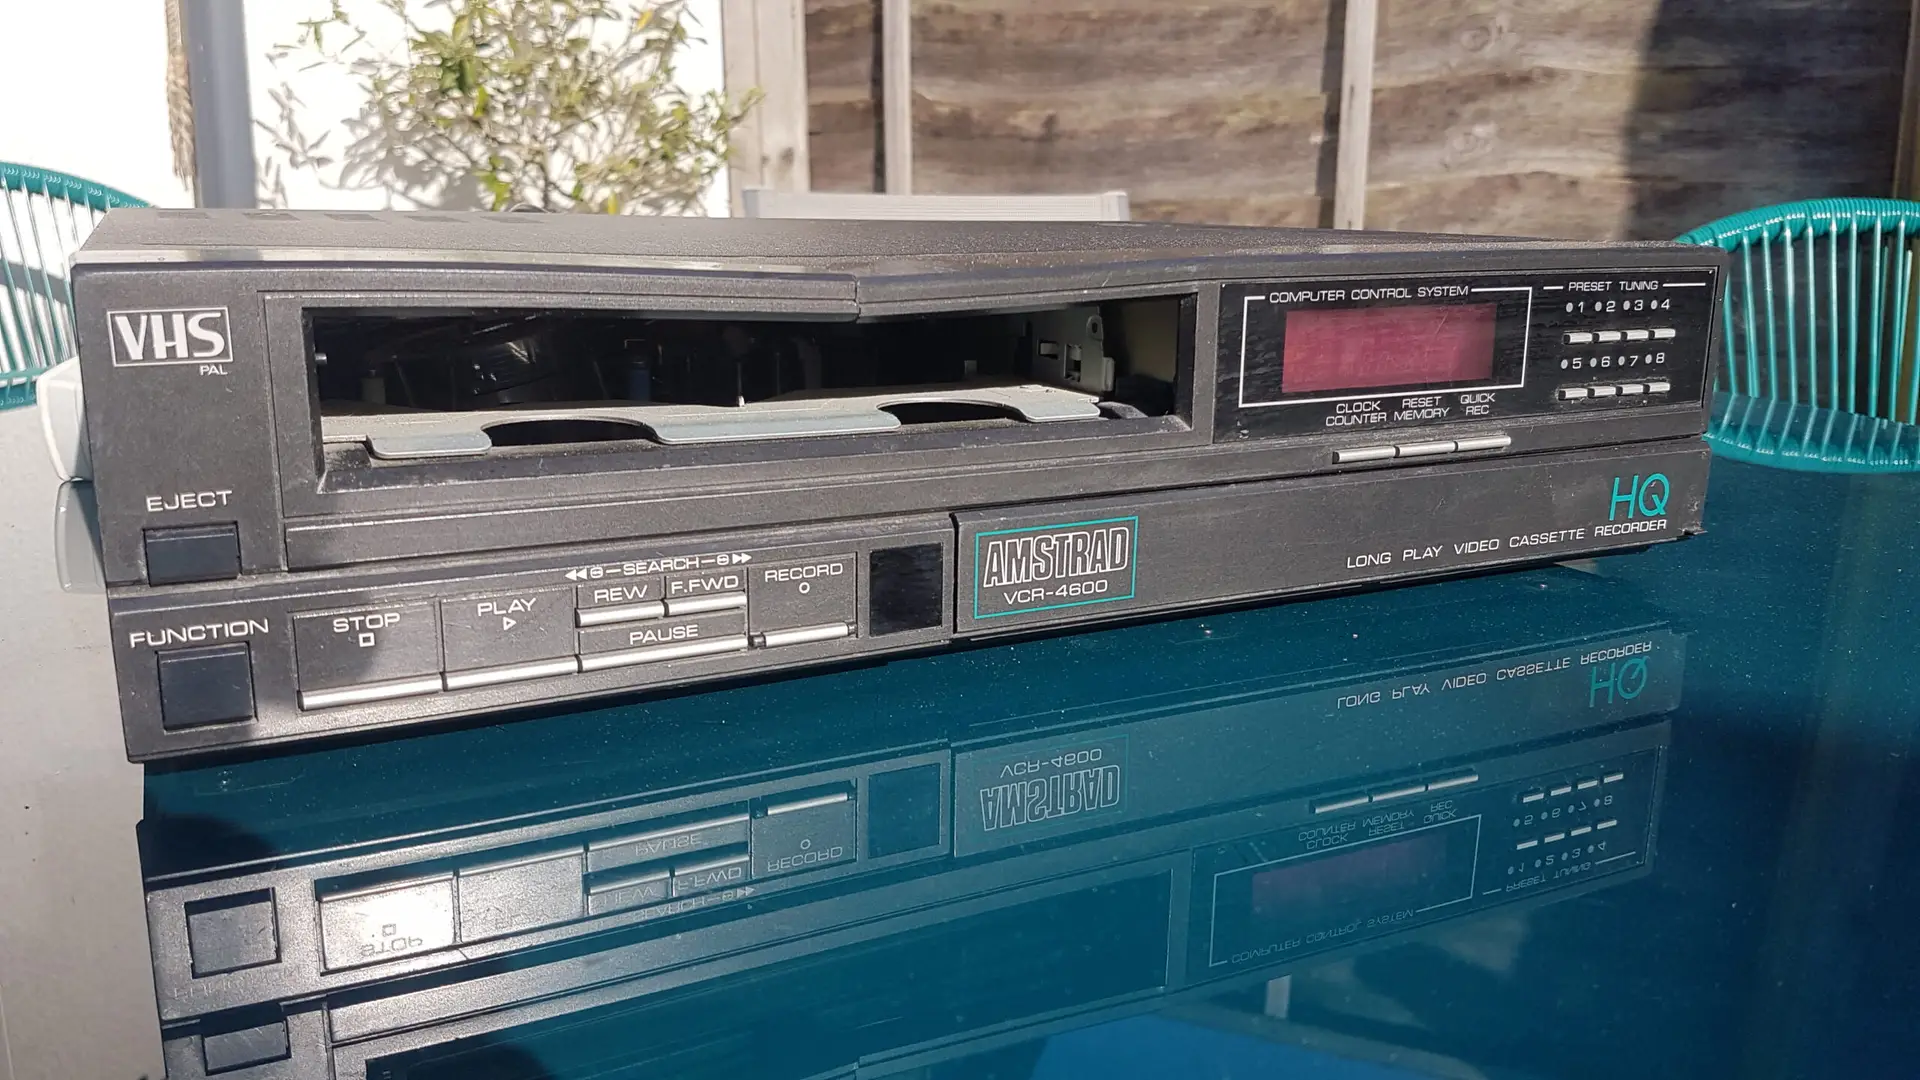
Connecting a VHS player to a TV means linking an old video cassette recorder to your television using SCART, composite AV cables, RF aerial cable or an HDMI converter.
- Check which sockets your VHS player and TV have.
- Use SCART or composite cables if your TV has older inputs.
- Use a powered SCART-to-HDMI or RCA-to-HDMI converter for modern TVs.
- Select the correct TV input, such as AV, EXT, Source or HDMI.
- Test with an unimportant tape before playing precious family recordings.
- Digitising VHS is often safer if the tapes are old, mouldy or irreplaceable.
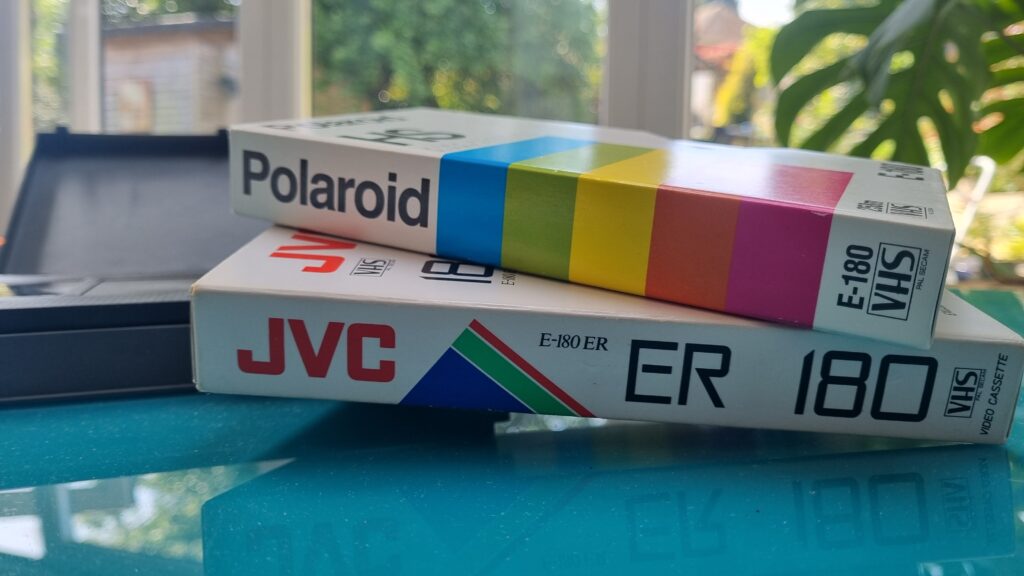
A VHS player can still work with many modern TVs if you use the right cable or converter.
© Image by Supaphoto
First, Check Your TV and VHS Player Connections
Before buying cables, look at the back of your VHS player and television. Most UK VHS players were designed before HDMI became standard, so they usually output an analogue signal through SCART, composite AV or RF aerial connections. Modern televisions often expect HDMI instead, which is why a converter may be needed.
You may see one or more of these sockets:
SCART
SCART is the large rectangular 21-pin connector common on UK and European TVs and VCRs. If both your TV and VHS player have SCART, this is usually the simplest option.
Composite AV
Composite AV uses three coloured plugs: yellow for video, red and white for audio. Some TVs still have these sockets, although they are less common on newer flat-screen models.
RF Aerial
RF uses a round aerial cable. It was common on older equipment, but picture quality is usually weaker than SCART or composite.
HDMI
Most modern TVs have HDMI inputs. VHS players do not normally output HDMI directly, so you need a powered converter box rather than a simple cable.
Option 1: Connect VHS to TV Using SCART
If both your VHS player and TV have SCART sockets, this is the easiest method.
What You Need
- VHS player
- TV with SCART input
- SCART cable
- test VHS tape
Steps
- Turn off the TV and VHS player.
- Plug one end of the SCART cable into the VHS player.
- Plug the other end into the TV’s SCART socket.
- Turn both devices on.
- Press Source, Input, AV or EXT on the TV remote.
- Select the correct SCART or AV input.
- Insert a test tape and press play.
If there is no picture, try a different AV input on the TV menu. Some televisions label the SCART input as AV1, AV2, EXT1 or EXT2.
Expert Insight
SCART carries analogue picture and sound, but not every adapter works both ways. Check the direction: for VHS playback, the signal must go from the VHS player to the TV.
Option 2: Connect VHS to TV Using Red, White and Yellow Cables
Composite AV is another common method. It is easy to recognise because of the coloured plugs.
What You Need
- yellow, red and white AV cable
- VHS player with AV output
- TV with AV input
- test VHS tape
Steps
- Connect the yellow plug to video out on the VHS player.
- Connect red and white to the audio outputs.
- Plug the other ends into the matching TV inputs.
- Switch the TV to AV, Video or Composite.
- Press play on the VHS player.
If the picture appears but there is no sound, check the red and white audio plugs. If the picture is black and white, make sure you have selected the correct video input and PAL setting where available.
Option 3: Connect VHS to a Modern HDMI TV
Many modern TVs no longer have SCART or composite inputs. If your TV only has HDMI, you need a powered converter. A simple SCART-to-HDMI cable is often not enough because the VHS player sends analogue video, while HDMI expects a digital signal.
What You Need
- VHS player
- SCART-to-HDMI converter or RCA-to-HDMI converter
- HDMI cable
- USB or mains power for the converter
- test VHS tape
Steps for SCART to HDMI
- Plug the SCART cable into the VHS player.
- Connect the other end to the SCART-to-HDMI converter.
- Connect the converter to the TV using an HDMI cable.
- Power the converter using USB or mains power.
- Select the correct HDMI input on the TV.
- Press play on the VHS player.
Steps for RCA to HDMI
- Connect yellow, red and white cables from the VHS player to the converter.
- Connect the converter to the TV using HDMI.
- Power the converter.
- Select the correct HDMI source on the TV.
- Test playback.
Some converters offer 720p or 1080p output. This does not turn VHS into HD. It simply changes the signal into a format the TV can display.
Option 4: Connect VHS Using RF Aerial Cable
RF is the oldest and usually weakest option, but it can still work with some TVs.
What You Need
- RF aerial cable
- VHS player with RF out
- TV with aerial input
- analogue tuning option
Steps
- Connect RF out on the VHS player to the TV aerial input.
- Turn on the VHS player.
- Insert a test tape and press play.
- Open the TV tuning menu.
- Search for an analogue signal.
- Save the channel when the VHS picture appears.
This method can be fiddly because many modern TVs no longer support analogue tuning in the same way older sets did.
Why Is There No Picture?
If your VHS player connects but nothing appears on screen, check these common causes.
Wrong TV Input
Press Source or Input on the remote and try AV, EXT, Composite or HDMI.
Converter Not Powered
Most HDMI converters need power. If the converter has no power, the TV will show no signal.
Wrong Direction Adapter
Some SCART adapters only work one way. Make sure the signal direction is from VHS player to TV.
Faulty Cable
Old SCART and AV cables can fail. Try another cable if possible.
VHS Player Fault
A machine that powers on may still have dirty heads, worn belts or a faulty output.
Why Is There Picture But No Sound?
No sound usually means the audio cables are loose, plugged into the wrong sockets or the TV is on the wrong input.
Check:
- red and white audio cables
- TV volume
- mute setting
- converter audio input
- SCART cable seating
- whether the tape itself has audio
If the sound is muffled or unstable, the tape or VHS player may be the problem.
Why Does the Picture Look Poor?
VHS is an old analogue format, so it will never look as sharp as HD or 4K video. A converter can make the signal compatible with HDMI, but it cannot restore detail that was never recorded. VHS picture quality is limited by the original recording, tape condition and playback machine.
Common causes of poor picture include:
- dirty video heads
- weak tape signal
- poor tracking
- low-quality converter
- damaged cassette
- unshielded cables
- mould or tape deterioration
Expert Insight
A converter only changes the signal type. It does not repair tracking faults, mould damage or worn tape. If the recording matters, inspect the cassette before repeated playback.
Test the VHS Player Before Using Precious Tapes
Never begin with your most important tape. Use a commercial tape or an unimportant recording first.
Watch for warning signs:
- tape crinkling
- slow loading
- squealing
- grinding sounds
- picture cutting in and out
- tape failing to eject
- machine chewing the cassette
If the machine behaves badly, stop. A faulty VHS player can crease, stretch or snap the tape.
Should You Connect a VHS Player or Digitise the Tapes?
Connecting a VHS player is useful if you want to check what is on a tape or enjoy an occasional viewing. However, it is not always the best long-term solution.
VHS machines are ageing, cables are harder to find and modern TVs are not built around analogue video. More importantly, every playback puts some physical wear on the tape.
If your tapes contain family memories, digitising them is usually safer and more practical. Supaphoto’s video preservation specialists can inspect tapes before transfer, identify problems and help protect the original recordings.
DIY VHS Digitisation Versus Professional Transfer
You can digitise VHS yourself by connecting the player to a computer through a capture device. This can work, but it takes time and care.
A two-hour tape takes at least two hours to capture. You also need extra time for setup, checking, file naming, storage and backups.
Common DIY Problems
- no sound recorded
- wrong aspect ratio
- black and white picture
- dropped frames
- audio out of sync
- over-compressed files
- poor tracking
- mouldy tapes played in a home machine
Why Many People Prefer a Professional Service
A professional digitisation company can reduce the risks involved with old tapes. Supaphoto Ltd works from a dedicated UK studio with professional inspection, careful handling of originals, order tracking, specialist equipment, tape repair where appropriate, mould treatment and quality assurance.
If you want to watch old memories without relying on ageing equipment, Supaphoto can help with converting VHS recordings to modern digital files.
Expert Insight
Archive guidance from organisations such as the BFI and National Archives supports careful handling before transfer. The first playback after many years may be the best chance to capture the tape safely.
VHS to TV, DVD, USB or Digital: Which Is Best?
Watching on TV
Best for a quick nostalgia session, provided your player and tape are safe.
DVD
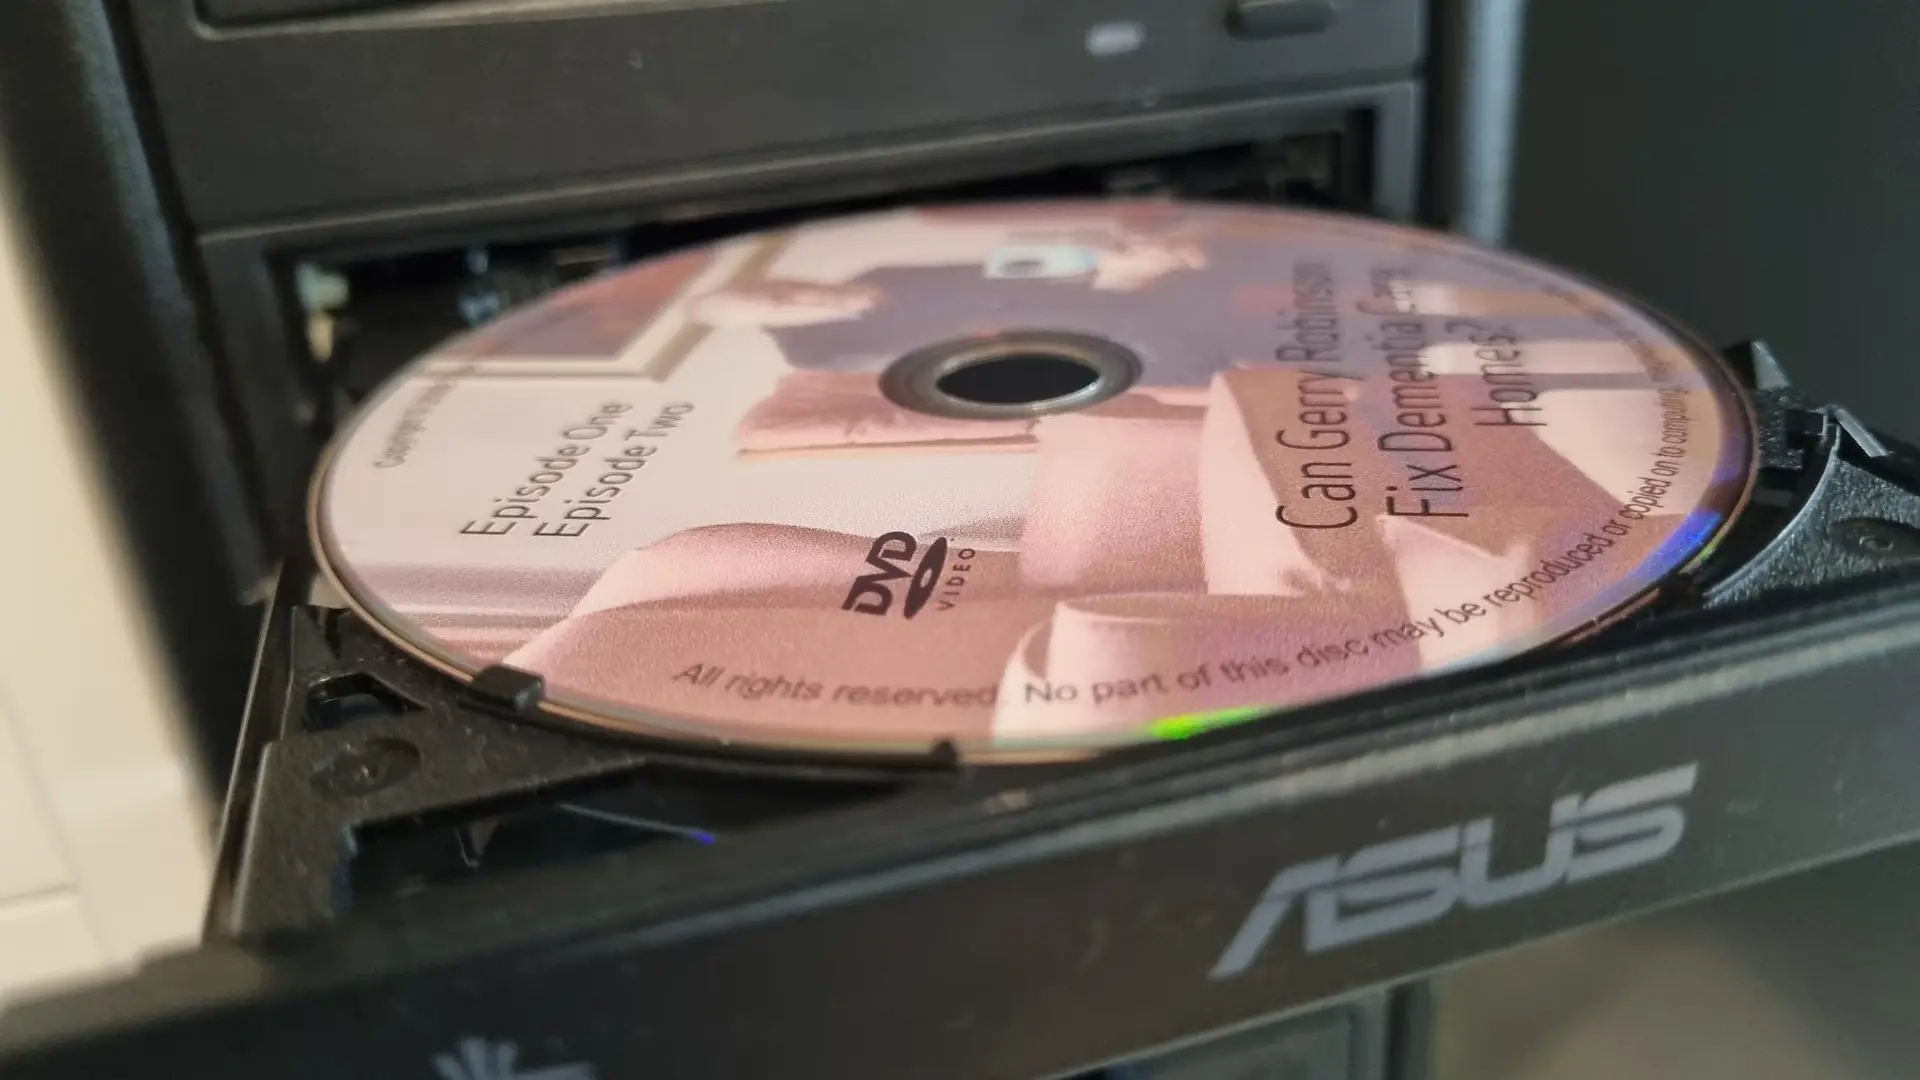
Useful for relatives who prefer simple disc playback.
USB
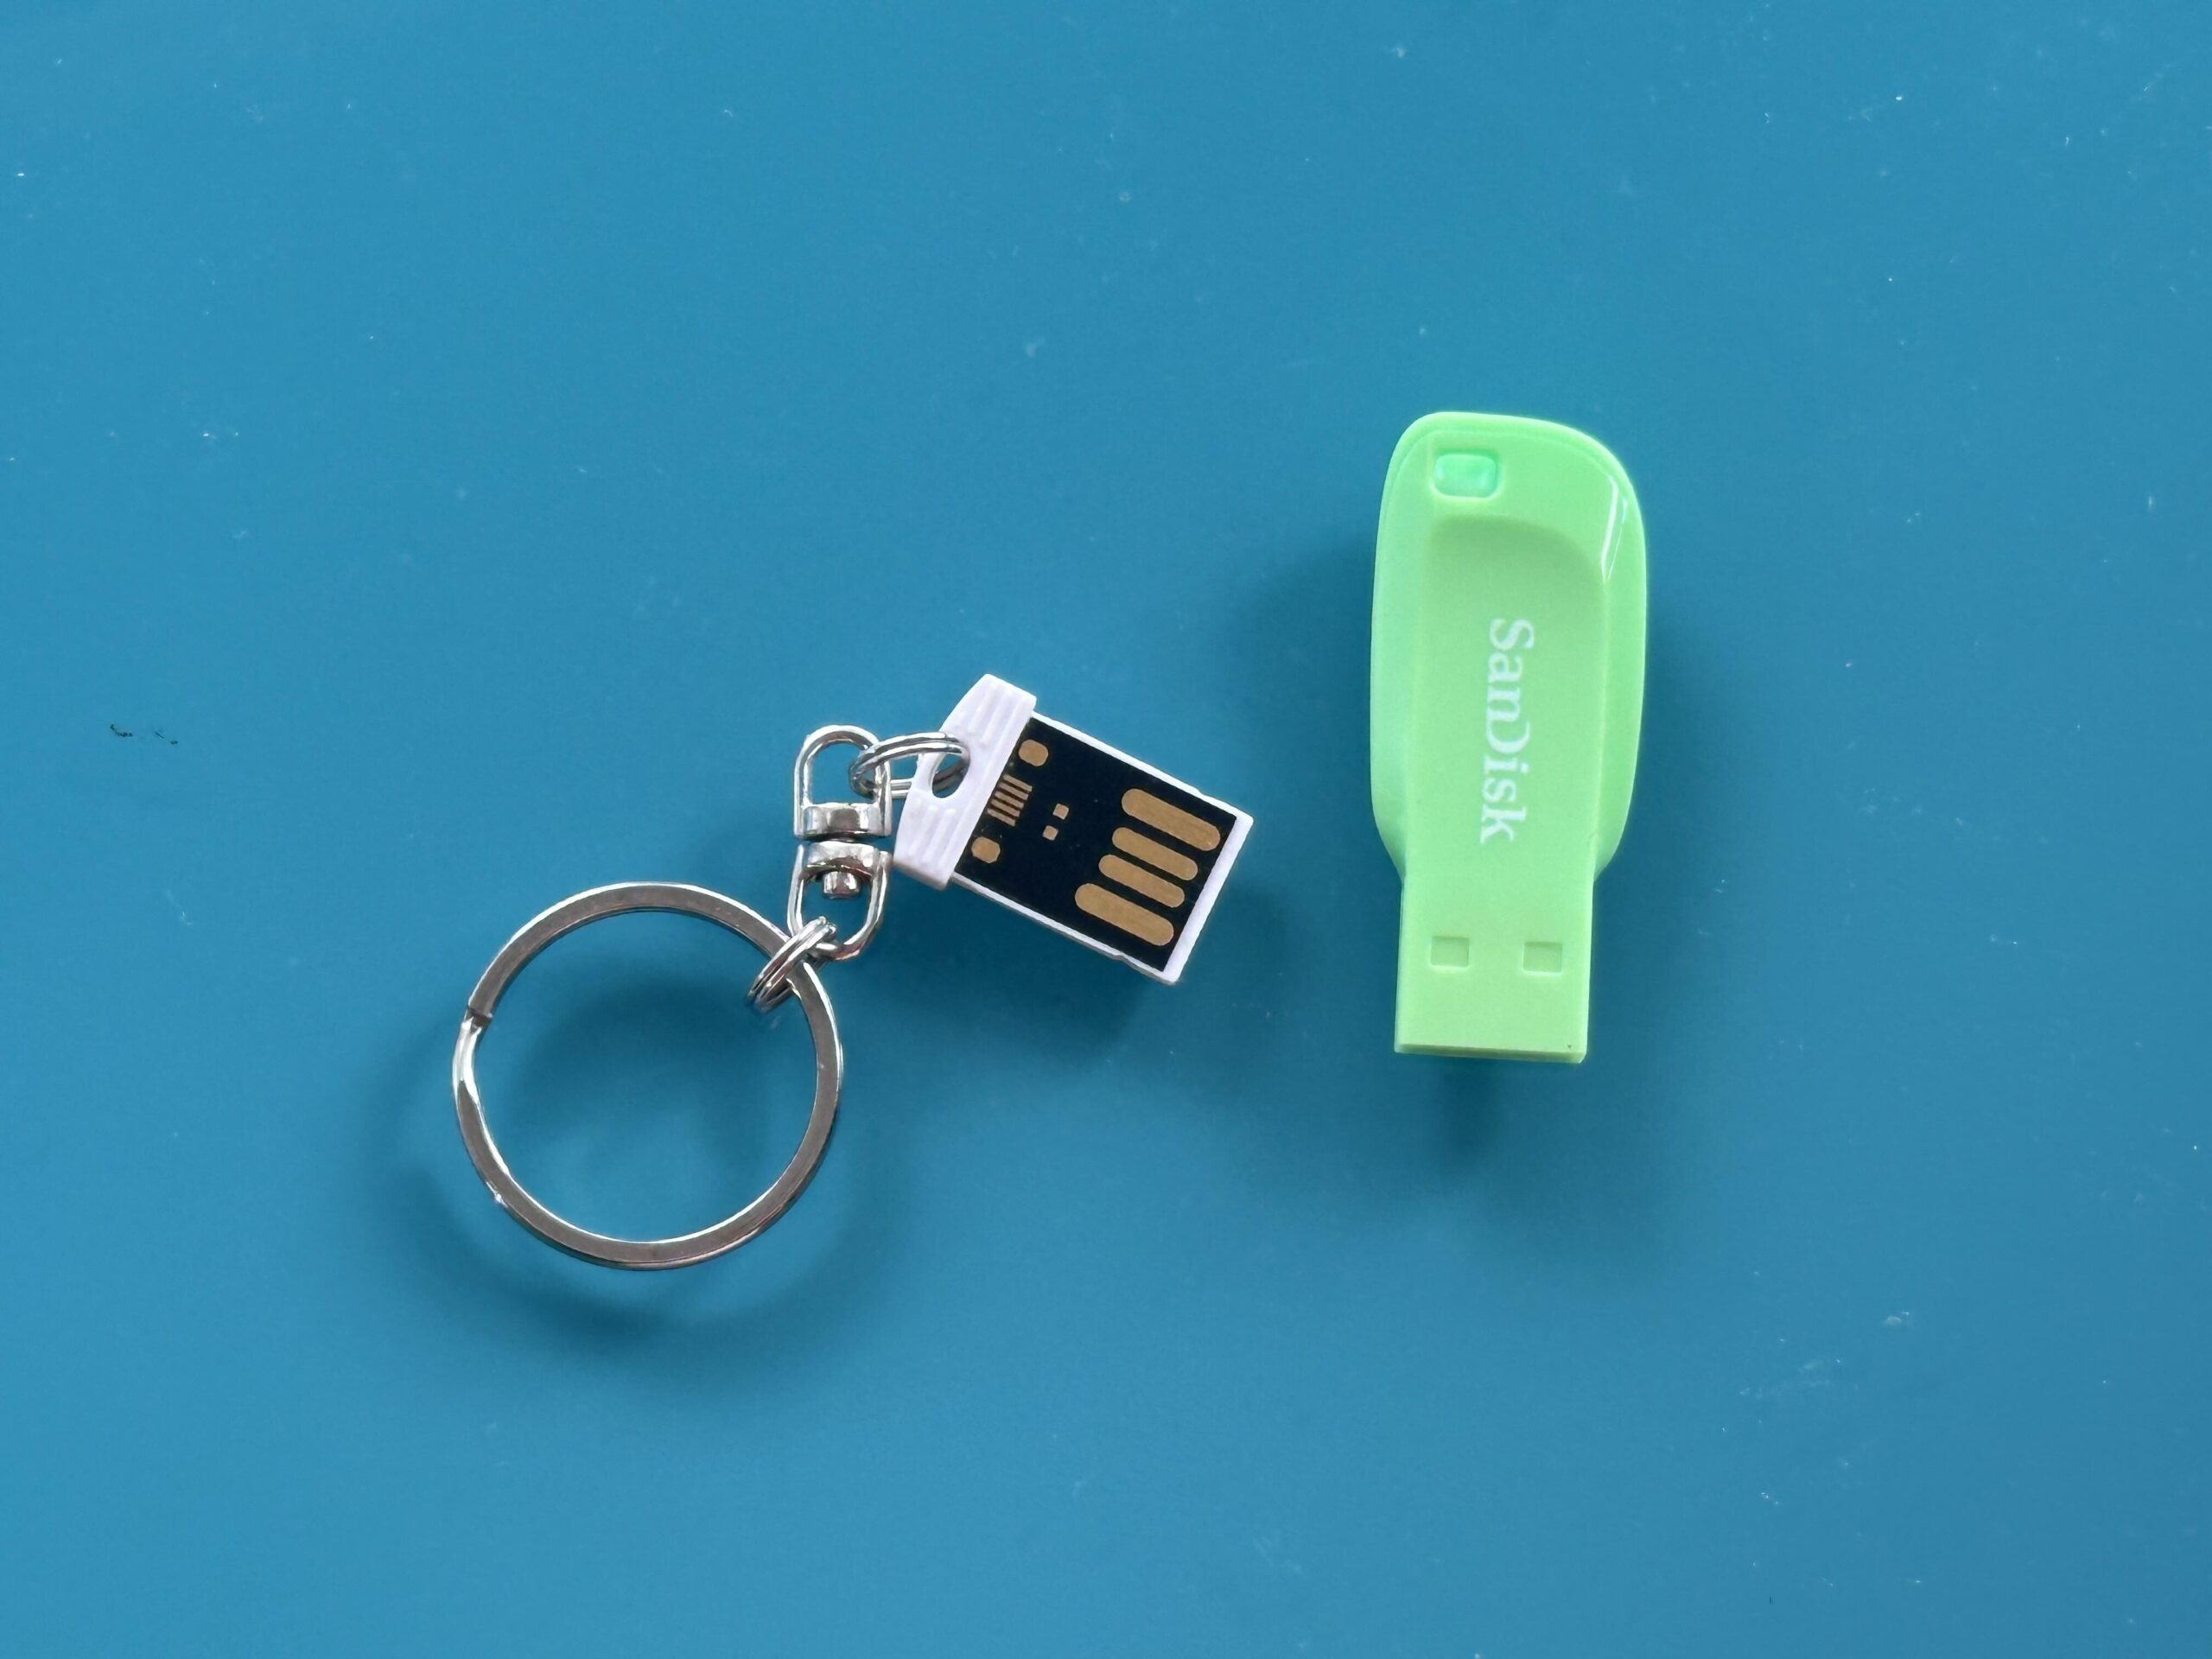
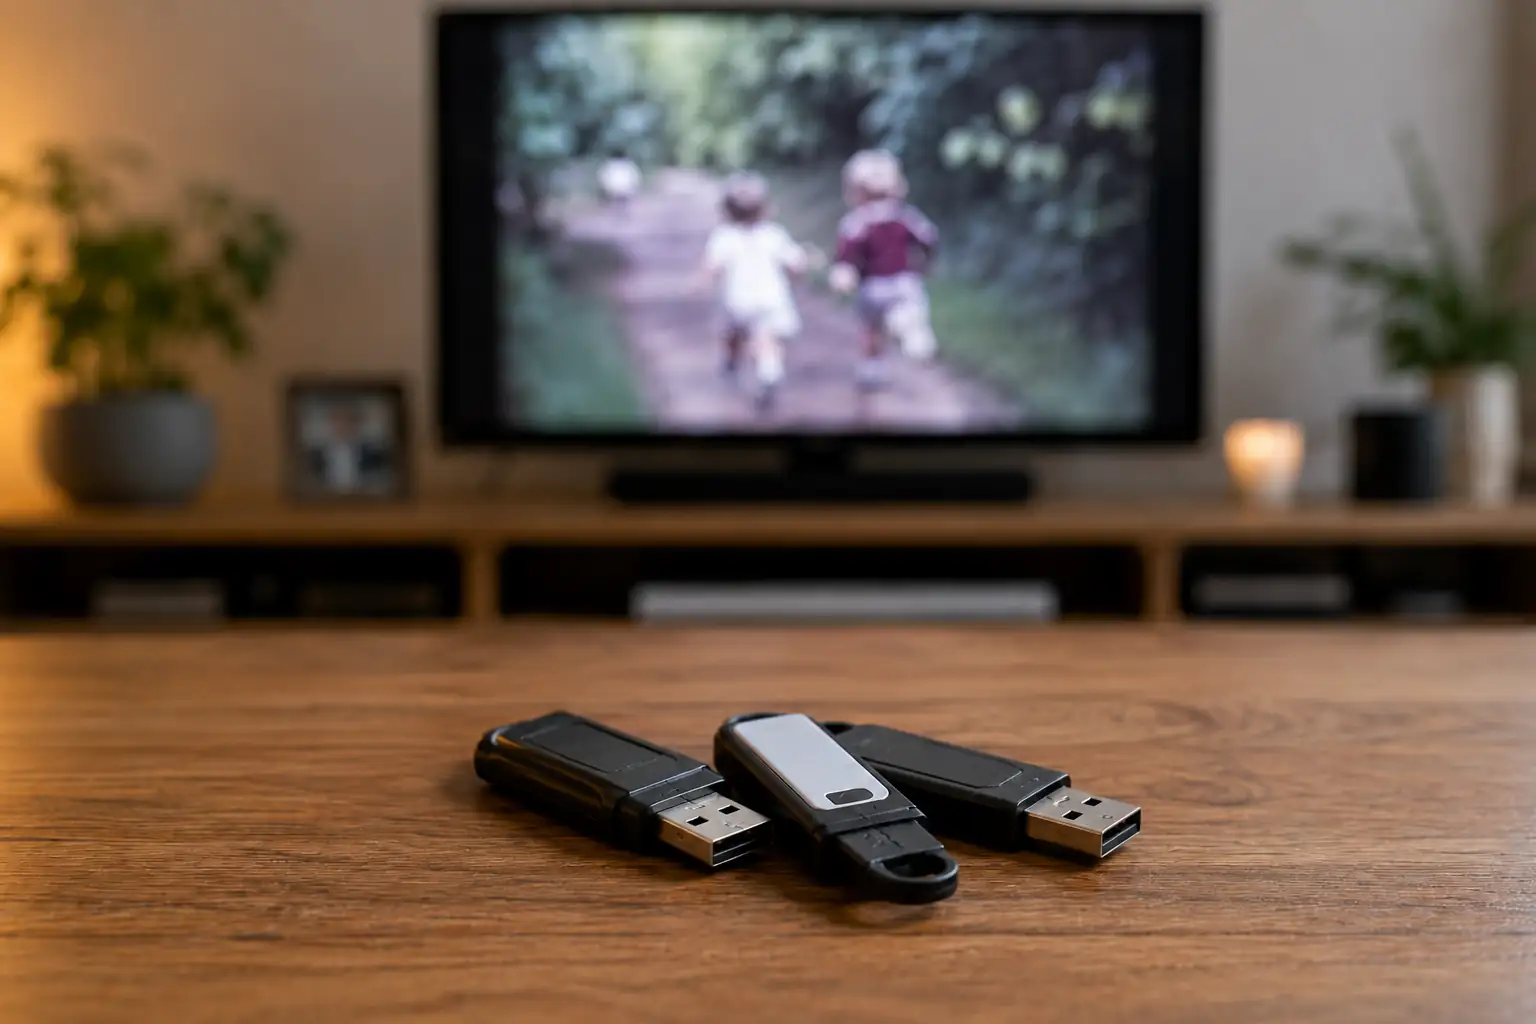
Convenient for many modern TVs, computers and laptops.
Digital Files
Best for long-term storage, family sharing, editing and backups.
Many families choose digital files plus a USB or DVD viewing copy.
Project Ideas After Digitising VHS
| Project idea | What you can create | Best format |
|---|---|---|
| Family archive | Organised folders by year or event | Digital files |
| Birthday gift | Childhood clips edited into a short film | MP4 |
| Wedding anniversary | A preserved copy of wedding footage | USB or DVD |
| Care home viewing | Simple playback copy for older relatives | DVD or USB |
| Family history project | Videos combined with scanned photos | Digital archive |
| Memory box | USB with videos, photos and written notes | USB |
| Private sharing | Clips for family groups | MP4 |
For ideas on enjoying old recordings again, Supaphoto’s inspiration section offers practical ways to turn forgotten tapes into meaningful family projects.
FAQs About Connecting a VHS Player to a TV
How do I connect a VHS player to a modern TV?
Use a powered SCART-to-HDMI or RCA-to-HDMI converter, then connect the converter to the TV with an HDMI cable.
Can I connect a VHS player with just a SCART to HDMI cable?
Usually no. You normally need a powered converter box because SCART is analogue and HDMI is digital.
What input should my TV be on for VHS?
Try AV, EXT, Composite, Video or the HDMI input connected to your converter.
Why does my VHS player show no signal?
The TV may be on the wrong input, the converter may not be powered, the cable may be faulty or the VHS player may not be outputting properly.
Can an old VHS player damage tapes?
Yes. Worn belts, dirty heads and faulty loading mechanisms can crease, chew or snap tapes.
Is it better to digitise VHS than connect it to a TV?
For valuable family recordings, yes. Digitising helps protect the footage and makes it easier to watch without relying on old equipment.
Conclusion
Learning how to connect a VHS player to a TV is useful if you want to watch old tapes again. Older TVs may work with SCART, AV or RF cables, while modern HDMI-only TVs usually need a powered converter.
Before playing important tapes, test the equipment and inspect the cassette. If the recordings are precious, damaged or mouldy, professional digitisation is often the safer long-term choice.
Newsletter sign-up: Join the Supaphoto newsletter for practical tips on preserving old tapes, photos and family memories.
Request a quotation: Ask Supaphoto for a quote if you would like VHS tapes inspected and converted to DVD, USB or digital files.
Social media share or follow: Share this guide with someone trying to reconnect an old VHS player, or follow Supaphoto for more preservation advice.