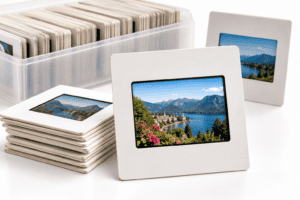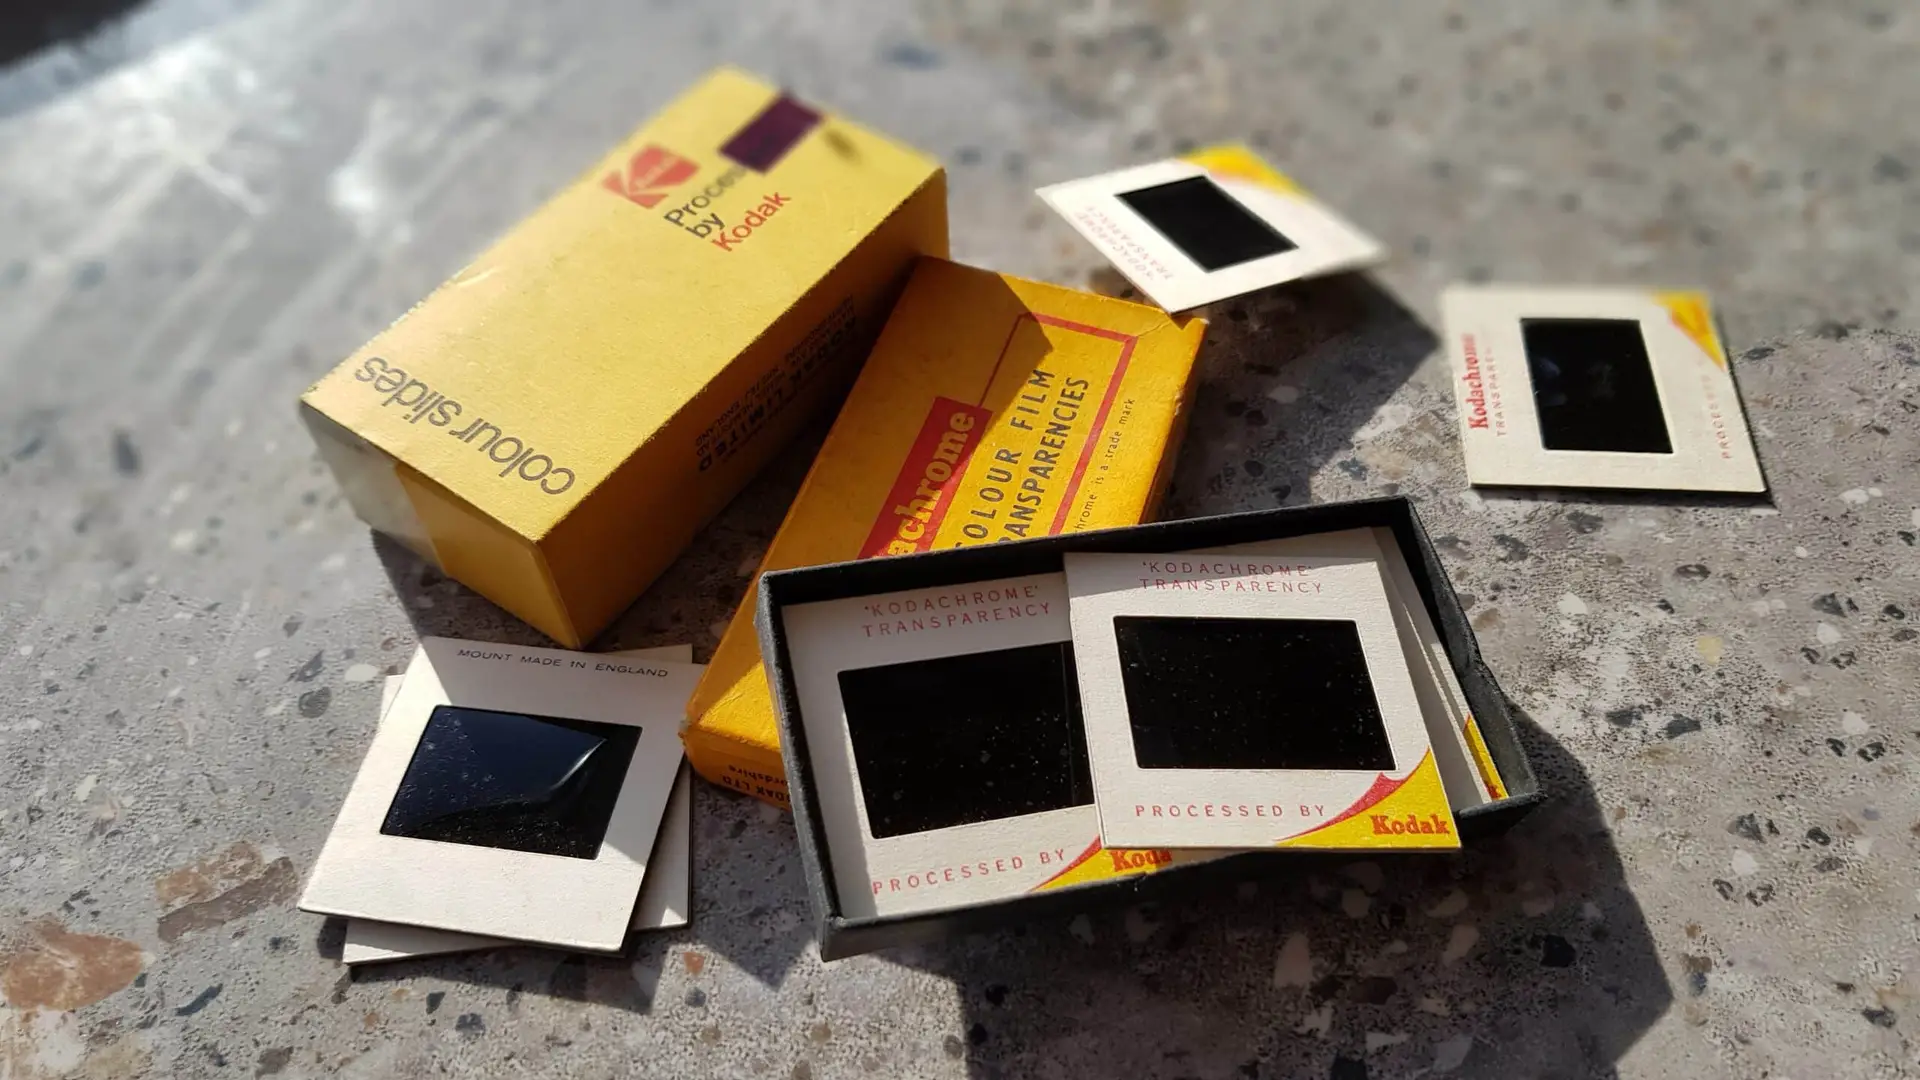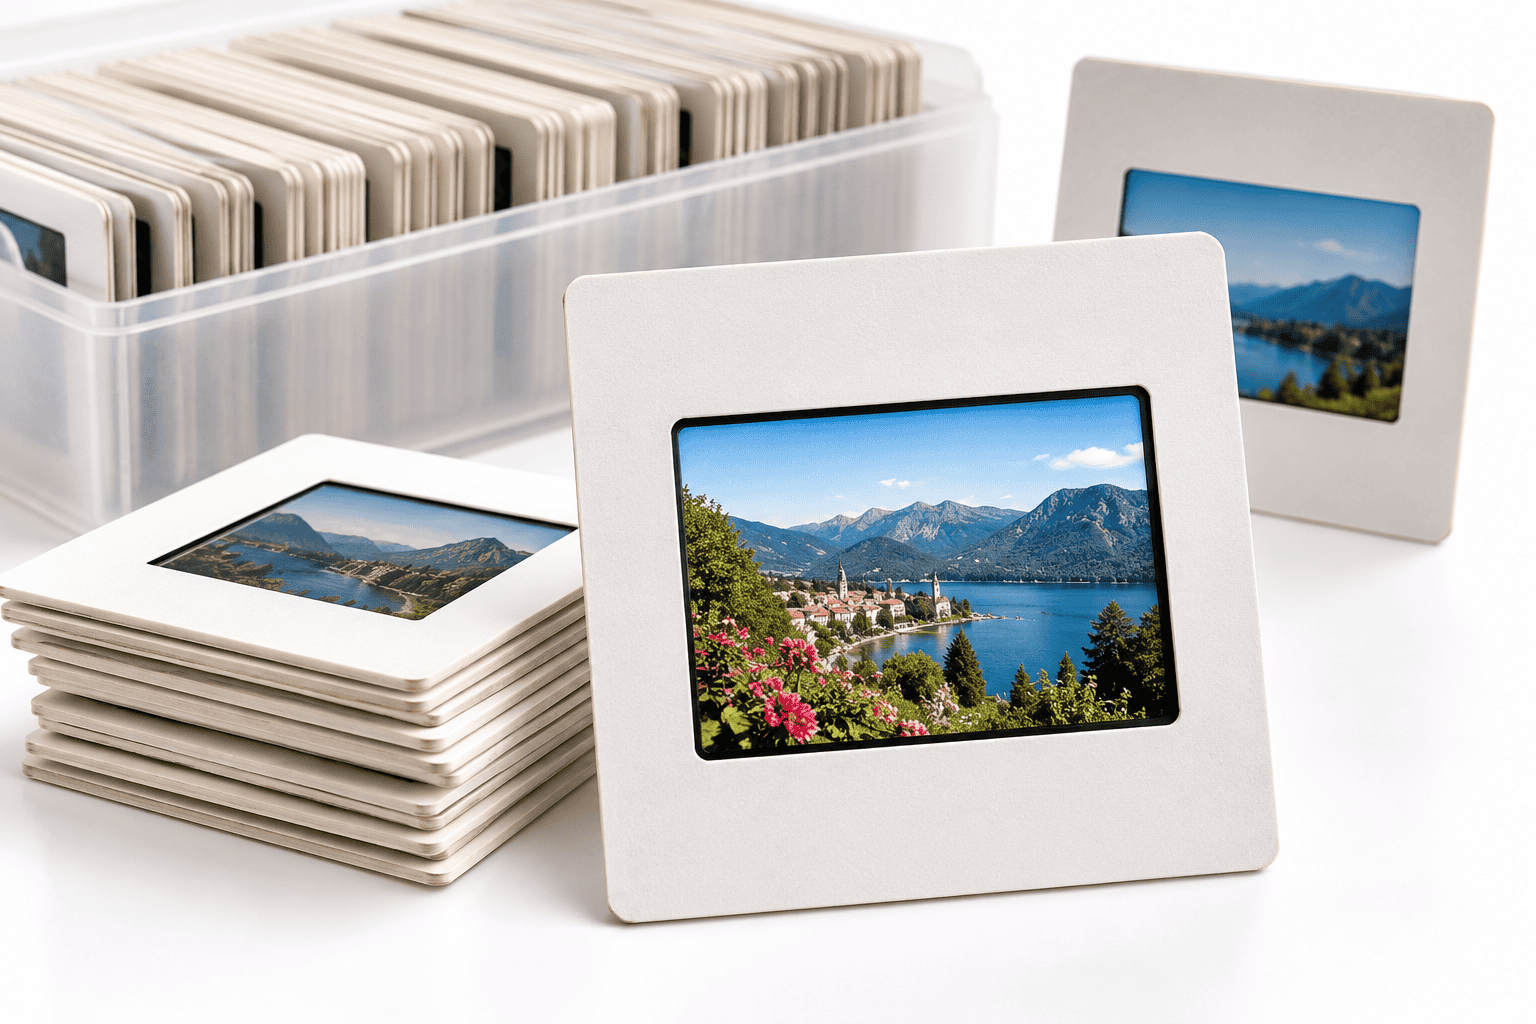

To scan 35mm slides properly, use a scanner designed for photographic transparencies, capture at around 4,000 PPI where practical, remove loose dust before scanning and save an archival-quality master before creating smaller JPEG copies. Good results depend as much on focus, film condition and colour accuracy as on the headline resolution.
| Setting | Practical recommendation |
|---|---|
| Resolution | Around 4,000 PPI for high-quality preservation |
| Colour | 24-bit colour minimum for normal scanning |
| Master file | TIFF or another lossless format |
| Sharing copy | High-quality JPEG |
| Dust removal | Clean physically first; use infrared correction where compatible |
| Cropping | Retain the full frame in the master |
| Sharpening | Apply cautiously and preferably to a copy |
| Backup | Keep at least two digital copies |
The important point is that slides are tiny photographic originals. They need considerably more scanning resolution than a paper photograph.
Why 35mm Slides Need Much More Resolution Than Prints
A mounted 35mm slide usually contains a photographic image approximately 24 × 36mm.
That is only about 1.4 inches wide.
When you scan that small image and enlarge it to fill a laptop screen, television or print, every captured pixel matters.
This is why scanning a slide at the same 300 or 600 PPI you might use for a paper photograph produces a relatively small digital image.
The National Archives recommends:
- 300 PPI for ordinary documents
- 600 PPI for photographs
- 4,000 PPI for photographic transparencies
Slides and negatives contain far more information within a much smaller physical area, so they need a correspondingly higher scanning resolution.
PPI or DPI: Which Term Is Correct?
People commonly talk about scanning at 2,400 or 4,000 DPI, but technically PPI is the more accurate term for image capture.
PPI means pixels per inch. It describes how many pixels the scanner records across each inch of the original.
DPI means dots per inch and more properly describes printed output.
Scanner manufacturers often use the terms interchangeably, which is why “4,000 DPI slide scanning” remains common language.
For practical purposes, when choosing a scanning resolution in software, you may see either term. What matters is the actual optical detail being captured.
What Does a 4,000 PPI Scan Produce?
A standard 35mm frame measuring approximately 36 × 24mm scanned at 4,000 PPI produces an image of roughly:
- 5,670 pixels wide
- 3,780 pixels high
- about 21 megapixels
That provides plenty of pixels for:
- large screen viewing
- photo books
- ordinary prints
- cropping
- restoration
- future re-editing
However, pixel count alone does not determine image quality.
A soft original photograph remains soft.
An underexposed slide remains difficult to recover.
Film grain becomes more visible as you scan at higher resolution.
The objective is to capture the real photographic information that exists in the slide rather than manufacture an unnecessarily huge file.
Is 4,800 or 6,400 PPI Better Than 4,000 PPI?
Not automatically.
A scanner may advertise 4,800, 6,400 or even higher resolutions, but the manufacturer’s quoted number does not necessarily equal the amount of genuine image detail the optical system can resolve.
At some point, a higher setting may simply produce:
- more pixels
- larger files
- longer scans
- more visible grain
without revealing significantly more real detail.
A good 4,000 PPI scan from a well-focused film scanner can therefore outperform a nominally much higher-resolution scan from weaker equipment.
When choosing equipment, look beyond the largest number printed on the box.
Dedicated Film Scanner or Flatbed?
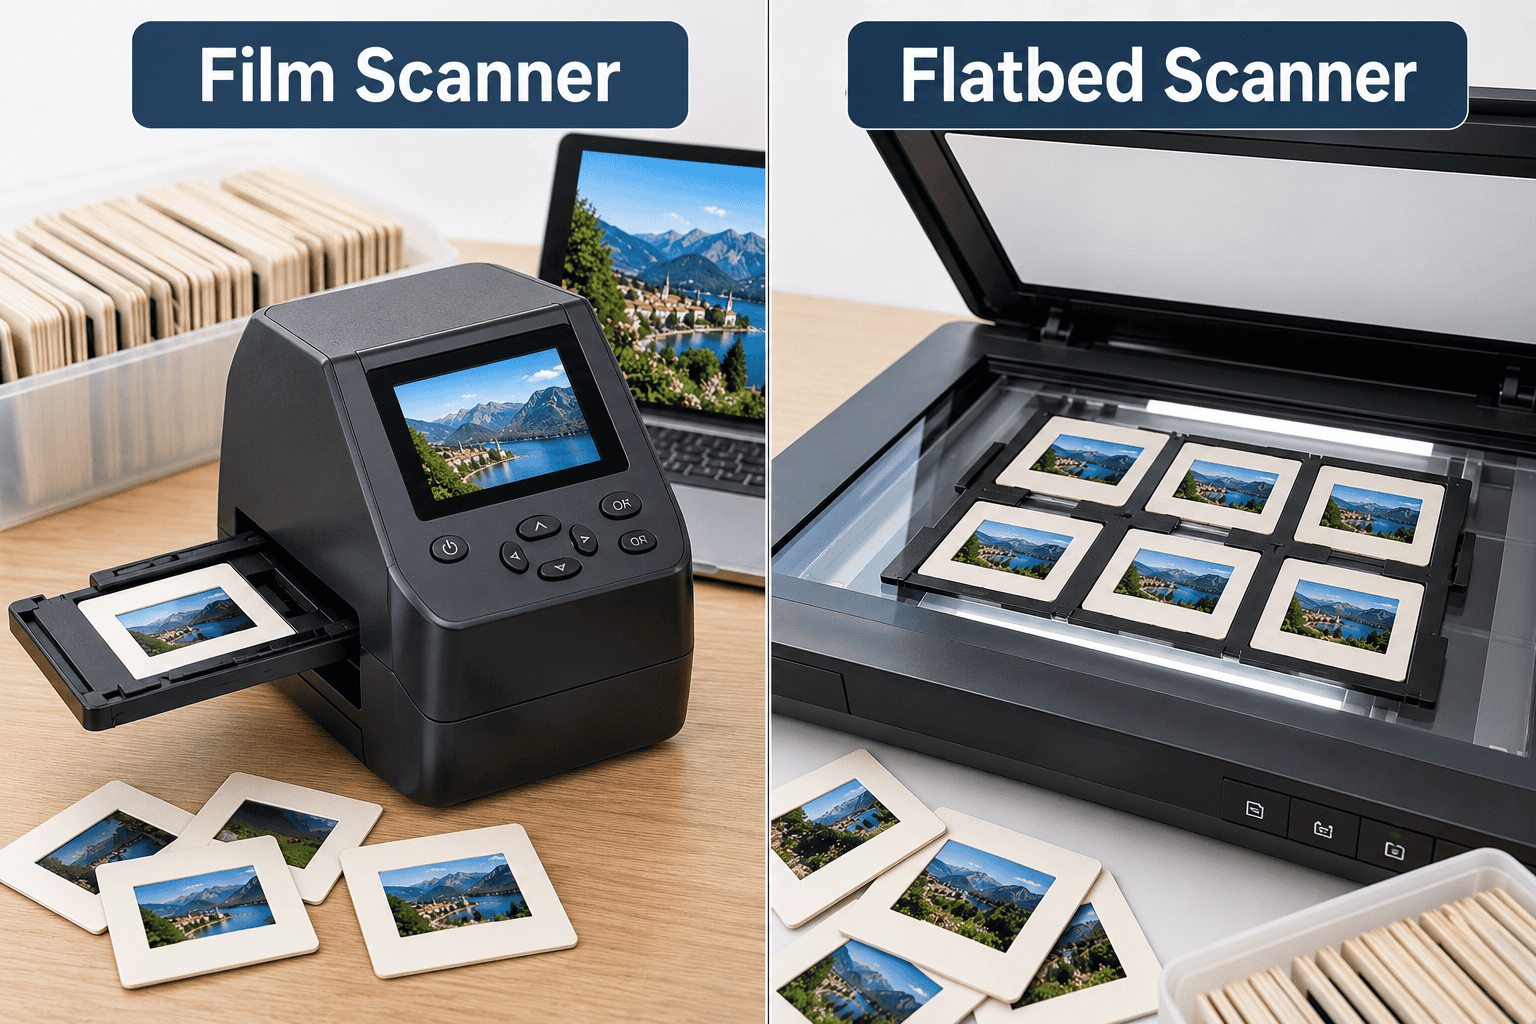
Both can work, but they suit different requirements.
Dedicated 35mm Film Scanner
A scanner designed specifically for film generally provides:
- accurate film positioning
- good focus
- high optical resolution
- strong dynamic range
- controlled illumination
It can be an excellent choice when most of your collection consists of 35mm slides or negatives.
The disadvantage is capacity. Some models handle only one or a few slides at a time.
For hundreds or thousands of slides, that becomes a considerable amount of work.
Flatbed Transparency Scanner
A good photographic flatbed with a transparency unit can scan several mounted slides simultaneously.
This makes it useful for larger collections.
Advantages can include:
- batch scanning
- support for several film formats
- easier handling of unusual mounts
- ability to scan prints as well
The actual results depend heavily on the scanner, film holder and focus.
An ordinary office flatbed without a transparency light source cannot properly scan slides.
Why Focus Is Just as Important as Resolution
Film scanners must focus on the actual emulsion plane.
Mounted slides can vary in thickness because they may use:
- cardboard mounts
- plastic mounts
- glass mounts
- unusually thick archival mounts
Film can also bow slightly inside a mount.
If the scanner focuses above or below the film surface, a 4,000 PPI file may still look disappointing.
For that reason, a genuinely sharp 3,600–4,000 PPI scan is often more useful than an enormous nominal-resolution file captured slightly out of focus.
When testing a scanner, inspect fine details such as:
- eyelashes
- hair
- lettering
- brickwork
- foliage
View the file at 100% rather than judging sharpness solely from a small preview.
Clean Slides Before You Scan Them
Dust is one of the biggest problems when digitising transparencies.
A tiny speck on a 35mm slide becomes very obvious once the image appears large on a modern screen.
Before scanning:
- Work on a clean surface.
- Hold slides by their mounts or edges.
- Avoid touching the film itself.
- Use a suitable hand-operated air blower for loose dust.
- Use a soft photographic brush where appropriate.
- Inspect both sides under good light.
The Library of Congress recommends careful handling and a clean working environment when digitising photographic materials. Its preservation guidance for scanning collections emphasises reducing unnecessary physical risk during digitisation.
Avoid household cleaners, abrasive cloths and aggressive rubbing.
If a slide shows mould, flaking emulsion or other serious deterioration, specialist handling may be safer.
Infrared Dust Removal Can Save Hours
Many film scanners include an infrared dust-and-scratch detection system, often marketed under names such as Digital ICE.
The scanner makes an additional infrared pass to identify surface defects and uses that information to correct the visible image.
On compatible film, this can dramatically reduce:
- dust spots
- small hairs
- fine scratches
It is particularly useful when scanning hundreds of slides because manually retouching every speck in Photoshop or similar software can take far longer than the scanning itself.
However, infrared correction is not suitable for every film type.
Epson’s technical documentation, for example, states that its Digital ICE implementation supports colour positive film but excludes Kodachrome and conventional silver-based monochrome film from normal compatibility.
So do not simply switch infrared cleaning on for an entire mixed collection without testing the film first.
Kodachrome Slides Need Particular Care
Kodachrome is one of the most recognisable historic colour transparency films and many family slide collections contain it.
The film has a distinctive structure that can interfere with some infrared dust-removal systems.
Depending on the scanner and software, enabling automatic infrared correction may create:
- false corrections
- softened detail
- strange artefacts
For Kodachrome, physical dust removal before scanning becomes even more important.
Some newer specialist systems handle it better than older scanners, but test a representative slide before processing hundreds automatically.
Don’t Confuse Dust Removal With Restoration
Cleaning a slide or digitally removing dust is not the same as restoring the photograph.
Restoration may include:
- colour correction
- fade correction
- exposure adjustment
- contrast adjustment
- scratch repair
- sharpening
- local retouching
Scan the slide faithfully first.
Then create a separate edited version.
That leaves you with an untouched digital master if you later decide that the colour correction was too strong or new restoration software becomes available.
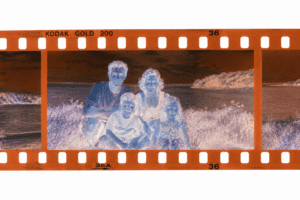
Why Old Slides Sometimes Look Blue, Red or Faded
Colour transparency films age differently.
Depending on:
- film stock
- processing
- storage temperature
- humidity
- light exposure
an old slide may develop significant colour casts.
You may find images that look:
- strongly red
- magenta
- cyan
- blue
- yellow
Good scanning software can often recover a surprisingly usable image, especially when individual colour channels still contain information.
However, colour correction should not be confused with inventing colours that no longer exist.
Severely faded film has physical limitations.
TIFF or JPEG for 35mm Slides?
For important slide collections, keeping both makes sense.
TIFF for the Master
TIFF is useful when you want:
- an archival-quality master
- lossless storage
- extensive editing
- future restoration
- maximum flexibility
The Library of Congress includes TIFF among its preferred digital still-image formats and favours high-resolution, uncompressed or losslessly compressed files for master material. Its recommended digital image formats guidance also favours retaining the highest available resolution rather than interpolating the image.
JPEG for Everyday Viewing
JPEG is excellent for:
- sharing with family
- phones
- tablets
- television viewing
- online albums
- digital photo frames
The files are dramatically smaller and almost universally supported.
A sensible workflow is:
slide → TIFF master → corrected master → JPEG viewing copy
That separates preservation from convenience.
8-Bit or 16-Bit Scanning?
For straightforward viewing copies, 8 bits per colour channel can be perfectly adequate.
For significant editing or restoration, higher bit depth provides more tonal information for software to work with.
A 16-bit-per-channel scan can be useful when correcting:
- faded colours
- difficult shadows
- bright highlights
- strong colour casts
The trade-off is much larger files.
The Library of Congress gives preference to the highest bit depth available, including 16 bits per channel where available, for digital still-image preservation.
For an important archive, capturing a strong master once can avoid rescanning later.
Don’t Apply Heavy Sharpening During the Initial Scan
Scanner software often offers automatic sharpening.
Use it cautiously.
Strong sharpening can exaggerate:
- film grain
- dust
- scratches
- halos around edges
Once sharpening becomes baked into a master file, reversing it is difficult.
A better archival workflow is to capture a relatively neutral master and sharpen copies according to their purpose.
A small JPEG for a phone needs different sharpening from a large print.
Keep the Complete Slide Frame
Automatic cropping software can cut too tightly around photographs.
This matters because an old projector may never have shown the complete film area.
The edges can contain useful information such as:
- another person
- a sign
- part of a building
- a car registration
- landscape detail
Preserve the complete photographed frame in the master wherever possible.
Create aesthetically cropped versions later.
Organise Slides Before Scanning Hundreds
A box of slides may already contain valuable chronology.
You might find:
- projector magazines
- numbered boxes
- handwritten dates
- locations
- family names
- holiday descriptions
Do not empty everything into one pile.
Keep the existing sequence and create filenames that reflect it.
For example:
Box03_Slide001.tif
Box03_Slide002.tif
Later you can rename or add metadata such as:
1974_Cornwall_Box03_Slide002.jpg
For large mixed collections, careful digitisation of mounted slides and transparencies can also help retain the original sequence while dealing with differences in film type, mount and condition.
How Long Does It Take to Scan a Large Slide Collection?
The actual scanning pass is only part of the job.
You also need to:
- clean each slide
- load it
- preview it
- check orientation
- adjust exposure if necessary
- scan it
- inspect the result
- name the file
- replace the slide
- back up the files
Infrared dust removal can make scans substantially slower because it requires additional scanning and processing. Epson’s own documentation shows that Digital ICE processing can take many times longer than a basic scan on some scanner models.
For 20 slides, this may not matter.
For 2,000 slides, workflow becomes just as important as image quality.
Check Every Batch Before Moving On
Do not scan hundreds of slides and assume everything worked.
After each batch, check:
- sharpness
- orientation
- colour
- cropping
- dust
- file naming
- missing slides
- corrupted files
Inspect some images at 100% magnification.
The National Archives recommends quality checking digitised records rather than treating the scanning operation itself as proof that the capture is satisfactory.
Finding a focus or settings problem after ten scans is inconvenient.
Finding it after a thousand is much worse.
Frequently Asked Questions About Scanning 35mm Slides
What resolution should I use for 35mm slides?
Around 4,000 PPI is a strong benchmark for high-quality scanning and aligns with National Archives guidance for photographic transparencies.
Is 2,400 PPI enough?
It may be perfectly adequate for modest screen viewing and smaller prints, but it captures significantly fewer pixels than a 4,000 PPI scan.
For irreplaceable family slides, a higher-quality master generally provides more future flexibility.
Should I save slides as TIFF or JPEG?
Use TIFF for high-quality masters where preservation or editing matters. Create JPEG copies for convenient viewing and sharing.
Can I use a normal scanner?
Only if it has a transparency unit designed to shine light through the film.
A normal document scanner is designed for reflective originals such as paper.
Can I scan slides with a phone?
Yes, using an appropriate backlight and slide holder.
It can work for casual digitisation or identification, but maintaining accurate focus, illumination and colour consistently across a large collection is more difficult.
Can faded slides be restored?
Often to some extent.
Colour balance, contrast and exposure can frequently be improved digitally. The amount recoverable depends on how much image and colour information remains in the film.
Should I throw away slides after scanning?
No.
Keep the original transparencies. Future scanning and restoration technology may improve, and the physical slide remains your original photographic source.
Capture the Best Master You Can Reasonably Preserve
The best way to scan 35mm slides is to treat them as original photographic material rather than small pictures that simply need copying.
Use genuine optical resolution rather than chasing inflated specifications, aim for around 4,000 PPI where appropriate, remove dust before scanning, preserve a lossless master and perform substantial restoration on a separate copy.
For a few dozen slides, careful home scanning can produce excellent results. Once a collection reaches hundreds or thousands of transparencies, however, cleaning, handling, colour correction and quality control become a substantial project. For valuable, fragile or extensive collections, it ultimately makes sense to choose an experienced professional company accustomed to dealing with photographic film safely, such as Supaphoto Ltd.