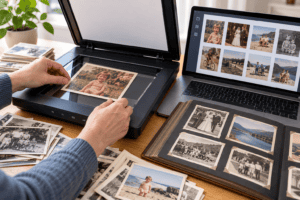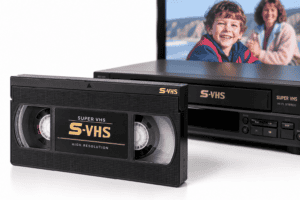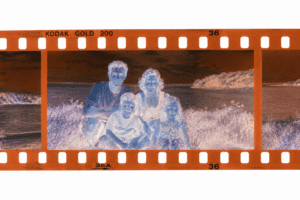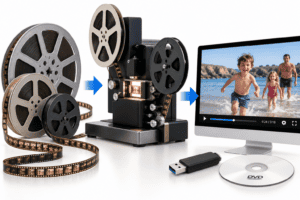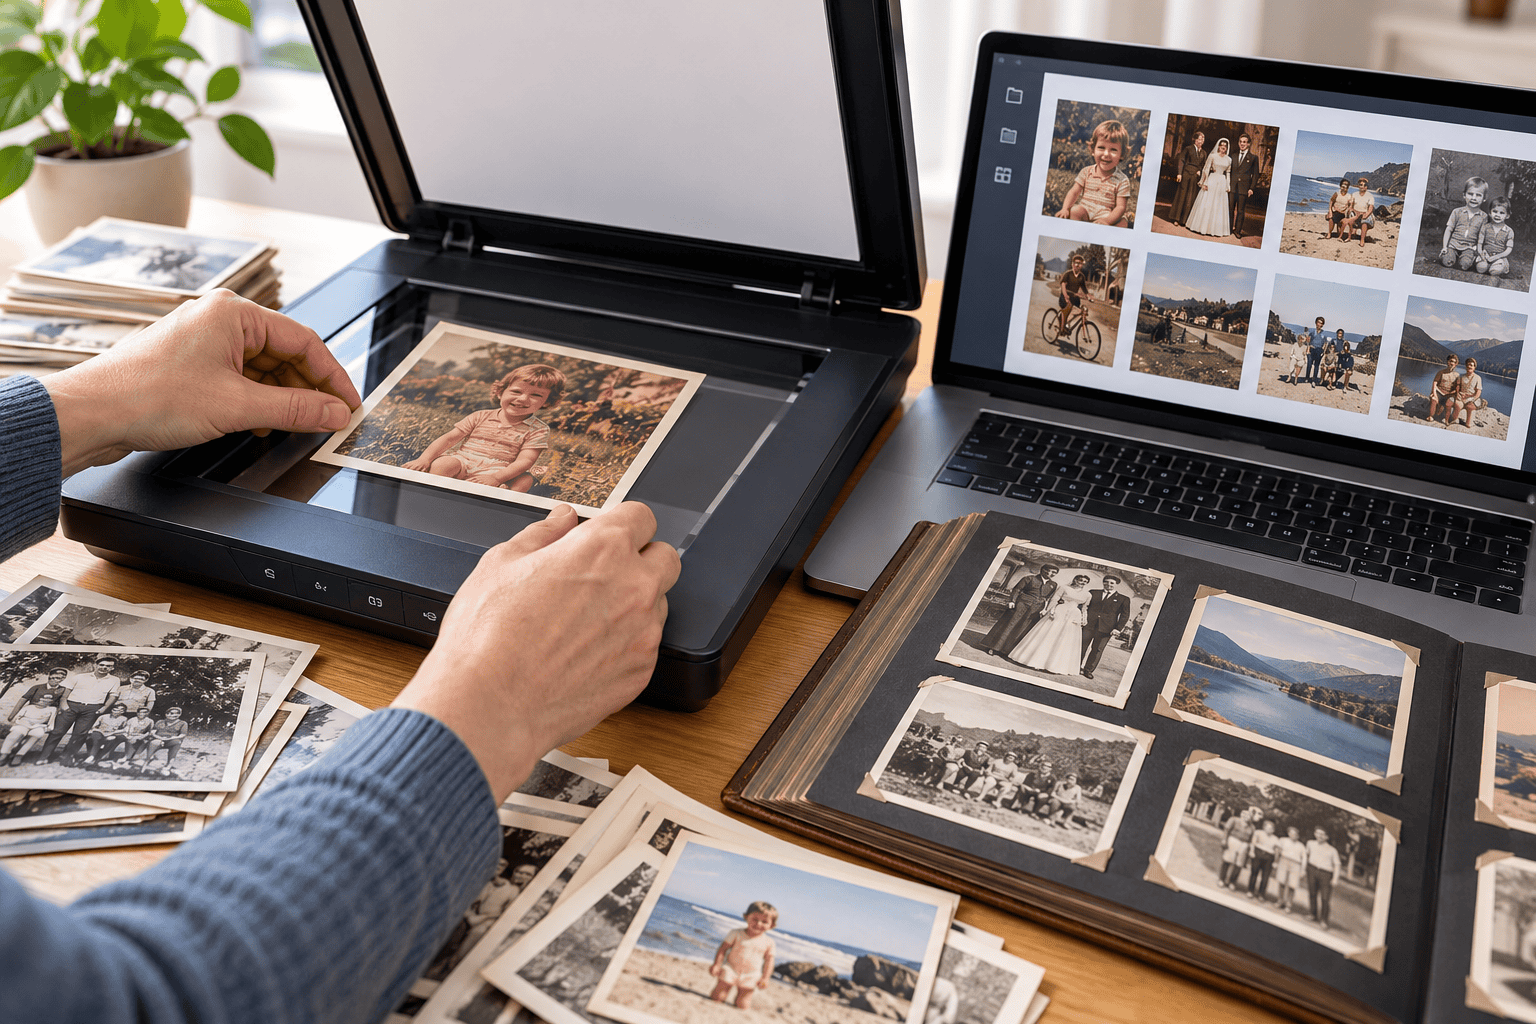

The best way to scan old photos depends on the size and condition of your collection. A phone is quickest for a few casual copies, a flatbed gives more control for manageable batches, while a professional service usually makes most sense for hundreds or thousands of prints, fragile photographs or albums.
| Method | Best for | Quality potential | Speed for large collections | Main drawback |
|---|---|---|---|---|
| Smartphone | A few photos and quick sharing | Moderate | Slow when done individually | Lighting, glare and consistency |
| Flatbed scanner | Small to medium collections | High | Moderate to slow | Requires considerable hands-on time |
| Professional service | Large, mixed or fragile collections | High | Best for bulk work | Costs more than doing it yourself |
There is no universal winner. The right choice depends on whether your priority is convenience, control, cost, preservation or simply getting a large family archive finished.
Start by Looking at the Collection, Not the Scanner
Before choosing equipment, work out what you actually need to digitise.
A collection of 30 loose 6 × 4 prints is a very different project from:
- 2,000 mixed photographs
- several family albums
- old Polaroids
- curled prints
- photographs stuck to album pages
- handwritten pictures with notes on the back
- negatives and slides mixed in with prints
The number of items matters, but condition and organisation can matter just as much.
A flatbed scanner may work beautifully for 100 loose photographs. The same process can become frustrating when you have 20 albums and thousands of images.
Start by dividing the collection into:
- loose prints
- album pages
- fragile photographs
- oversized pictures
- negatives and slides
- duplicates
- photographs that need restoration
That immediately makes the scanning decision easier.
Phone Scanning: Fast to Start, but Not Always Fast in Bulk
A smartphone is the easiest option because you already own the equipment.
Photo-scanning apps can help with:
- automatic cropping
- perspective correction
- glare reduction
- rotation
- basic colour adjustment
For a handful of photographs destined for WhatsApp or a family group, this can be perfectly adequate.
Consumer guidance from Which? notes that phone-scanning apps can be useful for quickly digitising a small number of photographs, although results depend heavily on the phone camera, lighting and stability.
The problem appears when the collection grows.
Photographing 20 prints is simple.
Photographing 2,000 prints individually means repeating the same process thousands of times.
You must:
- place each photograph
- position the phone
- control reflections
- capture the image
- check the crop
- rename or organise it
- repeat
So while the phone has virtually no setup time, it can become surprisingly labour-intensive for a large archive.
When a Phone Is the Right Choice
Use a phone when:
- you only have a few photographs
- you mainly want screen-viewing copies
- speed matters more than archival quality
- you need to identify people quickly
- you want to share old pictures immediately
- the photographs are difficult to remove from an album
A phone or camera can also be useful for albums because you do not need to press a fragile page against scanner glass.
For difficult bound material, an overhead photographic setup can sometimes be safer than forcing the album flat.
Why Lighting Makes Such a Difference
A phone photographs light reflected from the print.
That means every light source in the room can affect the result.
Glossy prints are particularly difficult because they can reflect:
- windows
- ceiling lights
- the phone itself
- your hands
- nearby objects
The image may look acceptable at first glance but show uneven brightness or glare when enlarged.
For better phone results:
- use soft, even lighting
- avoid direct sunlight
- keep the phone parallel with the print
- avoid casting a shadow
- use a stable stand if possible
- check focus before moving on
Consistency becomes the biggest challenge in bulk work.
Flatbed Scanning: Usually the Best DIY Option
For many people, a good flatbed scanner offers the best balance between quality and control.
The photograph lies flat against the scanner glass while the scanning mechanism moves underneath it. This removes most problems associated with camera angle and room lighting.
A flatbed gives you consistent:
- framing
- focus
- illumination
- scale
- resolution
It is particularly suitable for:
- loose prints
- photographic postcards
- small documents
- contact sheets
- photographs with writing on the back
The National Archives recommends at least 600 PPI for photographic prints where preservation-quality capture is required.
That makes 600 PPI a sensible benchmark for important family photographs when storage space and scanning time are reasonable.
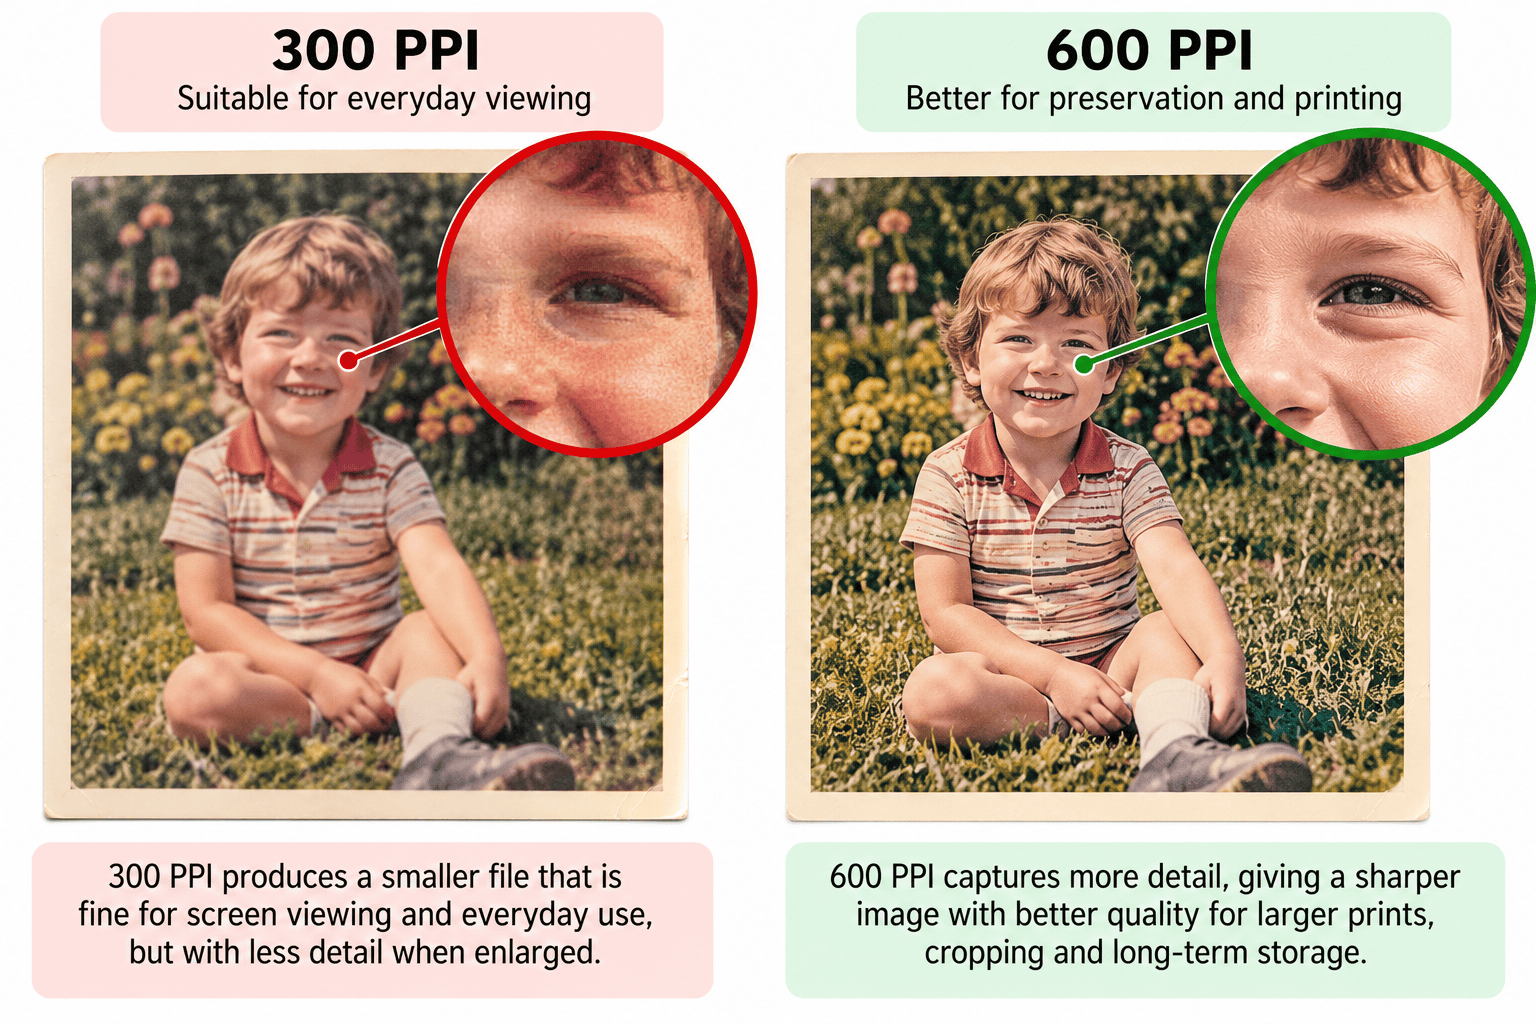
Is 300 PPI Enough for Old Photos?
Sometimes.
For simple screen viewing or same-size reprints, 300 PPI can be adequate.
However, scanning at 600 PPI gives you more flexibility for:
- cropping
- enlarging
- restoration
- preserving fine detail
It also avoids the need to rescan later if you decide you want a larger print.
The important distinction is between PPI and DPI.
PPI refers to the number of image pixels captured per inch of the original photograph.
DPI technically refers to printing dots, although scanner manufacturers frequently use the terms interchangeably.
For scanning, PPI is the more accurate term.
Don’t Assume Higher Resolution Is Always Better
If 600 PPI is good, does 2,400 PPI make a print four times better?
Usually not.
Printed photographs contain a finite amount of real detail.
Scanning far beyond that limit can produce:
- enormous files
- slower scanning
- longer processing
- little additional usable information
Higher resolutions become much more important with negatives and slides, because those originals are physically much smaller.
The National Archives recommends a much higher minimum of 4,000 PPI for photographic transparencies, compared with 600 PPI for prints.
This is why the settings used for prints should not simply be copied to film.
Can You Scan Several Photos at Once?
Yes, and this can make flatbed scanning much faster.
Place several photographs on the glass with a small gap between them.
Some software can then:
- detect each photo
- straighten it
- separate it into an individual file
- crop the borders automatically
This approach can work extremely well for straightforward loose prints.
However, automatic detection can struggle when:
- backgrounds are very pale
- prints overlap
- borders are uneven
- photos have scalloped edges
- pictures are very dark
- the scanner sees shadows around curled prints
Always spot-check the results.
Automation saves time only if you are not forced to repair hundreds of incorrect crops afterwards.
Sheet-Fed Scanners Can Be Fast — but Use Them Selectively
High-speed photo scanners can feed stacks of prints automatically.
They can be extremely efficient for large collections of modern, flat, robust photographs.
However, they are not suitable for every original.
Avoid feeding:
- brittle prints
- torn photographs
- curled photos
- damaged surfaces
- valuable originals
- Polaroids
- photographs with loose adhesive
- unusually thick mounts
The Library of Congress specifically cautions that form-feed scanning equipment is unsuitable for fragile, high-value or archival photographic material.
Speed should never come at the cost of damaging an irreplaceable original.
Don’t Force Old Albums Apart
Old photo albums require different handling from loose prints.
Some photographs may be:
- firmly glued in place
- mounted with corners
- stuck beneath transparent overlays
- attached to fragile paper
- impossible to remove safely
Do not peel photographs from an album simply to make scanning easier.
You could tear:
- the print surface
- the backing
- handwritten captions
- the album page itself
If a photograph cannot be removed safely, photograph or scan the complete page instead.
That also preserves useful context such as:
- captions
- dates
- page order
- decorative elements
- relationships between photographs
For particularly important albums, professional copy-camera or overhead scanning may be safer than flattening the book.
When a Professional Photo Scanning Service Makes Sense
The argument for professional scanning becomes stronger as the collection becomes larger or more complicated.
Consider professional scanning when you have:
- hundreds or thousands of prints
- several different photo sizes
- delicate originals
- albums
- photographs needing colour correction
- negatives mixed with prints
- limited spare time
- an important family archive
A professional workflow removes the repetitive scanning burden and can provide more consistent files across a large collection.
For mixed collections, careful digitisation of loose photographs, albums and family prints can also help when different originals need different capture methods rather than being treated as one uniform batch.
What Should a Professional Scanning Service Actually Do?
Do not judge a service purely by the headline price per photograph.
Ask what the workflow includes.
Useful questions include:
- What resolution will the photographs be scanned at?
- Are images individually cropped?
- Is rotation corrected?
- Is basic colour correction included?
- Are photographs scanned in colour even if they appear black and white?
- Are files checked after capture?
- Can the backs of photographs also be scanned?
- Are albums handled without removing the pictures?
- Can the original order be preserved?
- What file format will be supplied?
- How will files be named?
- How are originals returned?
The National Archives recommends checking images immediately after scanning to ensure the capture is complete and satisfactory.
That quality-control step matters enormously when hundreds of images are involved.
JPEG or TIFF for Old Photos?
For many family collections, the best answer is both.
JPEG
JPEG is ideal for:
- everyday viewing
- phones
- televisions
- family sharing
- online galleries
The files are compact and widely compatible.
TIFF
TIFF is useful for:
- archival masters
- restoration
- important photographs
- repeated editing
- maximum retained image data
The National Archives identifies TIFF as a well-supported format with lossless capabilities and recommends lossless compression when preservation is the goal.
The Library of Congress also lists TIFF among its preferred digital still-image formats and favours high resolution, strong bit depth and uncompressed or losslessly compressed files for master material.
A practical approach is:
high-quality master → edited version → JPEG sharing copies
Should Black-and-White Prints Be Scanned in Greyscale?
Not necessarily.
Scanning an apparently monochrome print in colour can preserve:
- paper tone
- ageing
- sepia colour
- chemical staining
- annotations
- subtle deterioration
For purely utilitarian scanning, greyscale can reduce file size.
For preservation, colour capture often gives you more information to work with.
The National Archives recommends 24-bit colour for most material outside specialist greyscale applications.
Organisation Matters as Much as Resolution
A beautifully scanned collection becomes frustrating if the files are called:
IMG0001.jpg
IMG0002.jpg
IMG0003.jpg
without any relationship to the originals.
Before scanning, establish a naming system.
For example:
Smith_Album01_Page03_01.jpg
or:
1978_Cornwall_Holiday_001.tif
Do not spend hours identifying every person before scanning if that will stop the project completely.
It is often better to preserve the collection structure first and add detailed descriptions later.
Scan the Backs When They Contain Information
The reverse of a photograph may contain information more valuable than the image itself.
Look for:
- names
- dates
- locations
- studio stamps
- processing numbers
- handwritten notes
If the back contains useful information, capture it too.
Use related filenames such as:
Photo_014_front.jpg
Photo_014_back.jpg
This keeps the image and its historical context together.
Back Up the Files Before Reorganising Everything
Finishing the scan is not the end of the project.
Create backup copies before carrying out major renaming, restoration or sorting.
The Library of Congress recommends keeping digital preservation copies on at least two different storage media and in different physical locations.
For example:
- computer or NAS
- external hard drive
- reputable cloud storage
Do not rely on one USB stick as the only copy of a family archive.
Which Method Is Best for Your Collection?
A simple decision guide works well.
Choose a phone if:
- you have fewer than roughly 50 photos
- convenience matters most
- the files are mainly for sharing
- some photographs cannot leave an album
a flatbed if:
- you have a manageable DIY collection
- you want good quality
- you enjoy controlling the process
- the prints are mainly loose and flat
professional scanning if:
- you have hundreds or thousands
- the collection contains albums
- photographs are fragile
- you want consistent results
- you do not want to spend days or weeks scanning
The bigger the archive, the more important workflow becomes compared with the cost of the scanner itself.
Frequently Asked Questions About Scanning Old Photos
What resolution is best for scanning old photographs?
For important photographic prints, 600 PPI is a strong benchmark. It provides useful detail and flexibility for cropping or reprinting without producing unnecessarily huge files.
Is a phone as good as a scanner?
For quick sharing, it can be good enough.
For controlled lighting, repeatable resolution and consistent bulk scanning, a good flatbed normally gives better results.
Should I restore photographs while scanning?
Capture a clean master first.
Then create a separate restored version. That preserves the original appearance in case you want to revisit the restoration later.
Can I scan photographs still inside an album?
Yes.
If removing them risks damage, leave them in place and capture the complete page using an appropriate flatbed or overhead setup.
Is professional scanning worth it for thousands of photos?
Often, yes.
The main advantage is not simply image quality. It is avoiding the enormous amount of repetitive handling, cropping, checking and organising required for a very large collection.
The Best Method Is the One That Gets the Archive Safely Finished
The best way to scan old photos depends on what you have and what you want to achieve.
A smartphone is excellent for quick copies. A flatbed remains one of the strongest DIY options for loose prints. A professional service becomes increasingly attractive when the archive contains hundreds or thousands of photographs, albums, fragile originals or mixed formats.
Whichever route you choose, prioritise careful handling, sufficient resolution, sensible file formats, clear organisation and reliable backups.
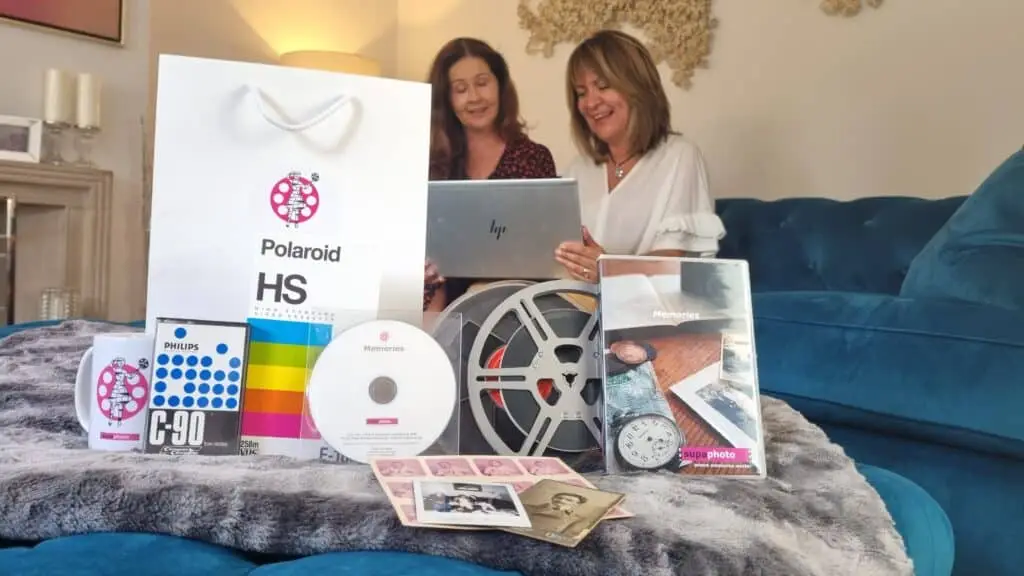
For a modest collection, doing it yourself can be very rewarding. For substantial or irreplaceable family archives, it ultimately makes sense to choose an experienced professional company accustomed to handling large and varied photographic collections, such as Supaphoto Ltd.