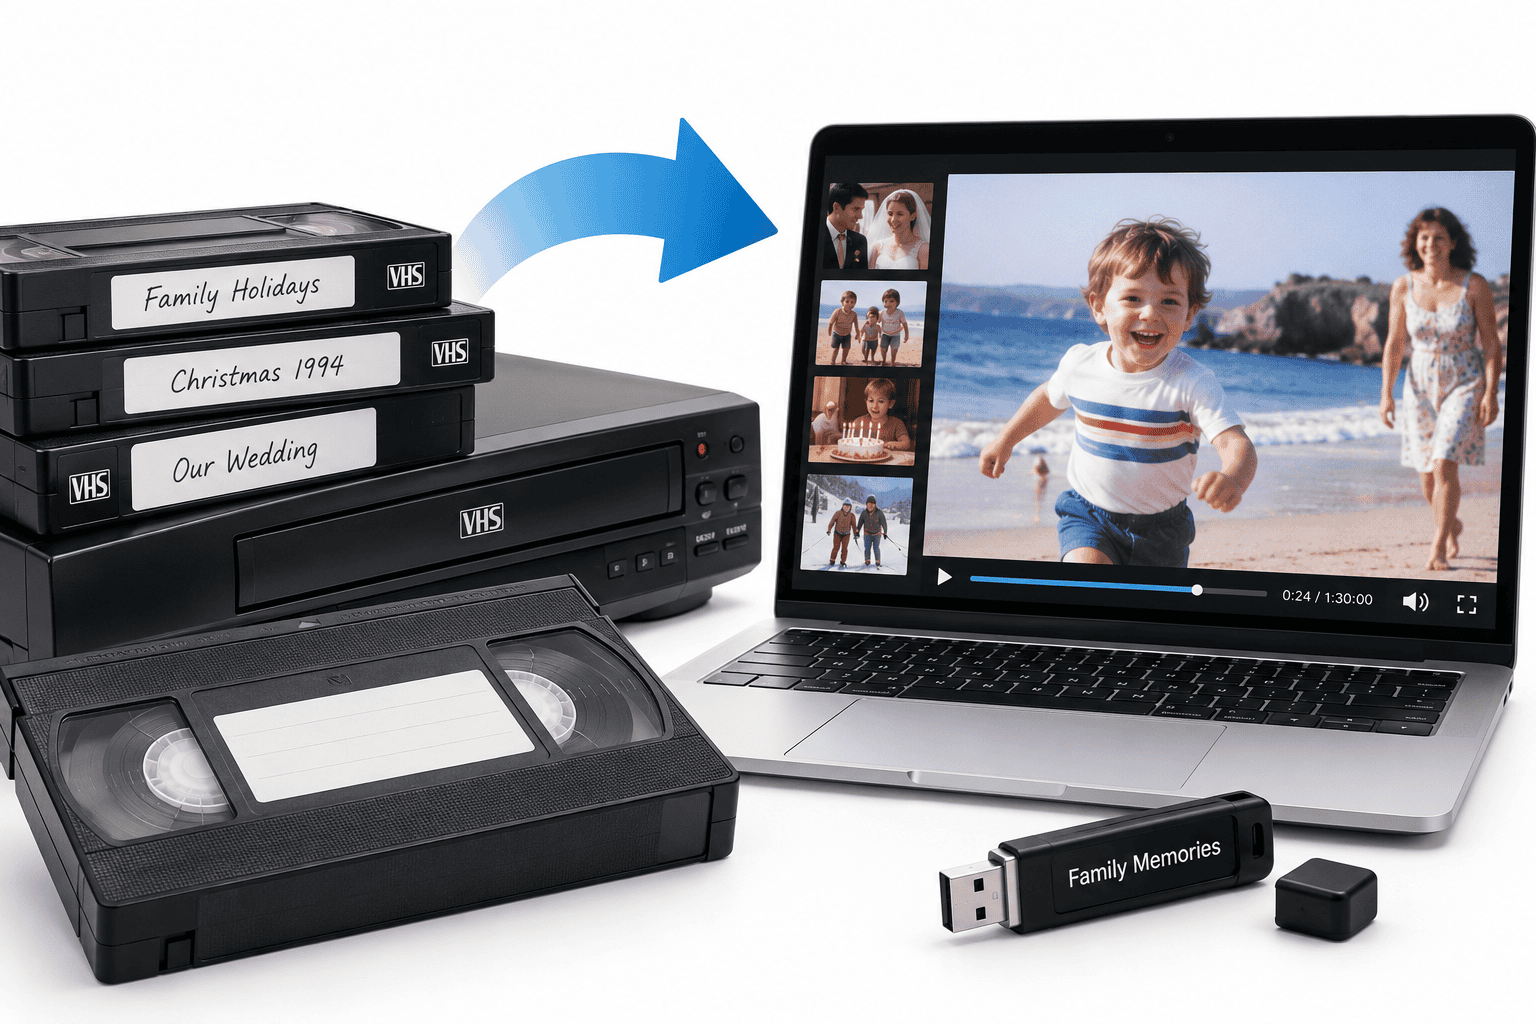

When converting VHS to digital, a professional transfer involves much more than connecting a VCR to a computer and pressing record. The tape should first be inspected, played on suitable equipment, stabilised where necessary, captured in real time, checked for faults and then encoded into practical digital files such as MP4.
A typical workflow looks like this:
- Inspect the cassette and tape.
- Select a suitable VHS or S-VHS deck.
- Clean and prepare the playback equipment.
- Stabilise the analogue video signal where necessary.
- Convert the analogue picture and sound into digital data.
- Capture the entire recording in real time.
- Check the resulting video and audio.
- Encode and organise the final digital files.
- Create backups and return the original tape.
The quality of each stage affects the final result.
Stage One: Inspect the VHS Cassette Before Playing It
A professional transfer should start before the tape enters the machine.
The cassette needs checking for obvious problems such as:
- mould
- broken plastic
- cracked reel hubs
- loose tape
- creasing
- damaged tape doors
- unusual residue
- signs of moisture
- reels that do not move normally
This matters because putting a damaged cassette into a VCR can harm both the recording and the playback equipment.
The Canadian Conservation Institute places cassette and tape inspection at the beginning of its VHS digitisation workflow because physical or chemical deterioration can directly affect playback and image quality. Its technical guidance explains why damaged tapes may need treatment before playback.
The Library of Congress also advises against playing damaged audiovisual media because doing so can worsen the damage and affect the playback equipment.
Stage Two: Choose the Right Playback Deck
The VCR is one of the most important parts of the entire transfer.
A cheap capture device cannot recover picture information that a poor playback machine fails to reproduce properly.
Professional or well-maintained prosumer VHS and S-VHS decks may provide advantages such as:
- more stable tape transport
- better tracking control
- improved video heads
- built-in noise reduction
- better signal output
- integrated time base correction on some models
The Canadian Conservation Institute specifically recommends professional, prosumer or S-VHS decks where available because better playback provides a cleaner signal to the digitisation equipment.
Different tapes can also behave differently in different machines.
A cassette that shows noise or tracking errors in one VCR may reproduce more successfully in another.
That is why professional transfer work often relies on more than one type of playback deck rather than treating every tape identically.
Stage Three: Clean the Playback Path
Video heads and the tape path need to remain clean.
Dust, oxide deposits and contamination can affect picture reproduction and potentially cause:
- horizontal noise
- picture dropout
- unstable playback
- reduced colour
- distorted sound
A professional workflow should therefore include regular equipment maintenance rather than waiting until a visibly poor picture appears.
The Library of Congress recommends keeping playback equipment clean and properly maintained when handling audiovisual media.
This also explains why visibly mouldy VHS tapes should not simply be inserted into an ordinary VCR.
Contamination can transfer to the machine and then affect other tapes.
Stage Four: Track the Tape Correctly
VHS playback depends on the video heads reading the recorded tracks accurately.
If tracking is poor, the picture may show:
- horizontal interference
- noise bands
- unstable edges
- partial picture loss
- disrupted sound
Automatic tracking works well on many tapes, but older or unusual recordings sometimes need manual adjustment.
A professional operator should watch the recording rather than simply assuming the VCR’s automatic settings have found the best playback point.
With difficult family recordings, small tracking adjustments can make a noticeable difference.
Stage Five: Stabilise the VHS Signal
Analogue VHS does not always produce perfectly timed video.
The signal may contain timing errors caused by:
- tape stretch
- mechanical wear
- ageing
- the original recording machine
- imperfect tape transport
This is where a time base corrector, usually shortened to TBC, becomes important.
A TBC helps correct timing variations in the analogue signal before digital capture.
The Canadian Conservation Institute explains that time base correction can compensate for synchronisation variations that would otherwise cause distortions such as image skewing.
Depending on the equipment, it may also help stabilise:
- frame timing
- horizontal positioning
- colour
- black and white levels
A TBC does not turn VHS into high definition.
Its job is to make the existing analogue signal more stable and easier for capture hardware to process reliably.
Stage Six: Convert the Analogue Signal Into Digital Video
VHS stores video as an analogue magnetic signal.
A computer cannot directly understand that signal.
The playback chain therefore needs an analogue-to-digital conversion stage.
A simplified workflow looks like this:
VHS tape → VCR → signal correction → capture interface → computer
The capture device samples the analogue picture and sound and converts them into digital data.
Professional workflows may use:
- composite video
- S-Video
- component video in some specialised chains
- SDI after conversion
- dedicated professional capture interfaces
The best connection depends on the equipment being used.
For VHS and S-VHS, S-Video can provide an advantage where supported because it keeps luminance and chrominance information separate rather than combining them into a single composite signal.
However, connection type alone does not determine quality. A stable signal from a good VCR matters more than simply using an expensive cable.
Stage Seven: Capture the Tape in Real Time
VHS cannot normally be digitised faster than it plays.
A two-hour tape takes approximately two hours just to capture.
This is one of the biggest differences between professional tape transfer and copying modern digital files.
The Canadian Conservation Institute notes that VHS digitisation happens in real time, with additional labour required for inspection, preparation and quality checking.
Professional capture therefore involves continuous or regular monitoring of:
- picture
- sound
- tracking
- frame stability
- unexpected tape damage
- audio synchronisation
A preservation workflow from the Sustainable Heritage Network similarly recommends monitoring both video and audio throughout capture so that problems can be detected immediately.
This is one reason extremely cheap per-tape services deserve careful scrutiny. A proper transfer involves considerably more labour than simply inserting a cassette and leaving it unattended.
Stage Eight: Decide What Digital Format to Create
Once captured, the recording needs to be stored in an appropriate digital format.
There are usually two broad approaches.
High-Quality Master File
A master file aims to preserve as much of the captured information as practical.
It may use:
- lossless or lightly compressed video
- professional codecs
- higher bitrates
- larger file sizes
This gives more flexibility for restoration, editing and future format conversion.
Everyday Viewing File
An MP4 file using H.264 compression is much smaller and more convenient.
It works well for:
- televisions
- phones
- tablets
- computers
- cloud storage
- family sharing
A good professional workflow can retain a higher-quality master and create MP4 copies for normal use.
For family collections where easy playback matters most, careful transfer of VHS and other video tapes into modern digital files can provide MP4 or other suitable delivery formats without relying on ageing home equipment.
Should VHS Be Upscaled to HD?
Not automatically.
VHS is a standard-definition analogue format.
Exporting a recording as 1080p or 4K does not create genuine detail that the tape never contained.
Upscaling can change the pixel dimensions, but it does not transform VHS into true high-definition video.
Specialist software may improve how the image appears on modern screens by:
- reducing noise
- stabilising movement
- correcting colour
- sharpening carefully
- deinterlacing
- upscaling
These processes should be treated as restoration or enhancement, not basic digitisation.
It is good practice to retain an unenhanced master before carrying out substantial processing.
What Happens to Interlaced VHS Video?

Traditional VHS was designed for interlaced television.
That means each frame consists of two fields captured at slightly different moments.
On modern progressive screens, poor handling of interlaced material can create comb-like horizontal lines around movement.
A professional workflow may therefore create:
- an interlaced preservation master
- a deinterlaced viewing copy
This keeps the source characteristics while also producing a file that plays cleanly on modern devices.
Strong deinterlacing should not be applied blindly, though.
Different recordings can require different treatment.
Stage Nine: Check the Whole Transfer
The job should not finish when the capture stops.
Quality control matters.
A completed file should be checked for:
- missing sections
- picture dropout
- tracking problems
- audio loss
- audio drifting out of sync
- incorrect aspect ratio
- frozen frames
- damaged sections
- incomplete capture
- file corruption
A five-minute spot check can miss problems elsewhere on a two-hour recording.
Professional archival workflows therefore place significant emphasis on monitoring and quality assurance.
The better the QC process, the lower the risk of discovering years later that an important family moment never made it into the digital file.
How Should VHS Files Be Named?
A folder full of files called:
Video001.mp4
Video002.mp4
Video003.mp4
will quickly become confusing.
File naming should ideally reflect the cassette label.
For example:
Smith_Wedding_1994.mp4
Cornwall_Holiday_1998_Tape1.mp4
Christmas_2001.mp4
If the cassette has no useful description, use a simple reference system such as:
Box02_Tape07.mp4
This preserves a link between the digital file and the original cassette.
What If the VHS Tape Is Damaged?
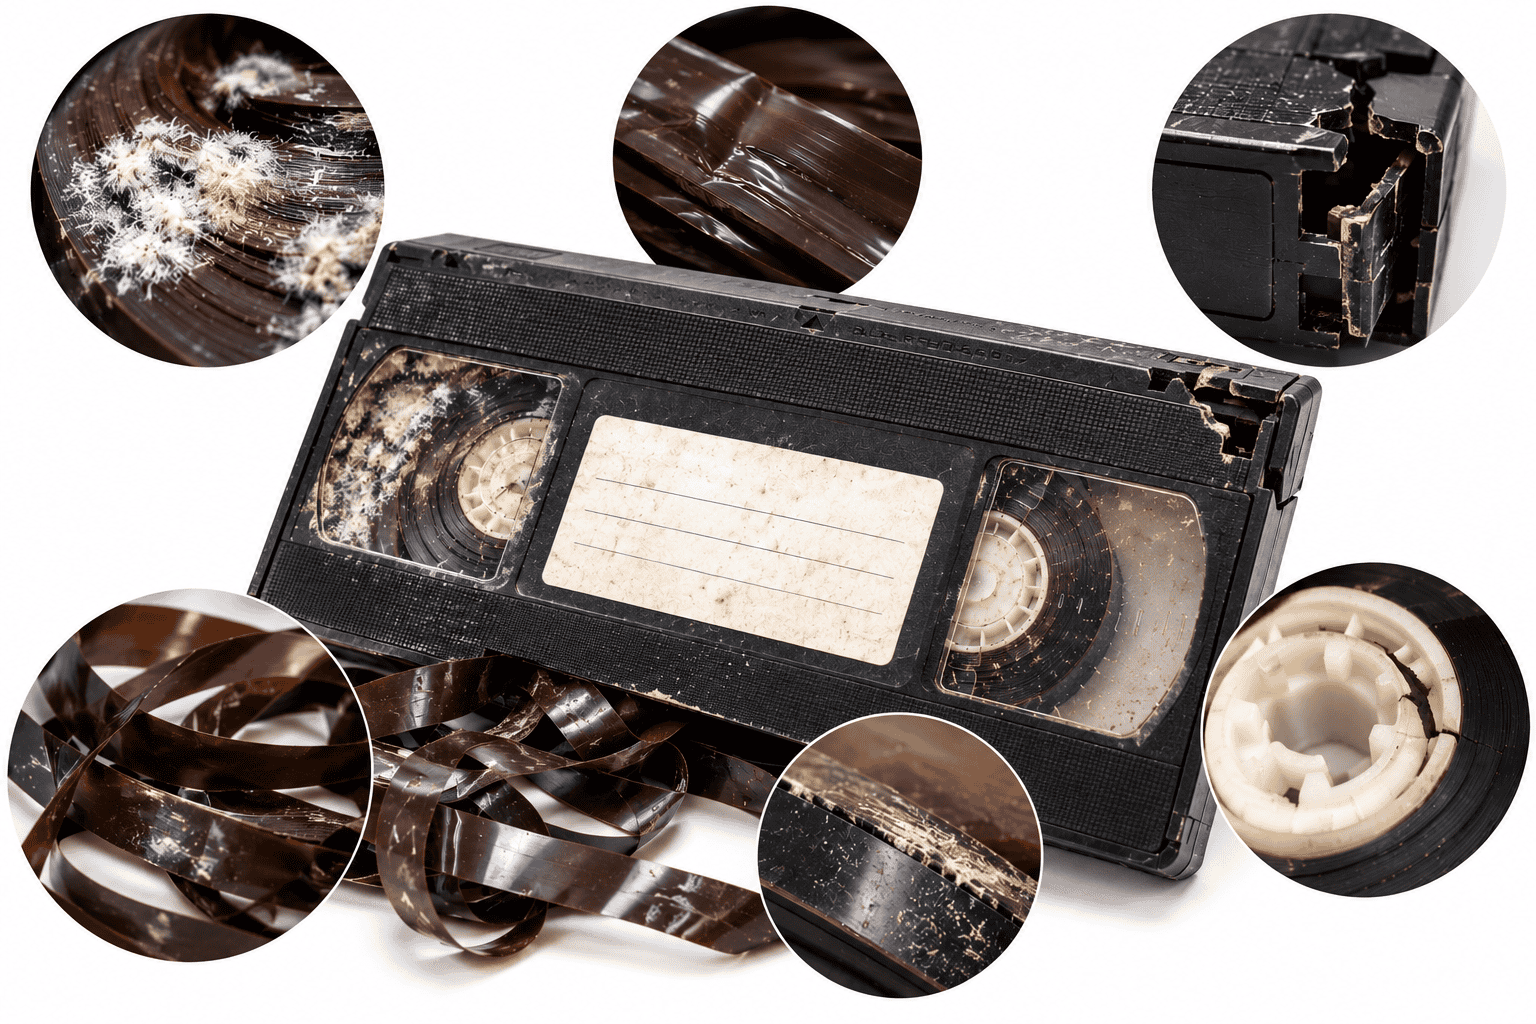
Some tapes require specialist attention before normal transfer.
Warning signs include:
- mould
- sticking
- squealing
- broken shells
- damaged reels
- creased tape
- snapped tape
- contamination
- severe playback instability
Do not repeatedly force a problematic cassette through a VCR.
The Library of Congress specifically advises against playing damaged tape because further playback can worsen the condition.
In some cases, a cassette shell can be replaced or repaired while retaining the original tape.
More serious deterioration may need specialist treatment.
Does Professional Transfer Improve VHS Quality?
A good transfer can make the recording look more stable and accessible, but it cannot recreate detail that was never present.
Professional equipment can help reduce problems caused by:
- poor signal timing
- tracking
- colour instability
- capture errors
- unsuitable equipment
Restoration can then improve some visible defects.
However, VHS remains VHS.
A responsible transfer should preserve the recording faithfully rather than create unrealistic claims about turning standard-definition analogue video into genuine HD.
Should You Keep the Original VHS Tape Afterwards?
Yes, where practical.
A digital copy does not automatically make the physical original worthless.
Future equipment or restoration techniques may provide different results.
Store important VHS tapes:
- upright
- inside their cases
- in a cool, dry environment
- away from damp
- away from excessive heat
- away from strong magnetic fields
The Library of Congress notes that playback machines eventually become obsolete, so preservation should include migration to current digital formats while still caring for the original media.
Frequently Asked Questions About Converting VHS to Digital
How long does it take to digitise a VHS tape?
The capture itself normally takes the full running time of the tape.
A two-hour recording takes around two hours to capture, before preparation, checking, encoding and file organisation.
Can VHS be digitised without a VCR?
No practical home workflow bypasses playback.
The magnetic tape must be read by compatible VHS playback equipment before its analogue signal can be converted into digital data.
Does a TBC improve picture quality?
A TBC primarily improves signal timing and stability.
It may make the captured picture appear cleaner or steadier, but it does not add missing photographic detail.
Is MP4 good for VHS?
Yes.
H.264 MP4 is a practical format for everyday viewing because it provides good compatibility and efficient file sizes.
A higher-quality master can also be retained where long-term preservation or restoration matters.
Will digitisation remove mould or tape damage?
No.
Physical tape problems need addressing before or during the transfer process.
Digital restoration may hide some visible defects afterwards, but it cannot repair the original magnetic tape.
Is professional VHS transfer better than a cheap USB capture device?
It can be, particularly when the workflow includes better playback decks, signal correction, careful capture and quality control.
The VCR and signal path often matter at least as much as the capture device itself.
What Makes a Professional VHS Transfer Different?
Professional converting VHS to digital should combine careful physical handling, suitable playback equipment, signal stabilisation, real-time capture and proper quality checking.
The key difference is not simply the presence of an expensive converter. It is the complete workflow.
A £20 USB device connected to a worn consumer VCR may create a digital file, but it cannot compensate for unstable playback or missed picture information.
For a handful of ordinary tapes, DIY transfer can work well. For irreplaceable family recordings, difficult cassettes or larger collections, it ultimately makes sense to use an experienced professional company familiar with ageing analogue video and the equipment needed to reproduce it reliably, such as Supaphoto Ltd.