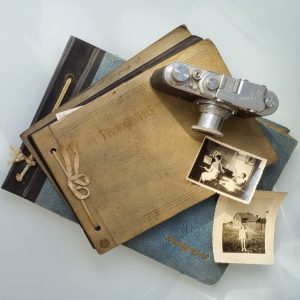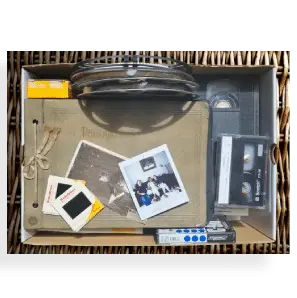

The best way to digitise an old photo album is to preserve the album as a complete object while creating high-quality digital copies of its photographs and pages. Avoid removing photographs that are firmly attached. Fragile or tightly bound albums are generally safer with non-contact or carefully supported scanning rather than being forced flat.
Before you begin:
- Assess the condition of the album and binding.
- Decide whether photographs can safely be removed.
- Preserve handwritten captions and page layouts.
- Scan complete pages as well as individual photographs where appropriate.
- Avoid forcing a fragile album flat.
- Create high-quality master files.
- Keep at least two copies of the finished digital archive.
The Library of Congress specifically advises against applying pressure to bound materials to flatten them during digitisation because this can damage the spine or pages. The Library of Congress
Start by Deciding What You Actually Want to Preserve
It’s tempting to think of album scanning as simply converting a collection of photographs into JPEG files. With an old family album, however, the photographs may only be part of the story.
Look carefully at the album before doing anything.
Are there handwritten names underneath photographs? Dates? Holiday destinations? Notes from grandparents? Tickets, postcards, newspaper cuttings or other memorabilia? Does the sequence of photographs tell the story of a wedding, childhood or family journey?
If so, the arrangement of the album has historical and sentimental value of its own.
This means you may want two types of digital image:
- Complete page scans preserving the original layout, annotations and context.
- Individual photograph scans providing detailed digital copies of important pictures.
This approach avoids one of the most common mistakes when digitising family archives: preserving the photographs but accidentally losing the information that explains them.
Should You Remove Photos From an Old Album Before Scanning?
Only remove photographs if they come away easily and doing so won’t risk damage.
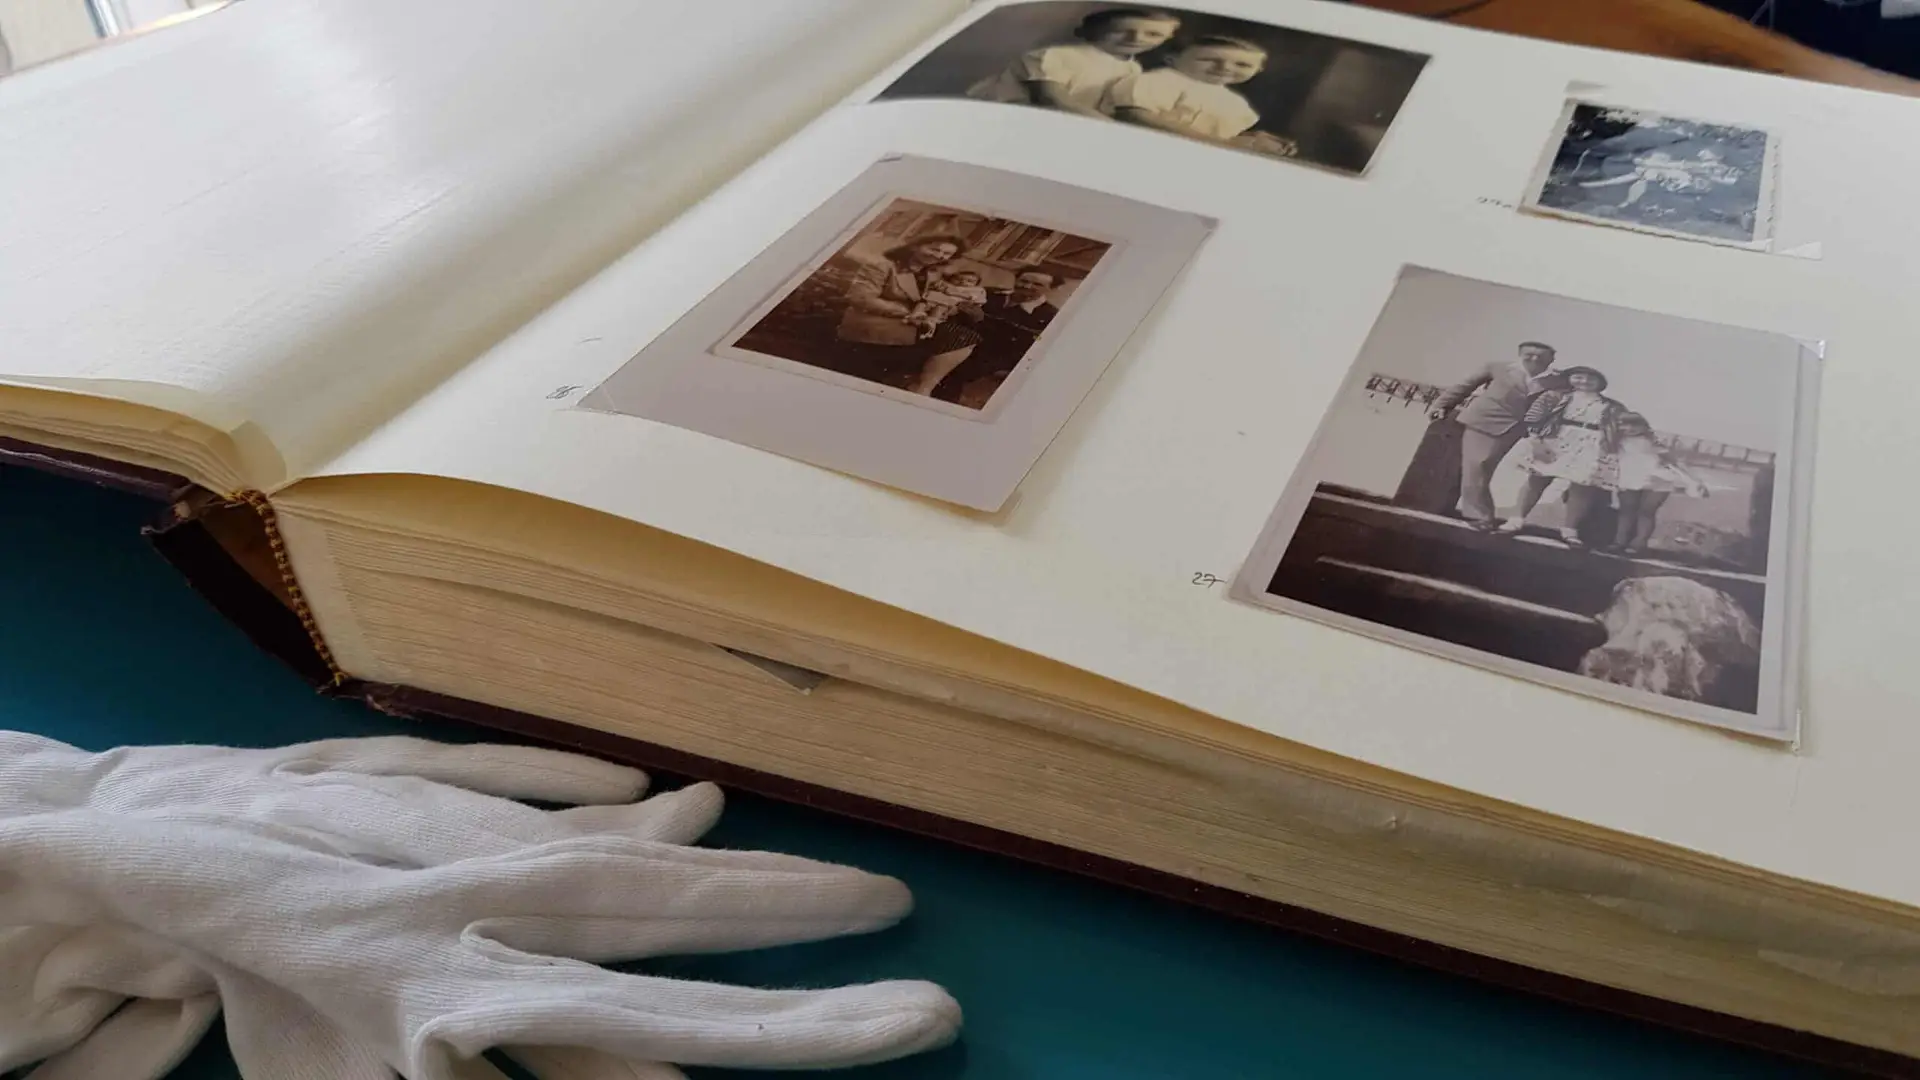
Some modern albums use pockets or photo corners that make removal straightforward. Older albums may contain photographs that have been glued, taped or permanently adhered to pages.
Trying to prise these photographs away can tear the print, damage its surface or destroy the album page.
The US National Archives advises that with problematic old albums and scrapbooks, leaving photographs and documents in place can be preferable to risking damage by removing them. National Archives
This becomes particularly important with so-called magnetic photo albums. Despite the name, these albums aren’t magnetic. They typically use adhesive-coated pages covered by a transparent sheet. As these materials age, photographs can become increasingly difficult to remove.
If a photograph doesn’t release readily, don’t force it.
Digitising the photograph in situ is usually safer.
Flatbed Scanner, Camera or Professional Album Scanner?
There isn’t one scanning method that’s best for every album.
| Method | Best suited to | Main limitation |
|---|---|---|
| Flatbed scanner | Loose photographs and albums that open completely flat | Can put pressure on bindings |
| Overhead scanner | Bound, fragile and awkward albums | Specialist equipment may be required |
| Digital camera | Large or delicate albums that cannot be flattened | Requires careful lighting and alignment |
| Smartphone | Quick reference copies | Less consistent for archival-quality work |
| Professional scanning | Valuable, fragile or large collections | Costs more than DIY |
A conventional flatbed scanner can produce excellent results from loose photographs. Problems arise when people attempt to make a thick or tightly bound album behave like a loose sheet of paper.
Don’t push down hard on the scanner lid or press the album against the glass merely to make the page flatter.
The Library of Congress recommends that digitisation equipment should accommodate the size and physical characteristics of the original, with suitable support for bound material. The Library of Congress
For an album that doesn’t naturally open flat, an overhead capture system can therefore be a better solution.
Why Non-Destructive Scanning Matters
An old album may be unique. Unlike a digital file, you can’t simply restore the original from a backup if the binding cracks or a photograph tears.
The priority should therefore be:
Original first, digital copy second.
A good digitisation process adapts the equipment to the album rather than adapting the album to the equipment.
That might mean supporting a partially opened volume, capturing pages from above or scanning photographs without removing them from their original positions.
Professional heritage digitisation follows the same basic principle. The Library of Congress states that scanning equipment for archival collections should be chosen with the format and characteristics of the material in mind to minimise the risk of damage. The Library of Congress
This is particularly relevant for albums with:
- brittle pages;
- damaged bindings;
- loose photographs;
- cracked or flaking surfaces;
- unusual page sizes;
- tightly bound spines;
- photographs permanently attached to pages;
- historical or monetary value.
How Should You Handle Old Photographs?
Careful handling matters because the surface of a photographic print can be surprisingly vulnerable.
The National Archives explains that oils and salts from skin can react with photographic image layers and recommends handling loose photographic prints by their edges. Its guidance also highlights the risks posed by abrasion, excessive light, temperature and humidity. National Archives
Before scanning, prepare a clean, uncluttered workspace.
Keep food and drinks away and don’t use sticky notes, adhesive tape or rubber bands to organise originals.
The Library of Congress guidance on caring for photographic collections also advises against touching the image area and recommends caution when removing surface dust.
Don’t enthusiastically clean an old photograph simply because dust is visible in the scan. Aggressive rubbing can cause more harm than the dust itself.
Digital dust removal after scanning may sometimes be the safer option.
What Resolution Should You Use for Photo Album Scanning?
Resolution should be chosen according to the size of the original, the detail it contains and what you intend to do with the digital file.
For ordinary photographic prints, scanning at around 600 ppi is often a useful practical starting point for a high-quality family archive. Smaller photographs may benefit from a higher capture resolution, particularly if you intend to enlarge them later.
But resolution alone doesn’t determine scan quality.
A 1,200 ppi scan made with poor focus, inaccurate colour or excessive compression isn’t automatically better than a carefully produced 600 ppi image.
Consider:
- optical resolution;
- focus;
- colour accuracy;
- tonal range;
- compression;
- file format;
- original photograph size;
- intended enlargement;
- long-term storage requirements.
Be particularly wary of very large advertised resolution figures produced through software interpolation. Creating additional pixels doesn’t necessarily capture additional detail from the original photograph.
Should You Scan Black-and-White Photos in Colour?
Often, yes.
Scanning an old black-and-white photograph in colour can retain subtle information about the physical print, including staining, toning and paper characteristics.
You can subsequently create a monochrome version for viewing while keeping the colour scan as your preservation master.
This illustrates an important principle of digitisation:
Capture first; edit copies afterwards.
Don’t make your only digital version heavily sharpened, cropped, recoloured or restored.
Keep a faithful master copy and create edited versions separately.
That way, if your restoration preferences change—or better software becomes available—you still have a high-quality representation of the original.
TIFF or JPEG: Which Is Better for Old Photographs?
Both formats have a purpose.
TIFF is commonly used when a high-quality preservation master is required because it can be stored without lossy JPEG compression.
JPEG produces much smaller files and is convenient for viewing, emailing and sharing with family members.
A practical family archive could therefore contain:
- TIFF master – high-quality preservation copy;
- JPEG copy – everyday viewing and sharing;
- restored JPEG or TIFF – edited version where required.
There’s little benefit in creating excellent scans if you then keep the only copies on a single USB stick.
The Library of Congress recommends organising important digital files and keeping copies on at least two different storage media in separate physical locations. The Library of Congress
For particularly valuable collections, consider an additional geographically separate or reputable cloud backup.
Should You Scan the Whole Album or Each Photo Individually?
For an important album, both can be worthwhile.
Scanning complete pages preserves:
- photograph positions;
- captions;
- handwriting;
- dates;
- decorations;
- page numbering;
- accompanying documents;
- the original sequence.
Individual image capture can then provide greater detail for significant photographs.
Imagine an album page containing six photographs from a family wedding in 1958. The complete page scan shows which photographs belonged together and preserves handwritten names underneath them.
Individual scans provide better files for enlarging, restoring or printing those photographs.
If you scan only the six photographs, some of that original context may disappear forever.
How Do You Digitise a Photo That Won’t Come Out of the Album?
Don’t force it out.
A photograph that is firmly attached can normally be captured while remaining on the album page, provided the album can be positioned safely.
Depending upon the album, this might involve:
- Supporting the volume in its natural opening position.
- Positioning the page so it isn’t under unnecessary strain.
- Capturing the page from directly above.
- Controlling reflections and uneven illumination.
- Producing a full-page image.
- Creating a separate crop of the individual photograph.
What About Photos Behind Plastic Covers?
Proceed cautiously.
Transparent covers can introduce reflections, glare, colour changes and loss of sharpness. But removing them isn’t automatically the right answer.
If a clear sheet lifts easily without pulling at photographs, you may be able to move it temporarily during capture.
If the plastic has become stuck to a photograph, don’t pull it away.
Likewise, photographs stuck to glass or to each other need particular care. The Library of Congress advises consulting a photographic conservator when photographs are firmly adhered rather than trying potentially damaging home remedies. The Library of Congress
A slightly imperfect scan is preferable to destroying an irreplaceable original while trying to achieve a perfect one.
How Should You Name and Organise Scanned Album Photos?
Digitisation is only half the job. A folder containing 800 files named IMG001, IMG002 and IMG003 isn’t a particularly useful family archive.
Develop a simple naming system before you start.
For example:
Album01_Page001Album01_Page002Album01_Page002_Photo01Album01_Page002_Photo02
You can then add known information separately:
Album01_Page002_Photo01_John-and-Mary_Brighton_1964
Don’t guess information you’re unsure about. A question mark or separate metadata note is better than permanently attaching the wrong identity or date to a photograph.
Also preserve the original page order. This can provide clues about dates, relationships and events that aren’t obvious from individual photographs.
Can Old Album Photos Be Restored After Scanning?
Yes. One of the advantages of high-quality digitisation is that the digital copy can be improved without altering the original.
Depending on the condition of the photograph, digital restoration may help reduce the appearance of:
- dust;
- scratches;
- fading;
- colour casts;
- stains;
- creases;
- minor tears;
- exposure problems.
However, restoration and preservation are different processes.
Keep the original scan unchanged and save restored versions as separate files.
This is particularly important when the album has historical significance. Heavy editing can produce an attractive image while inadvertently removing genuine characteristics of the original photograph.
Common Mistakes When Digitising Photo Albums
Avoid these easily preventable problems:
- Forcing an album flat to fit a conventional scanner.
- Pulling out firmly attached photographs.
- Scanning only the pictures and losing handwritten captions.
- Using very low resolution simply to save storage space.
- Keeping only JPEGs when high-quality preservation masters are wanted.
- Over-editing the master scans.
- Touching photographic surfaces unnecessarily.
- Discarding the album after scanning.
- Keeping all digital files on one device.
- Failing to record names, dates and locations while relatives can still identify them.
That final point is easily overlooked. Digitising a photograph preserves its appearance; documenting who’s in it preserves its meaning.
Is DIY or Professional Photo Album Scanning Better?
DIY scanning can work very well for robust albums, particularly when you have time, appropriate equipment and only a modest number of pages.
Professional scanning becomes more attractive when an album is fragile, valuable, unusually large or difficult to open, or when there are hundreds or thousands of photographs to process.
Before choosing, ask yourself:
- Can the album safely open flat?
- Are photographs loose or permanently attached?
- Is the binding already damaged?
- Are pages brittle?
- Do I need archival-quality master files?
- Is colour accuracy important?
- Do I want individual images as well as complete pages?
- Would losing or damaging the original be unacceptable?
If the final answer is yes, preservation should take priority over convenience.
Preserve the Album as Well as the Photographs
Once digitisation is complete, don’t assume the original no longer matters.
Digital copies provide convenient access and reduce the need to handle the album, but the physical object still contains characteristics that a scan cannot completely reproduce.
Store albums somewhere cool, relatively dry and stable, away from excessive light, damp and major temperature fluctuations. The Library of Congress recommends protective enclosures for photographic materials and warns against problematic album materials such as sticky self-adhesive pages. The Library of Congress
For particularly important albums, an appropriate archival box can provide additional protection.
The best photo album digitisation project therefore preserves three things at once: the photographs, their original context and the physical album itself. Whether you undertake the work at home or outsource it, avoid unnecessary dismantling, capture sufficient quality for future use and create properly organised backups. For particularly fragile or irreplaceable collections, it ultimately makes sense to choose a professional company with years of experience handling original photographs and albums, such as Supaphoto Ltd.